Home
Home

 Artists
 Search
 Recent
 Random
 Posts
Posts
 DMs
DMs
 Tags
Tags
 Random
 Importer
 Import
 FAQ
FAQ
 Account
 Register
 Favorites
 Login
Login

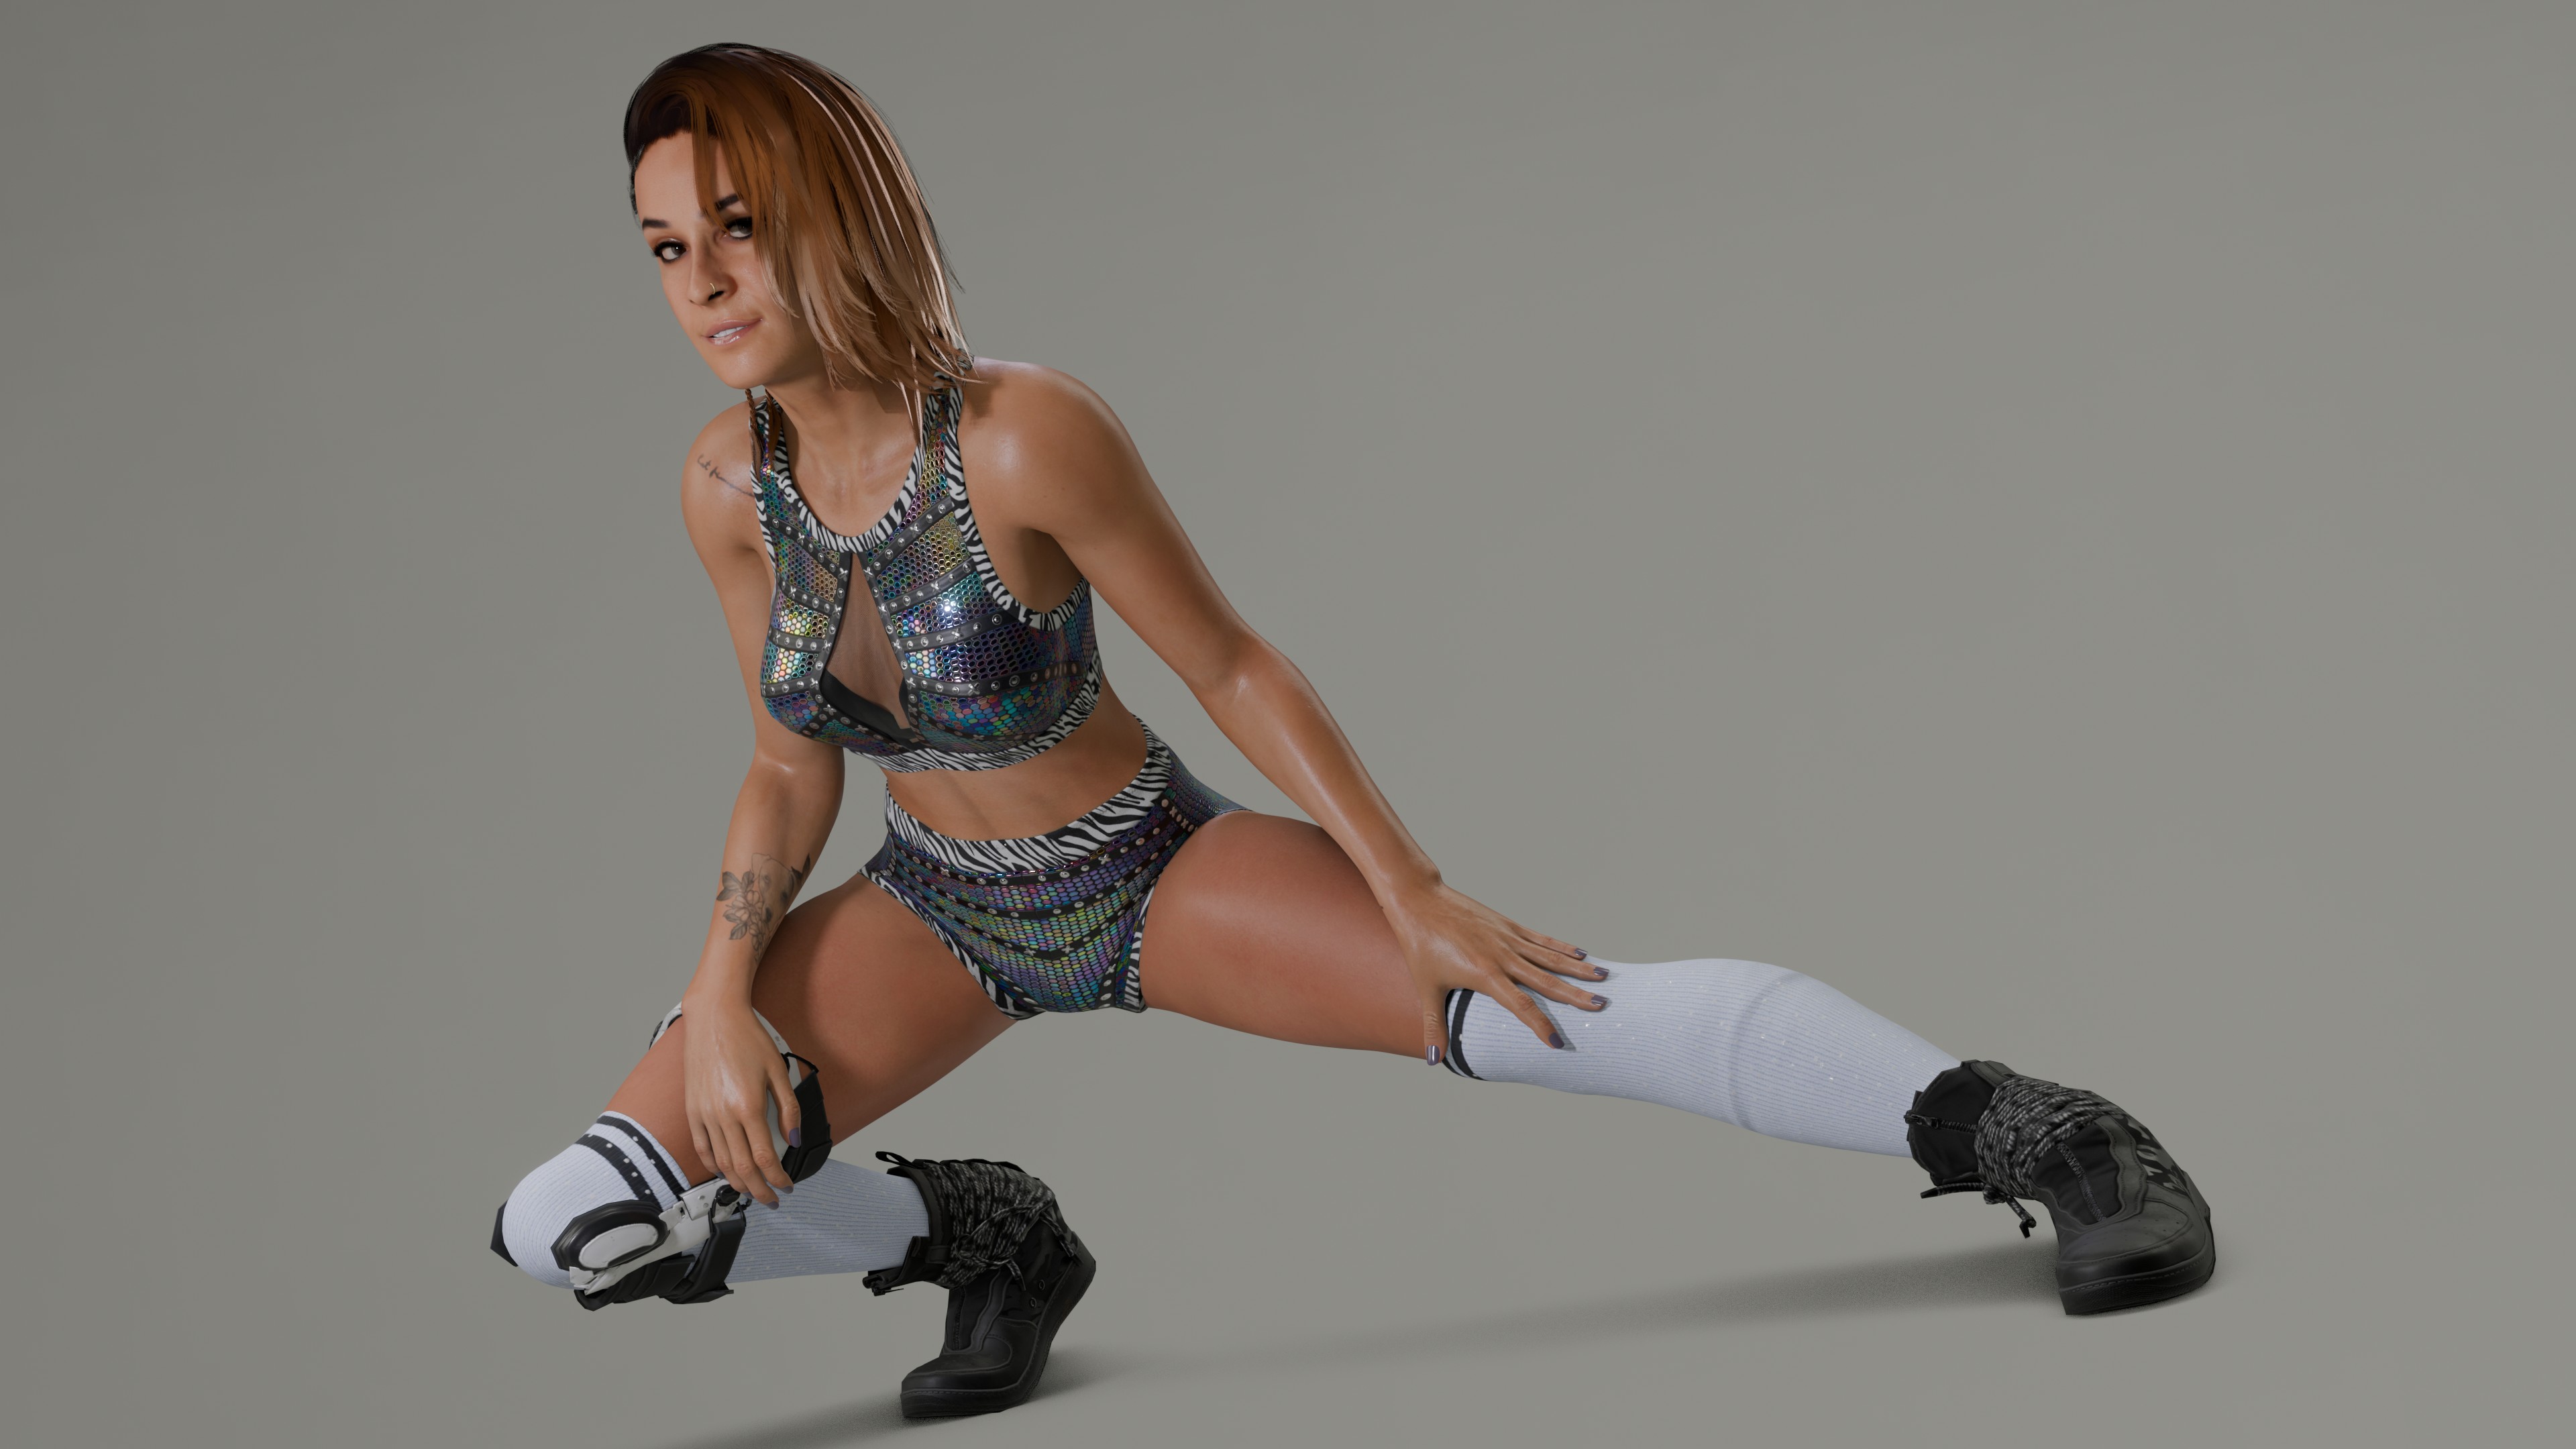
Model Release - Dakota 2K24 (Patreon)
Content
About this model
About this model
This model uses An Autorig-pro armature like most of my models
Includes 8 outfits + Extras
7 Hairstyles
Multiple Make up options
Extras outfit parts and props
MustardUI menu
BEFORE USING PLEASE READ THESE FAQ
BLENDER VERSION REQUIRED TO USE THIS MODEL:
This model is compatible with Blender 4.1 and newer versions, loading it in any of the previous version WILL NOT WORK.
DO NOT LOAD THIS MODEL IN BLENDER 3.6.5 OR OLDER, AND DO NOT SAVE IT USING BLENDER 3.6.5 OR OLDER, OR YOU'LL DAMAGE THE MODEL.
THIS MODEL REQUIRES
Rig-tools Add-on
A free version of the Autorig Pro tools shared by the devs to for animators and people who wish to pose using this rig. In order for the rig to work properly you MUST install this add-on (If you have the full version of Auto Rig Pro, or you've installed the blender 4.0 version of rig tools before using this model you no longer require to install it (unless the description specifies to do so because of some require update). Install rig-tools like any add-on (go to preferences, add-ons, click on install and select the zip file containing the add-on, don't forget to press the check box to activate.) (Again, If you already own the full version of ARP you don't need to install this).
MUSTARD UI Add-on
Mustard's UI now functions as an Add-on. You will only require to install it (only once) using the links provided in the description, or on Mustard's Github: https://github.com/Mustard2/MustardUI/releases
How to install Add-ons?:
https://docs.blender.org/manual/en/latest/editors/preferences/addons.html#installing-add-ons
INSTRUCTIONS AND TROUBLESHOOTING:
WHY YOU MUST USE THE UI MENU?:
Use the UI (user interface) Menu to hide and show outfit parts, don't do it manually unless you want to waste your time. The script automatically deactivates the armature modifiers of the meshes that are hidden using the menu outfits list. Meaning that if you manually show a previously hidden mesh in the viewport without using the menu the armature modifier will remain deactivated and the clothes won't move along the rig. Just use the menu (this is done to save memory while posing). IF you have any problems with the UI menu, check out Mustard's FAQ page (https://github.com/Mustard2/MustardUI/wiki/Users-FAQs)
TO VIEW THE UI MENU:
Since the UI is no longer a script but a full Add-on, once you installed the add-on, just press "N" in the 3D viewport and look for the "MustardUI" tab on the right of your 3d viewport.
IF THE UI MENU IS MISSING AFTER APPENDING THE MODEL:
(As per in the MustardUI FAQ page):Go to the 3d Viewport layout or any other workspace with the 3D viewport, click in the model's Armature/rig and the menu will be visible for you by pressing "N" to display the site tool bar where the UI should be an option.
MULTIPLE UI MENUS PER MODEL:
(As per in the MustardUI FAQ page): after appending a model with the mustardUI menu, If you want to have a permanent view of the UI menu for a character even when you're not clicking in the rig, select the armature, go to "settings" in the UI menu and turn off the "viewport model selection" option. If you have two models with the UI then an option to select which character's menu will show up at the top of the UI.
GET FASTER PERFORMANCE AND FPS IN VIEWPORT:
Use the "Simplify" Optimization tool in the UI Menu to speed up your animation FPS in the viewport, it just turns off most features that makes the models lag in the viewport, all at once, instead of having to manually do it mesh by mesh. REMEMBER TURN SIMPLIFY OFF BEFORE RENDERING, and make sure all the global properties for outfits and body are turned ON before rendering.(all can be done using the UI menu).
HOW TO USE THE RIG:
This model uses an auto-rig pro rig. If you have questions about how to utilize the ARP rig and check out the Rig's creators FAQ for detailed explanations and to have some visual examples: http://www.lucky3d.fr/auto-rig-pro/doc/rig_behaviour_doc.html#rig-usage
WHERE ARE THE IK FK OPTIONS AT:
After clicking on the hand and head bone controls (in pose mode obviously), go to the "tool" tab in the outliner or in the "tool" side menu in the 3d viewport. There you can access to options like IK to FK, for the head, select the head bone and check the "Head follow" for the neck and torso posing. Also there are options for stretching limbs and pinning rotation for the knees and elbows etc. NOTE: (you MUST have the rig-tools OR the full version of ARP add-on installed for these options to be visible)
EXTRA FEATURES:
The cross icon on top of the hand is for opening/closing posing for the fingers. To open the mouth, select the jaw bone and move it down or up (don't rotate it on the X axis, just pose it down in it's Z axis). Activate the "Advanced" Bone Armature Layer to see more bone options for the Torso and limbs.
BEFORE SCULPTING:
As a general rule, turn off the all the modifiers (do not remove them) in the mesh you wish to work with, especially if they have the "FX" and "corrective smooth" modifiers activated for the viewport.
MORE DETAIL:
If you want to see better detail for muscle shapekeys, turn smooth corrective off. You can also improve muscle and body detail using the normal strength slider in the Menu.
MISSING TEXTURES? How to properly load the model:
Save the blend file in the same folder you chose to extract the "textures.7z" file. THEN open blend file after you extracted the textures, if you still managed to get missing textures, go to "File>External Data>Find Missing Files", then select the textures folder, and save. Use 7zip to extract the textures to avoid any issues. (windows default extractor is trash and will give you problems) If you got missing textures (pink) check out this tutorial: https://www.youtube.com/watch?v=rWrj3jud0w8 If you still got missing textures it's most likely your zip file containing the textures got damaged during the download process and some texture files were damaged, try downloading again.
POSE GALLERY:
If you append the model to a new project, don't forget to also append the "actions" in the actions folder. Chose the facial expressions actions so they'll also show in your new project. (Animation: Pose Library add-on must be turned on, it is by default in blender, make sure you didn't check it off for some reason).
MORE DETAIL:
If you want to see better detail for muscle shapekeys, turn smooth corrective off. You can also improve muscle and body detail using the normal strength slider in the Menu.
BLACK HAIR ARTIFACTS IN CYCLES: For models that have high detailed Hair meshes, use about 28 transparency or higher samples in cycles to avoid black artifacts, the more transparency samples the better.
If you have a question that's not answered above, or you bug to report, don't doubt on contacting me.
Happy Posing!
Mokujinh.
Changelog
Release
Update 1.0a (Blender 4.1 update)
ARP Rig update
Added 2K19 and 2K20 outfits
Fixed duplicated fake users on the body mesh for optimization
new ARP lip and eyebrows control bones
Files