Home
Home

 Artists
 Search
 Recent
 Random
 Posts
Posts
 DMs
DMs
 Tags
Tags
 Random
 Importer
 Import
 FAQ
FAQ
 Account
 Register
 Favorites
 Login
Login

Wash and drybrush (Patreon)
Content
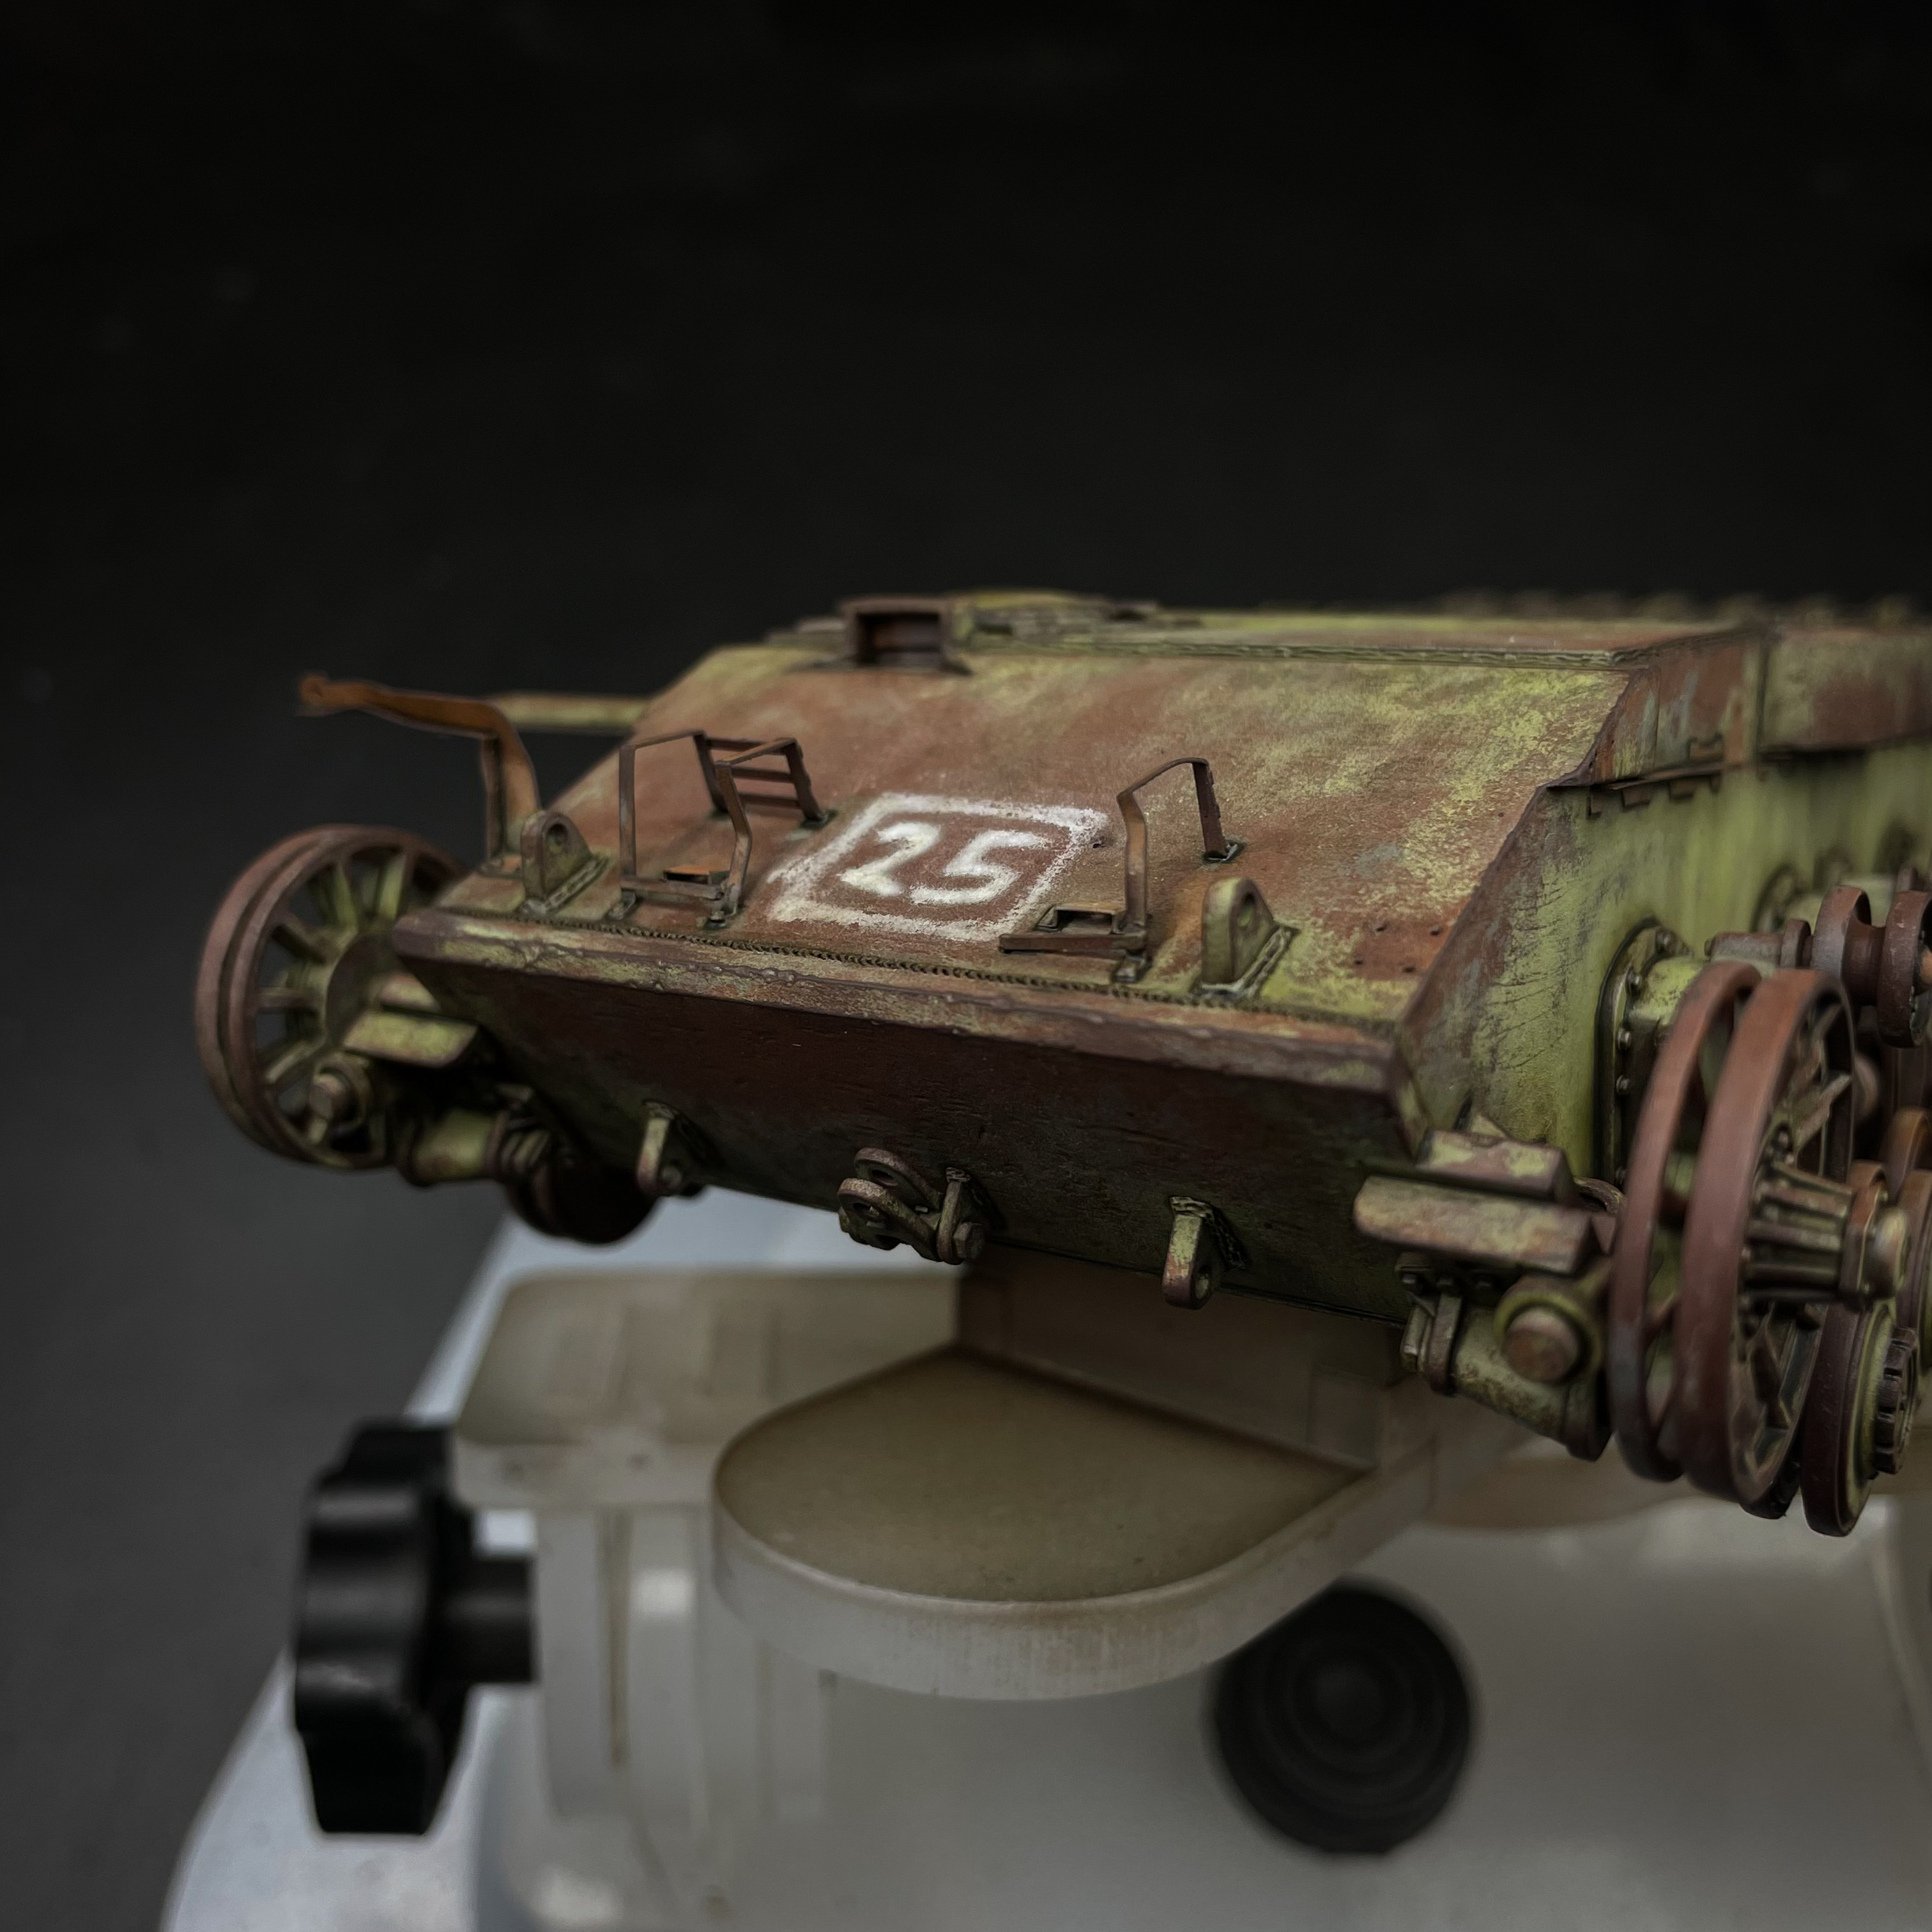
My friends, what a difference can two techniques make! Taking the worn base coat from last week, I gave the entire model a meticulous pinwash made from Winter Streaking Grime. This color was also blended over the cast texture in selected areas where the surface imperfections were very deep. Again, a huge model makes every step take forever, and this was no exception!
The second stage was drybrushing. Unlike the traditional approach with a lighter color, I grabbed Dark Rust from Vallejo and outlined every worn edge using this method. This works in conjunction with the rusty tones in the base coat, giving them more visual depth while also defining the shape of the tank. Careful drybrushing can be also used to enhance the rusted-out appearance in selected areas where the hairspray chipping wasn't sufficient.
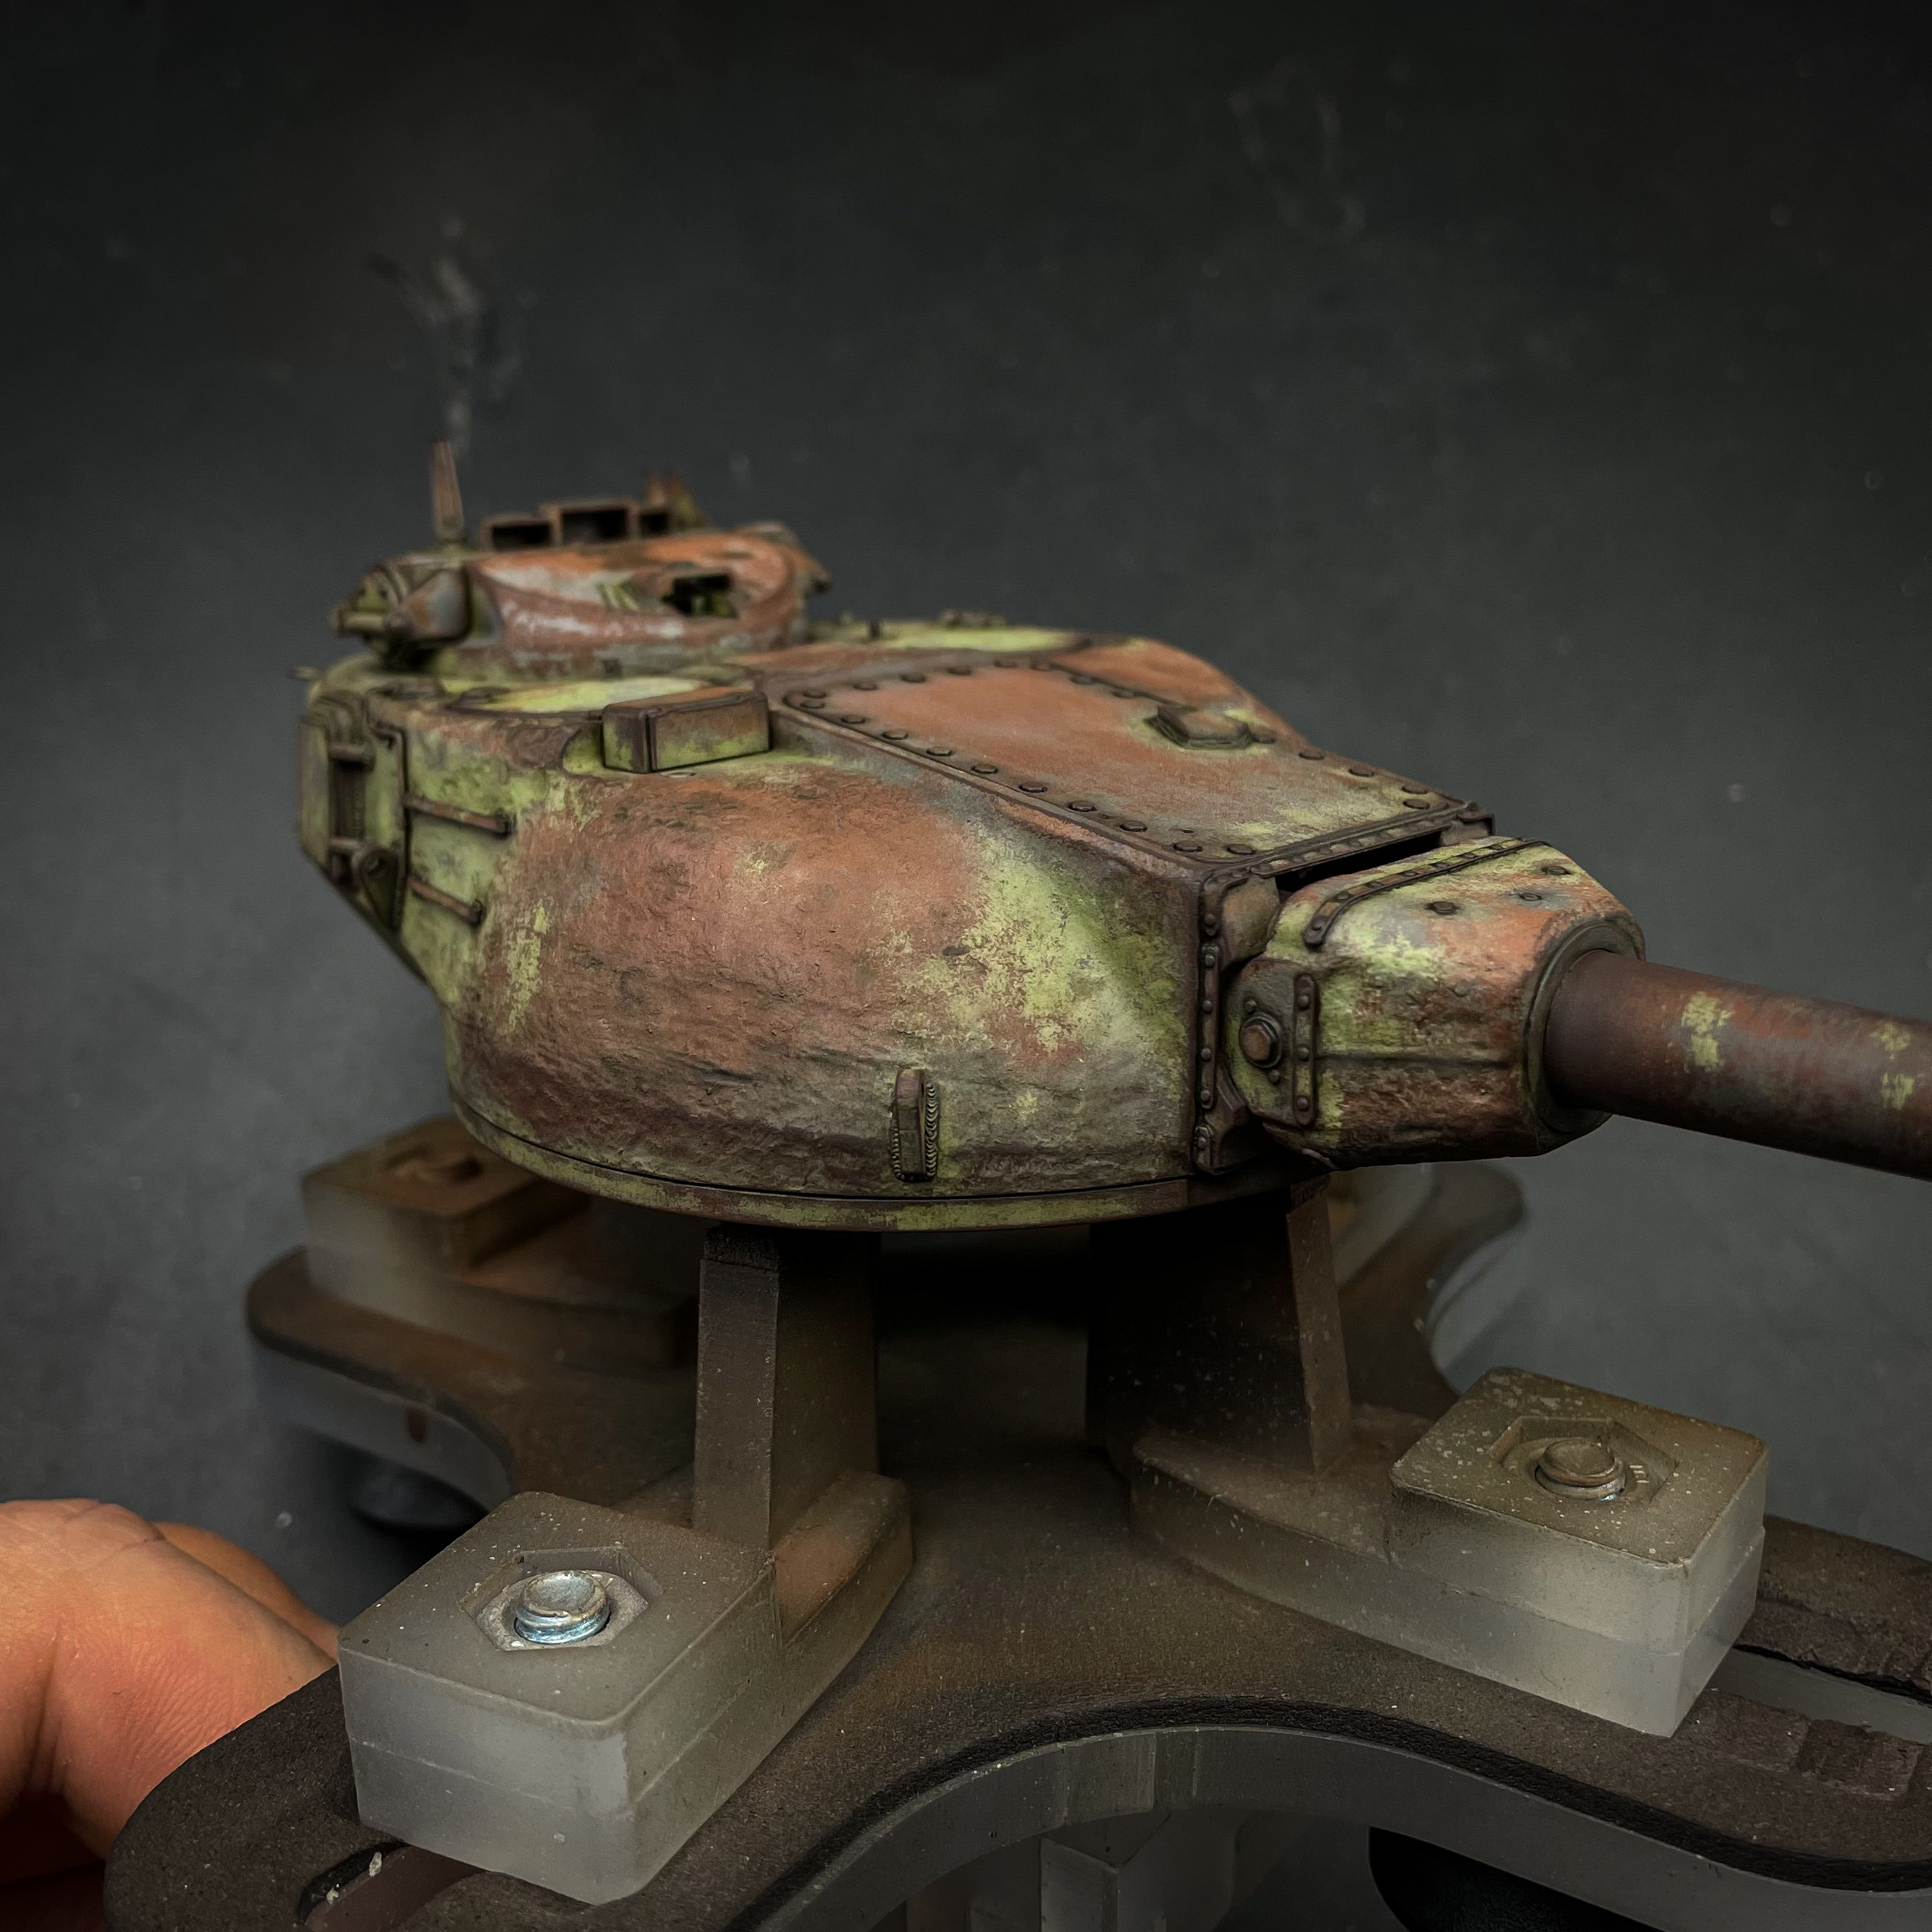
Sometimes an airbrushed rust coat improved with these two techniques is all you need - it was the case on the VW Beetle and this seems to be no exception. I'm going to hit the model with some enamel rust tones after I pick out the weld beads using a silver color, but it won't be anything excessive.
It's really interesting how a rotting vehicle requires different techniques than an operational one, which is kinda obvious, but more interestingly, how the amount of techniques isn't as large as I initially anticipated. My guess is that the worn base coat does most of the work and the upcoming techniques are just refining it.
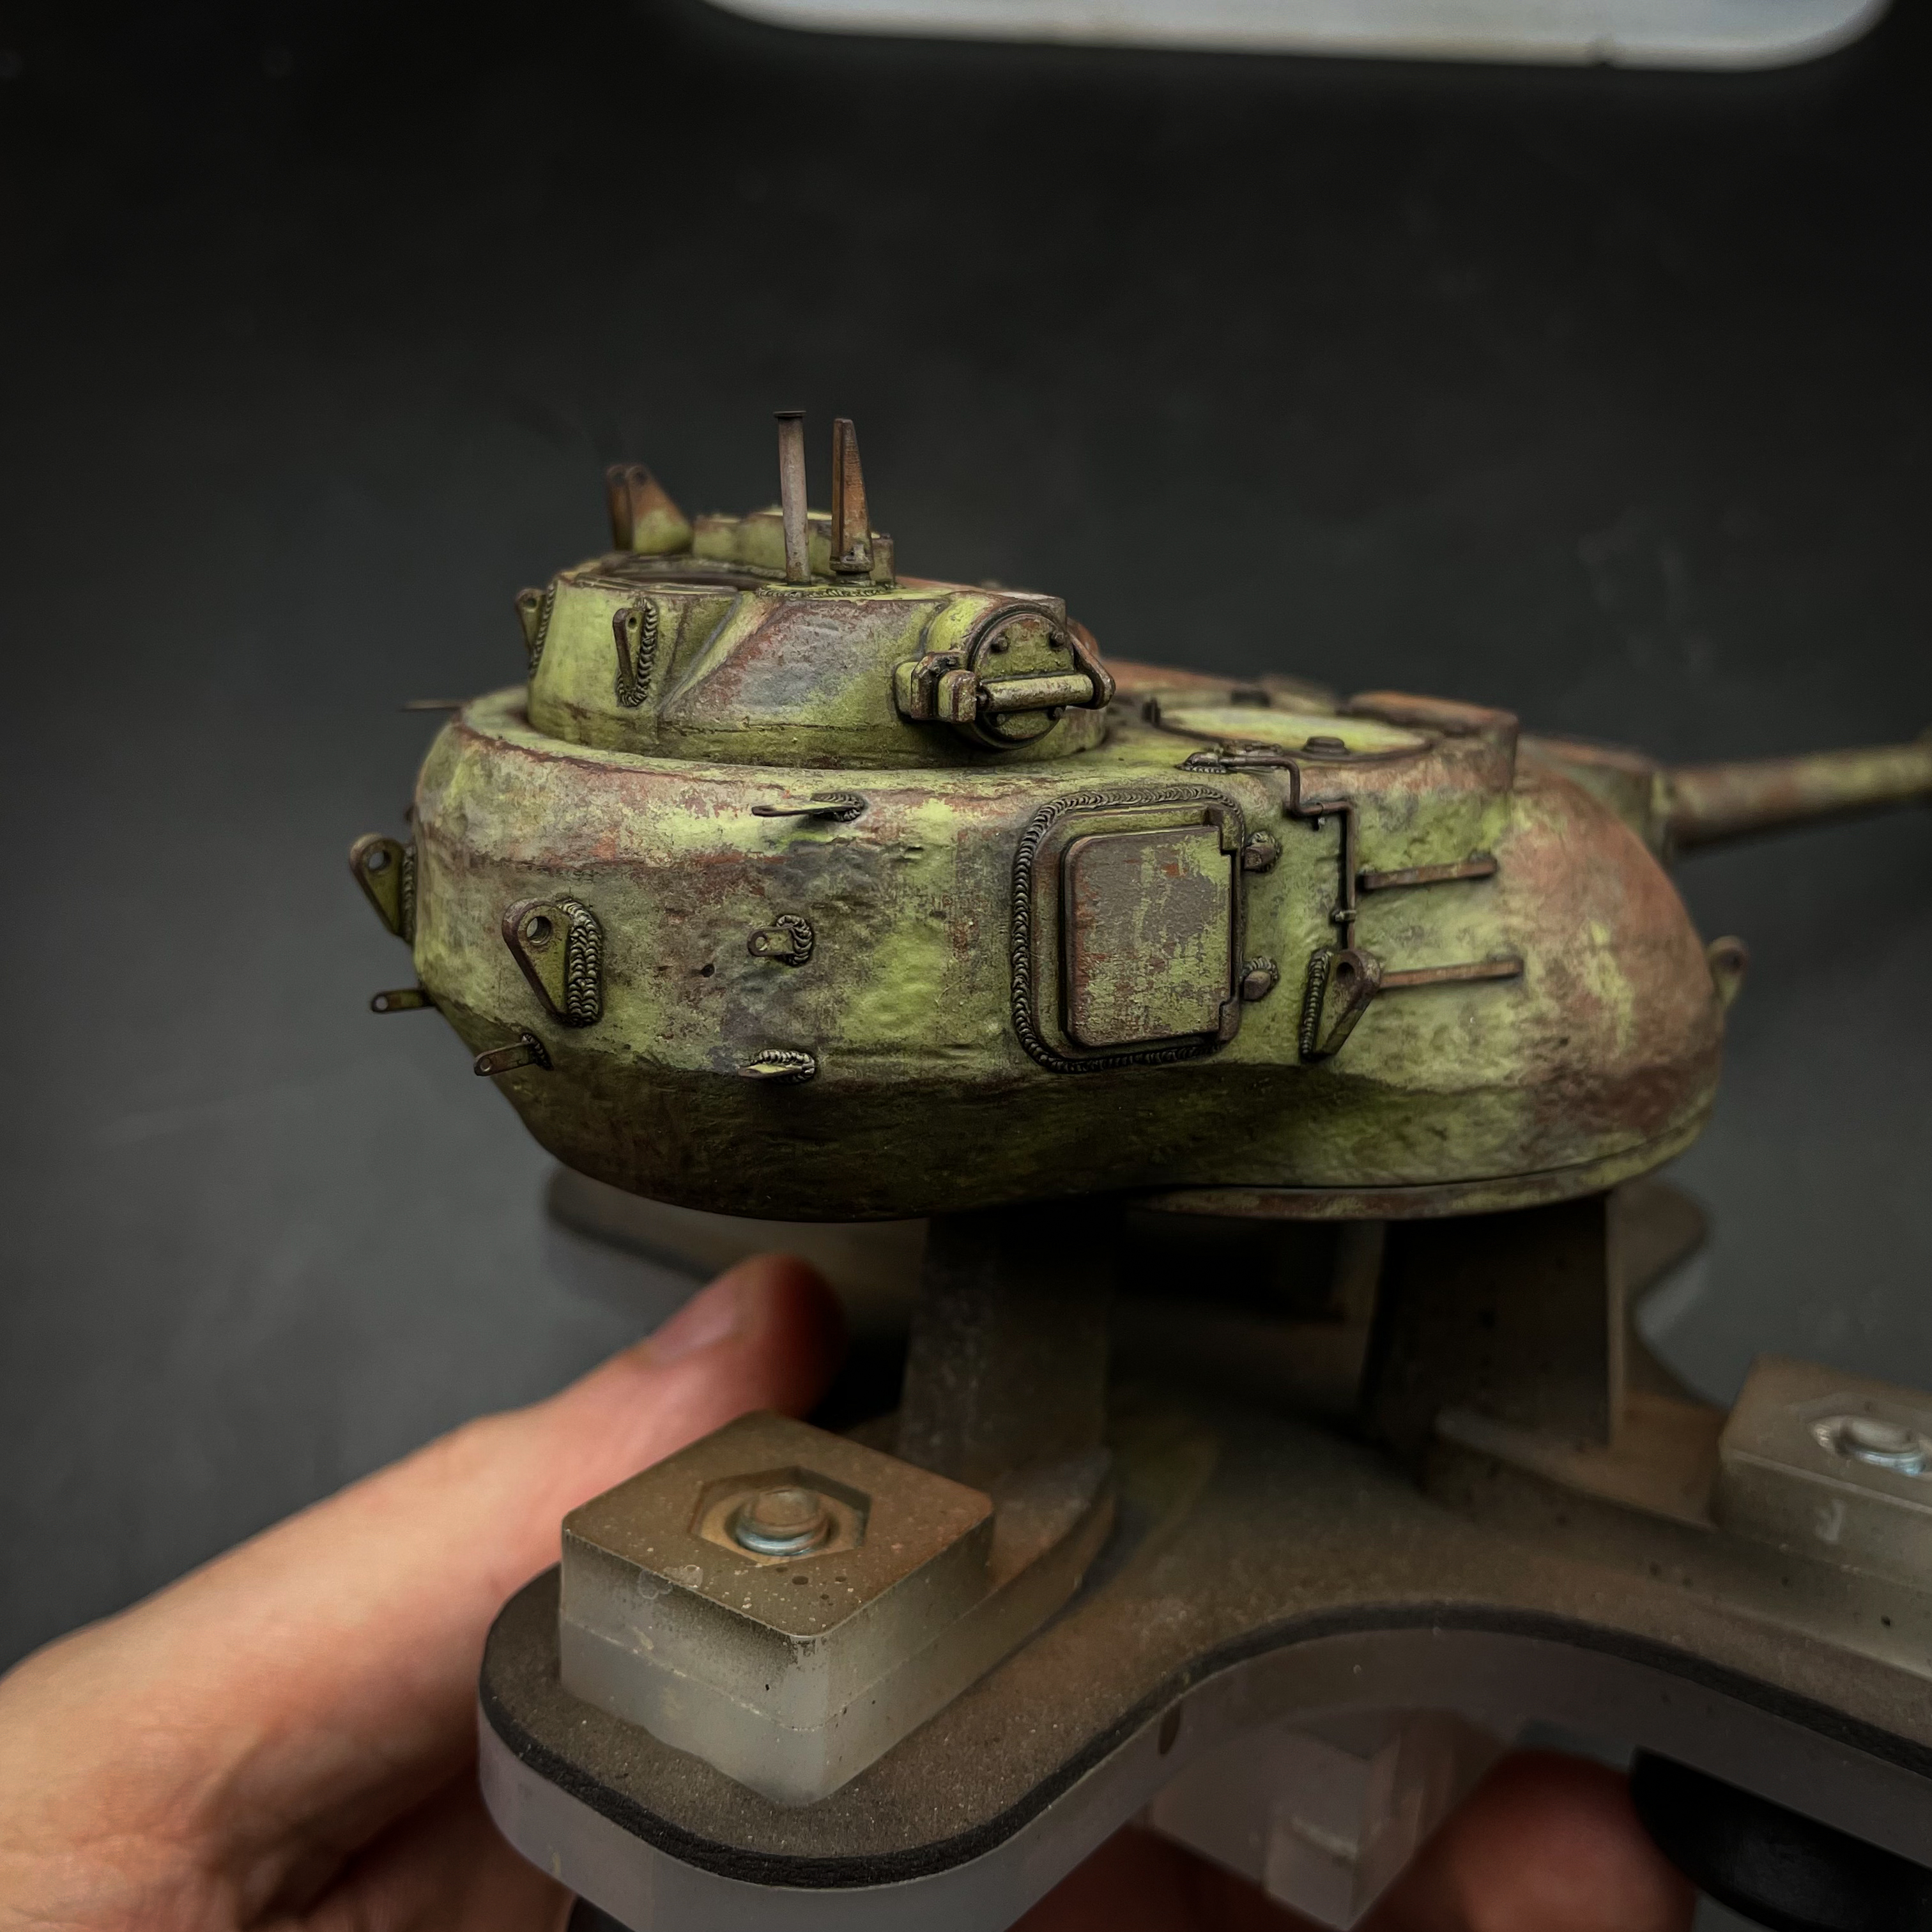
Also, I was tempted to start with the rusty dry brush, but outlining the model was a better choice. Without a pinwash, you might be tempted to compensate for the lack of crispness by overdoing the darkened edges only to later realize your model has become overly dark!
Anyway, on to the next steps!
Files