Home
Home

 Artists
 Search
 Recent
 Random
 Posts
Posts
 DMs
DMs
 Tags
Tags
 Random
 Importer
 Import
 FAQ
FAQ
 Account
 Register
 Favorites
 Login
Login

Tracks and hull are ready! (Patreon)
Content
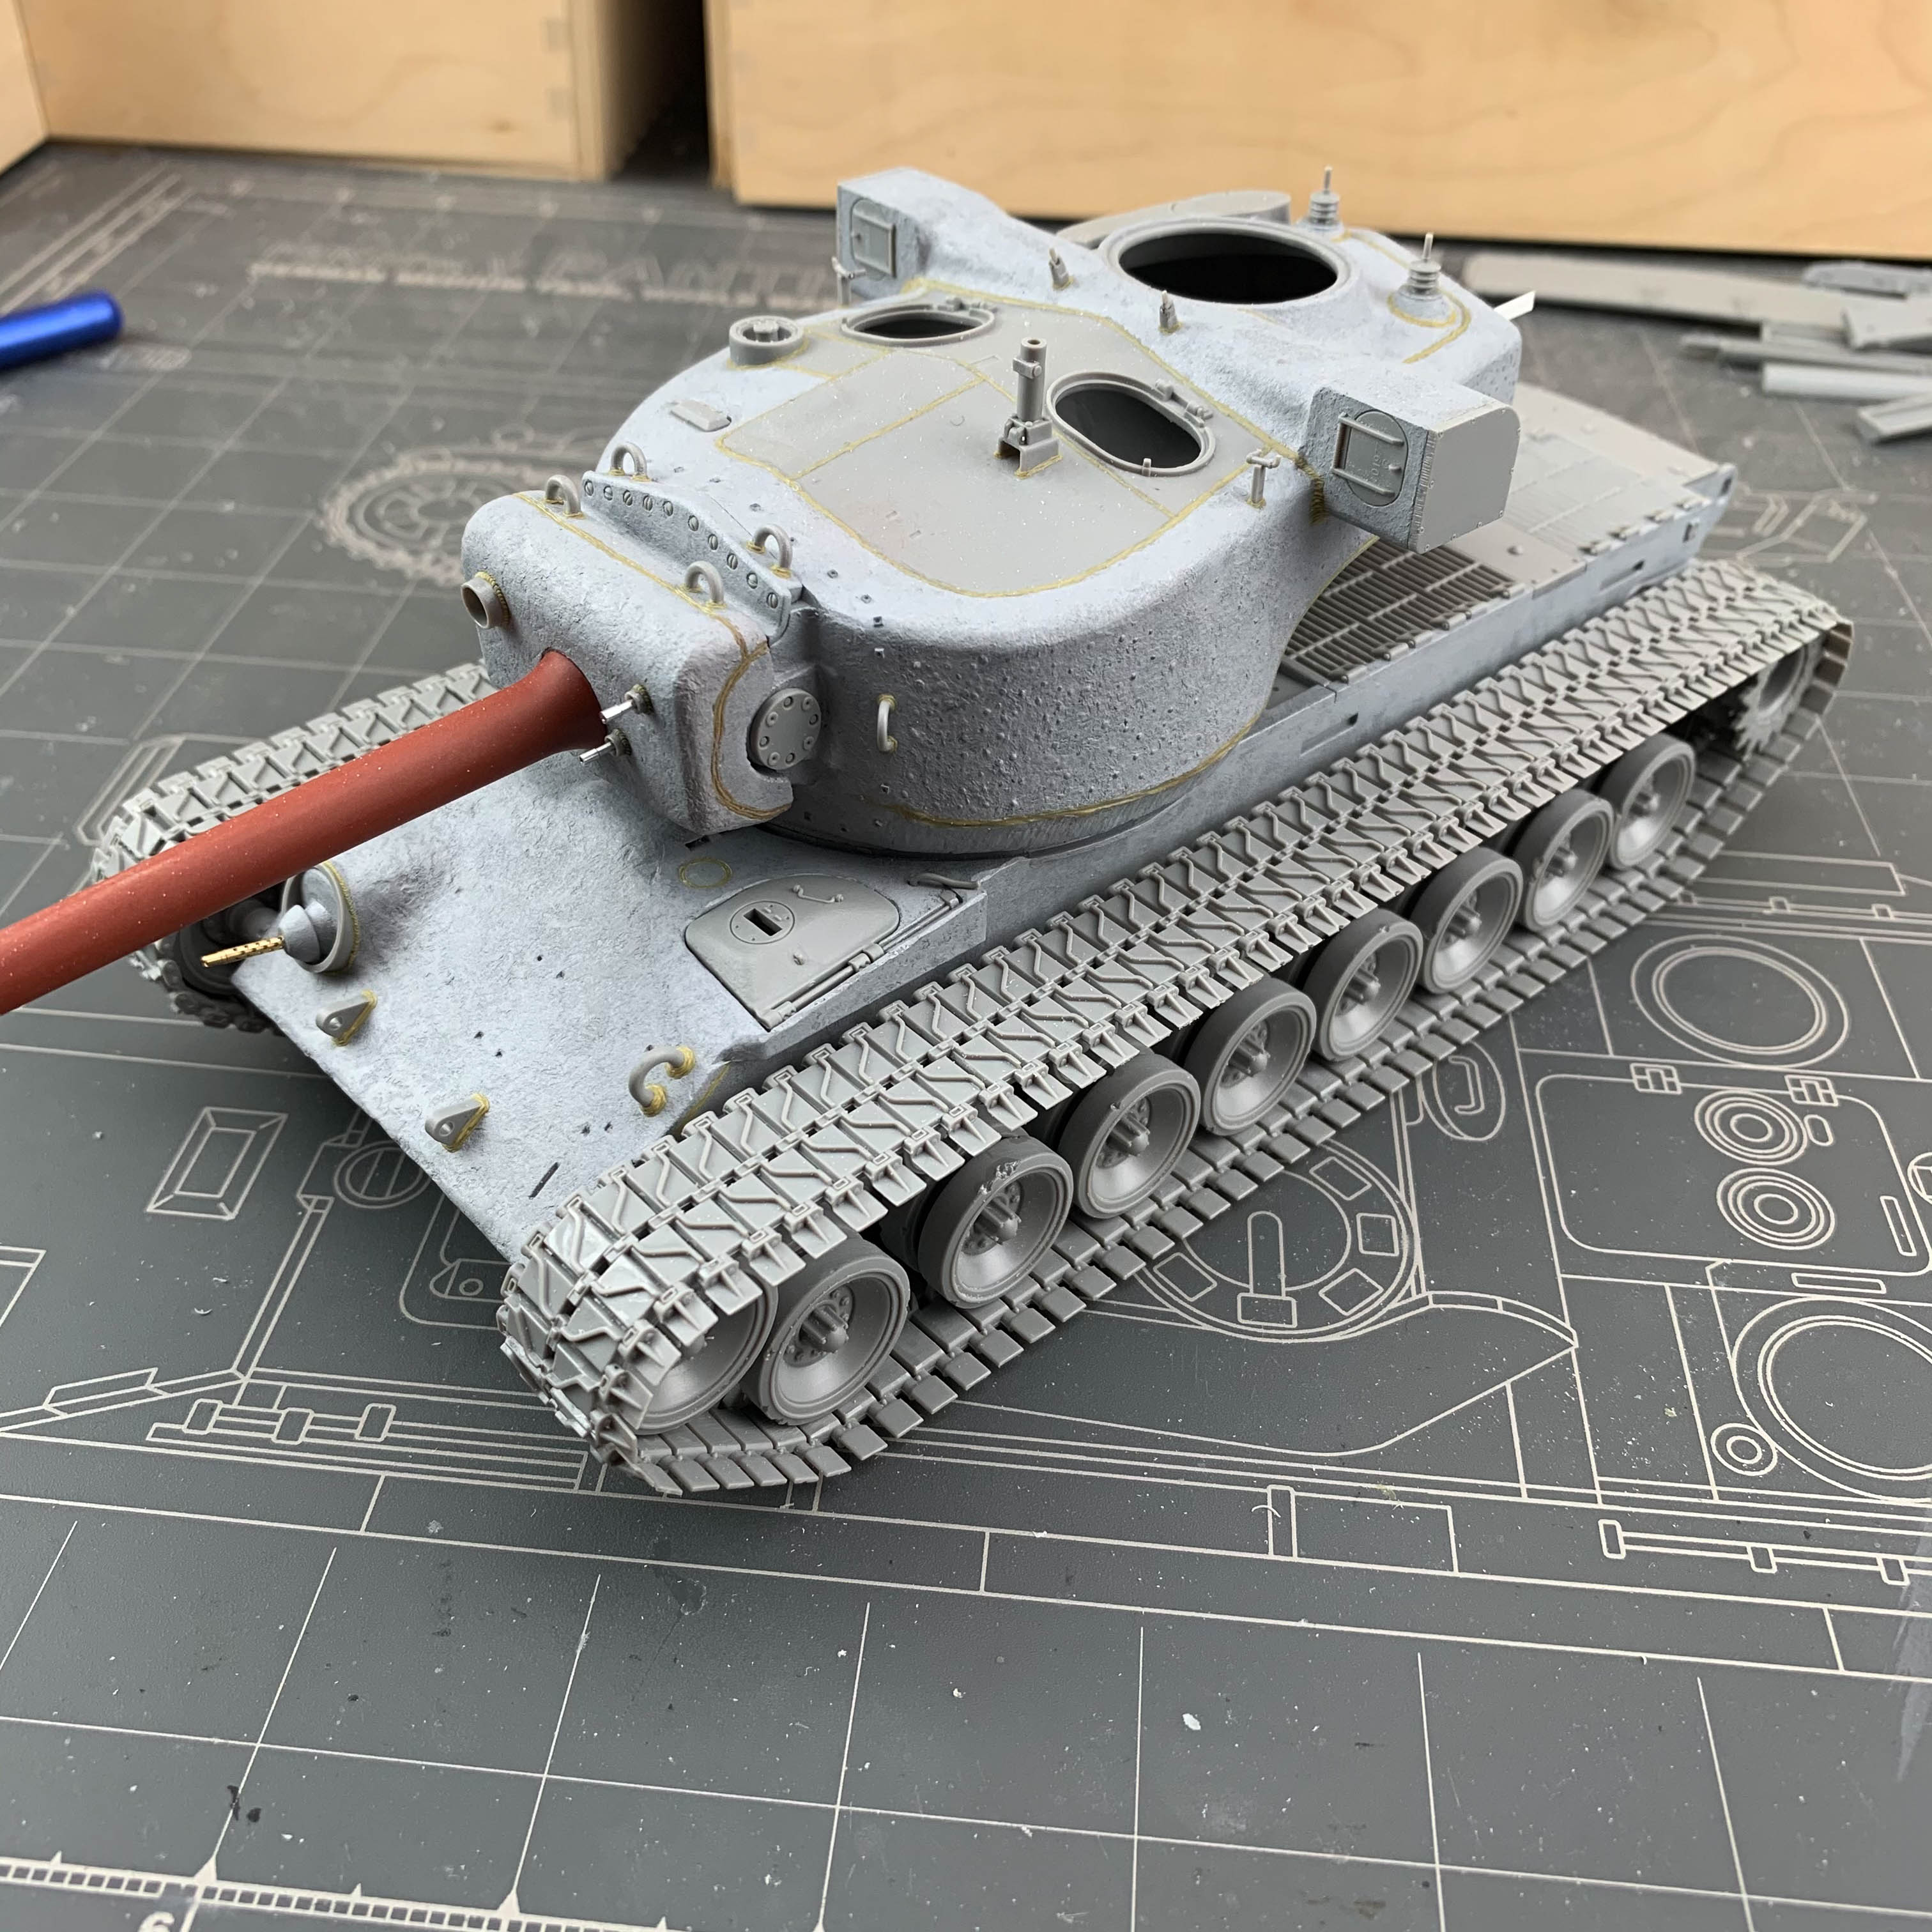
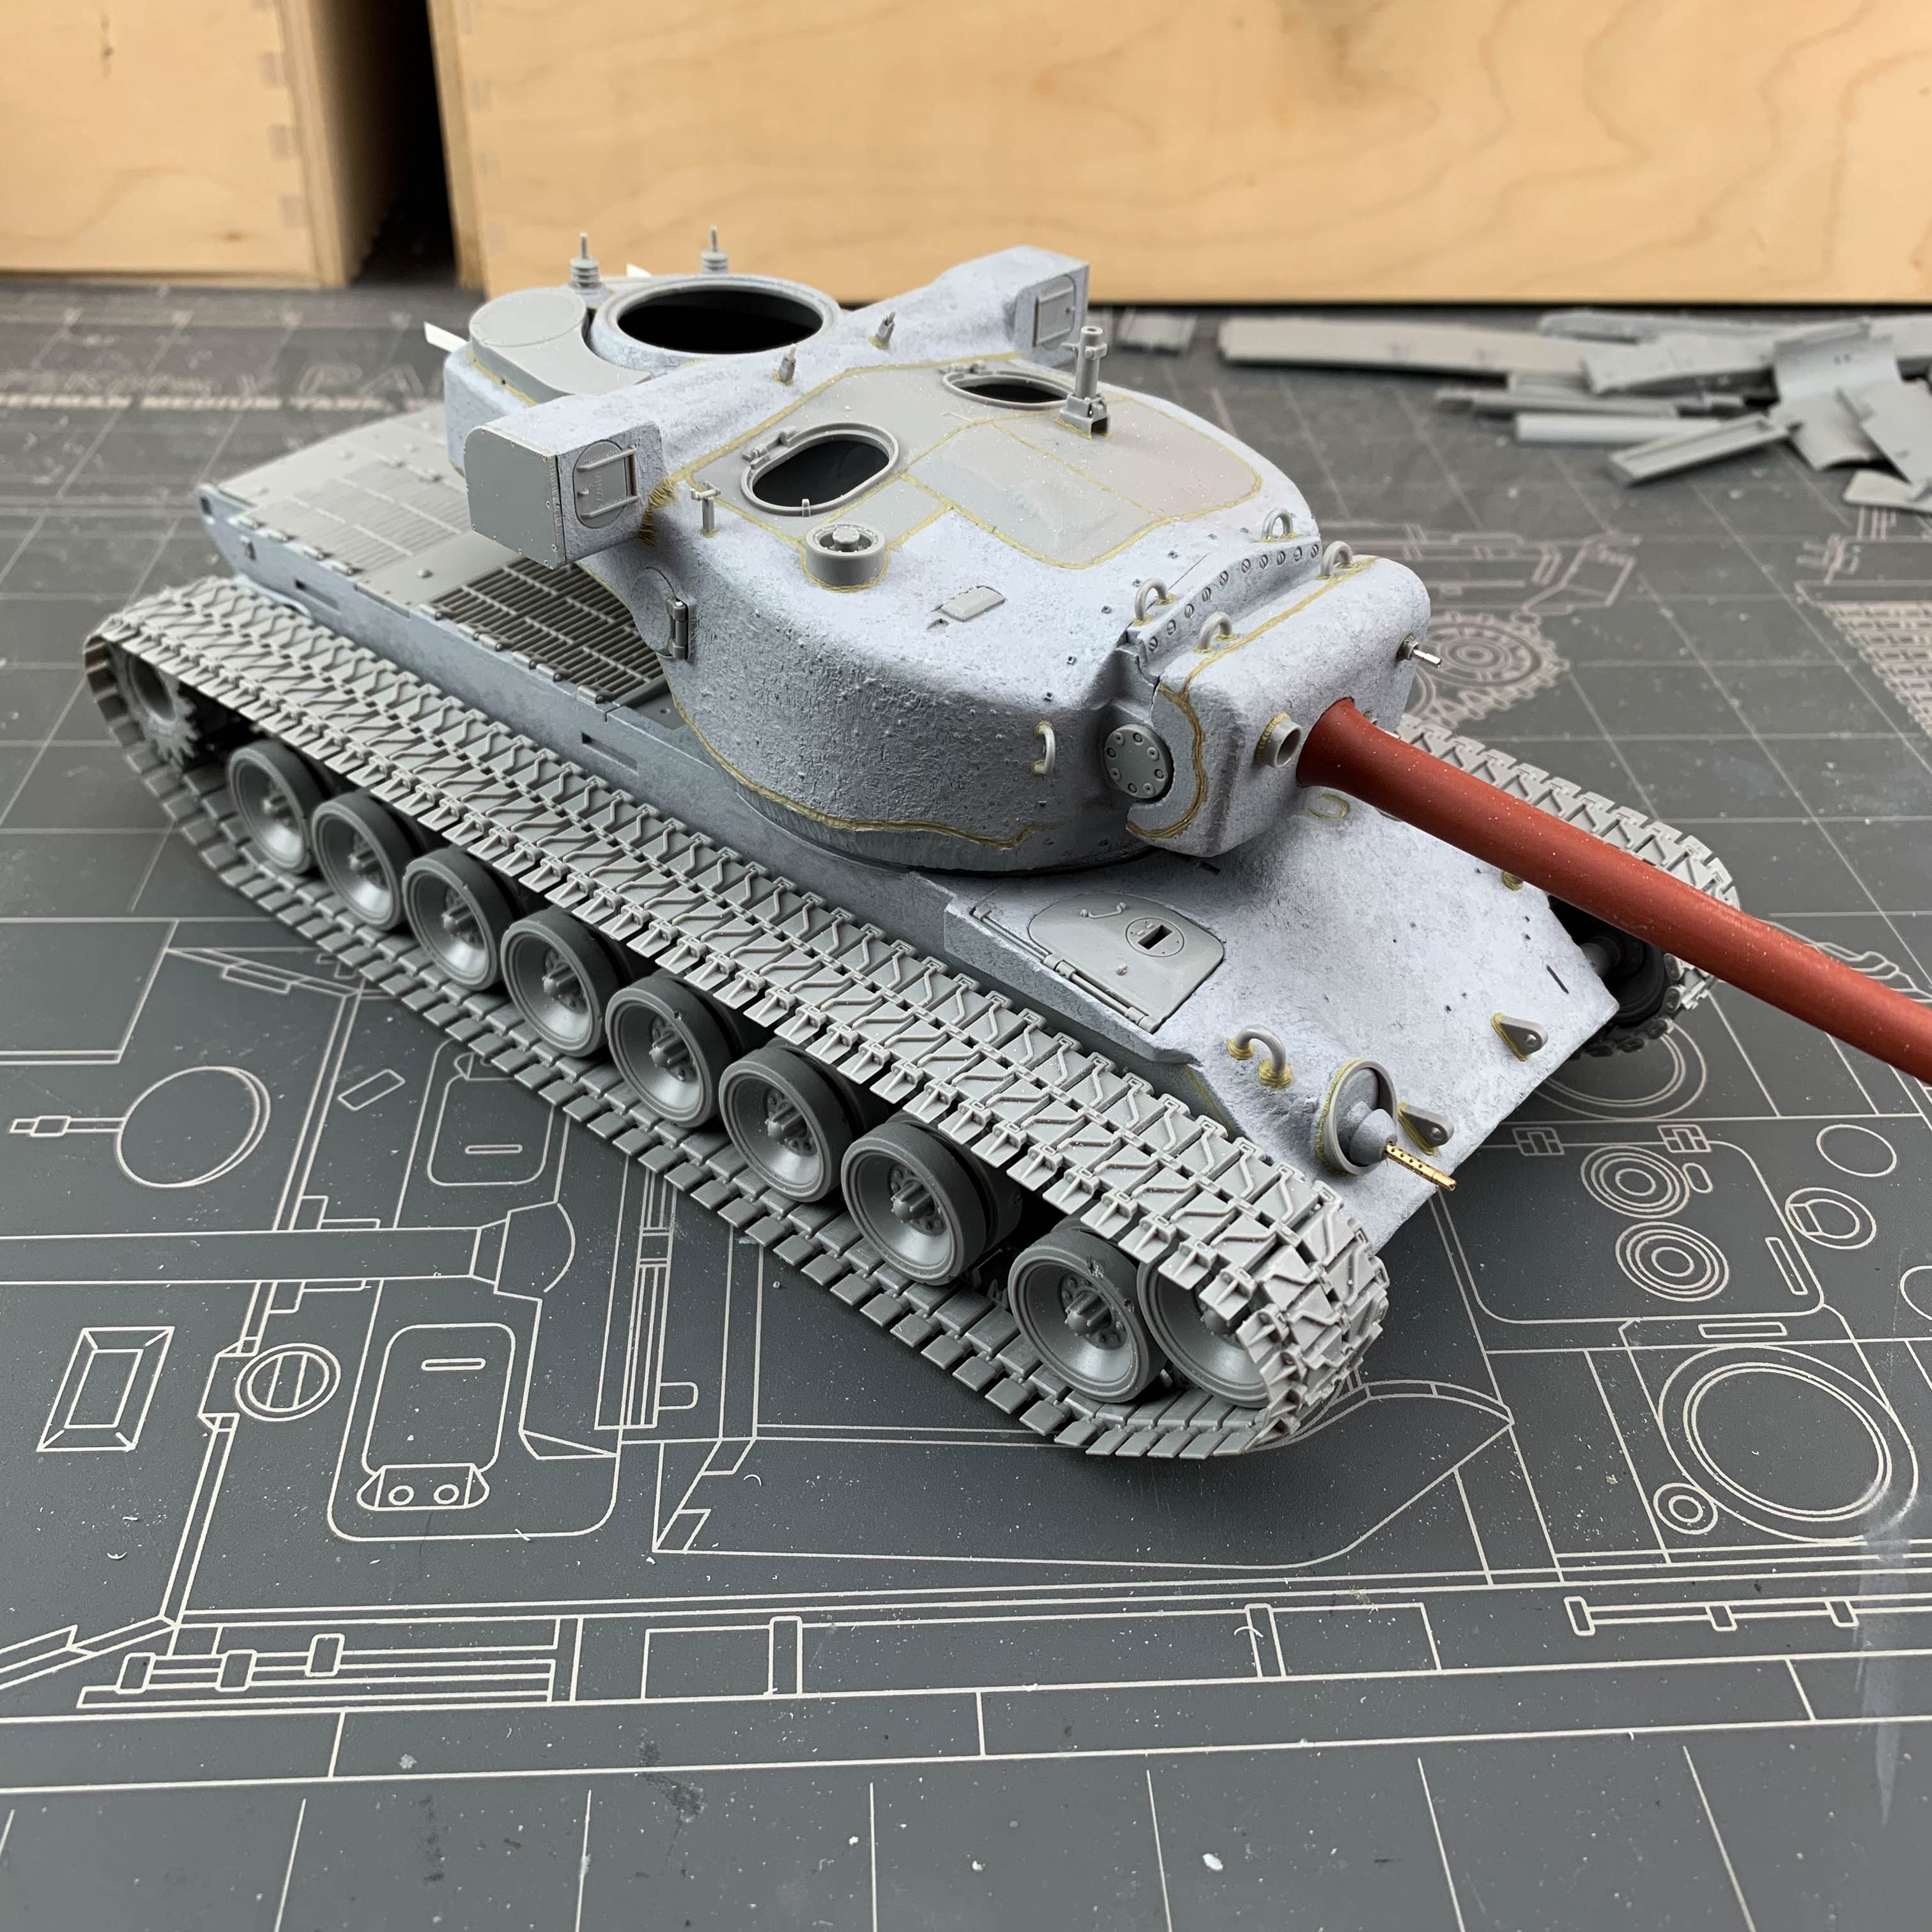
My friends, it might not seem like much but there's a ton of work in these photos 😁Yesterday I've shown you the running gear assembled, and that night I also finished the tracks. Now these are pretty good, but pretty bad at the same time. They have fairly visible seam lines and in some cases noticeable flash, which is kinda tricky to remove on the Duckbill extensions. So getting them all cleaned up took a few good hours. Instead of using the usual technique where you assemble the whole track run and wrap it around the wheels I tried the kit provided jigs. The results are perfect, however I didn't find their use any easier compared to the traditional "wrap it around the running gear and let it dry" method. But hey, both runs fit perfectly and are easy to remove for painting, so that's success!
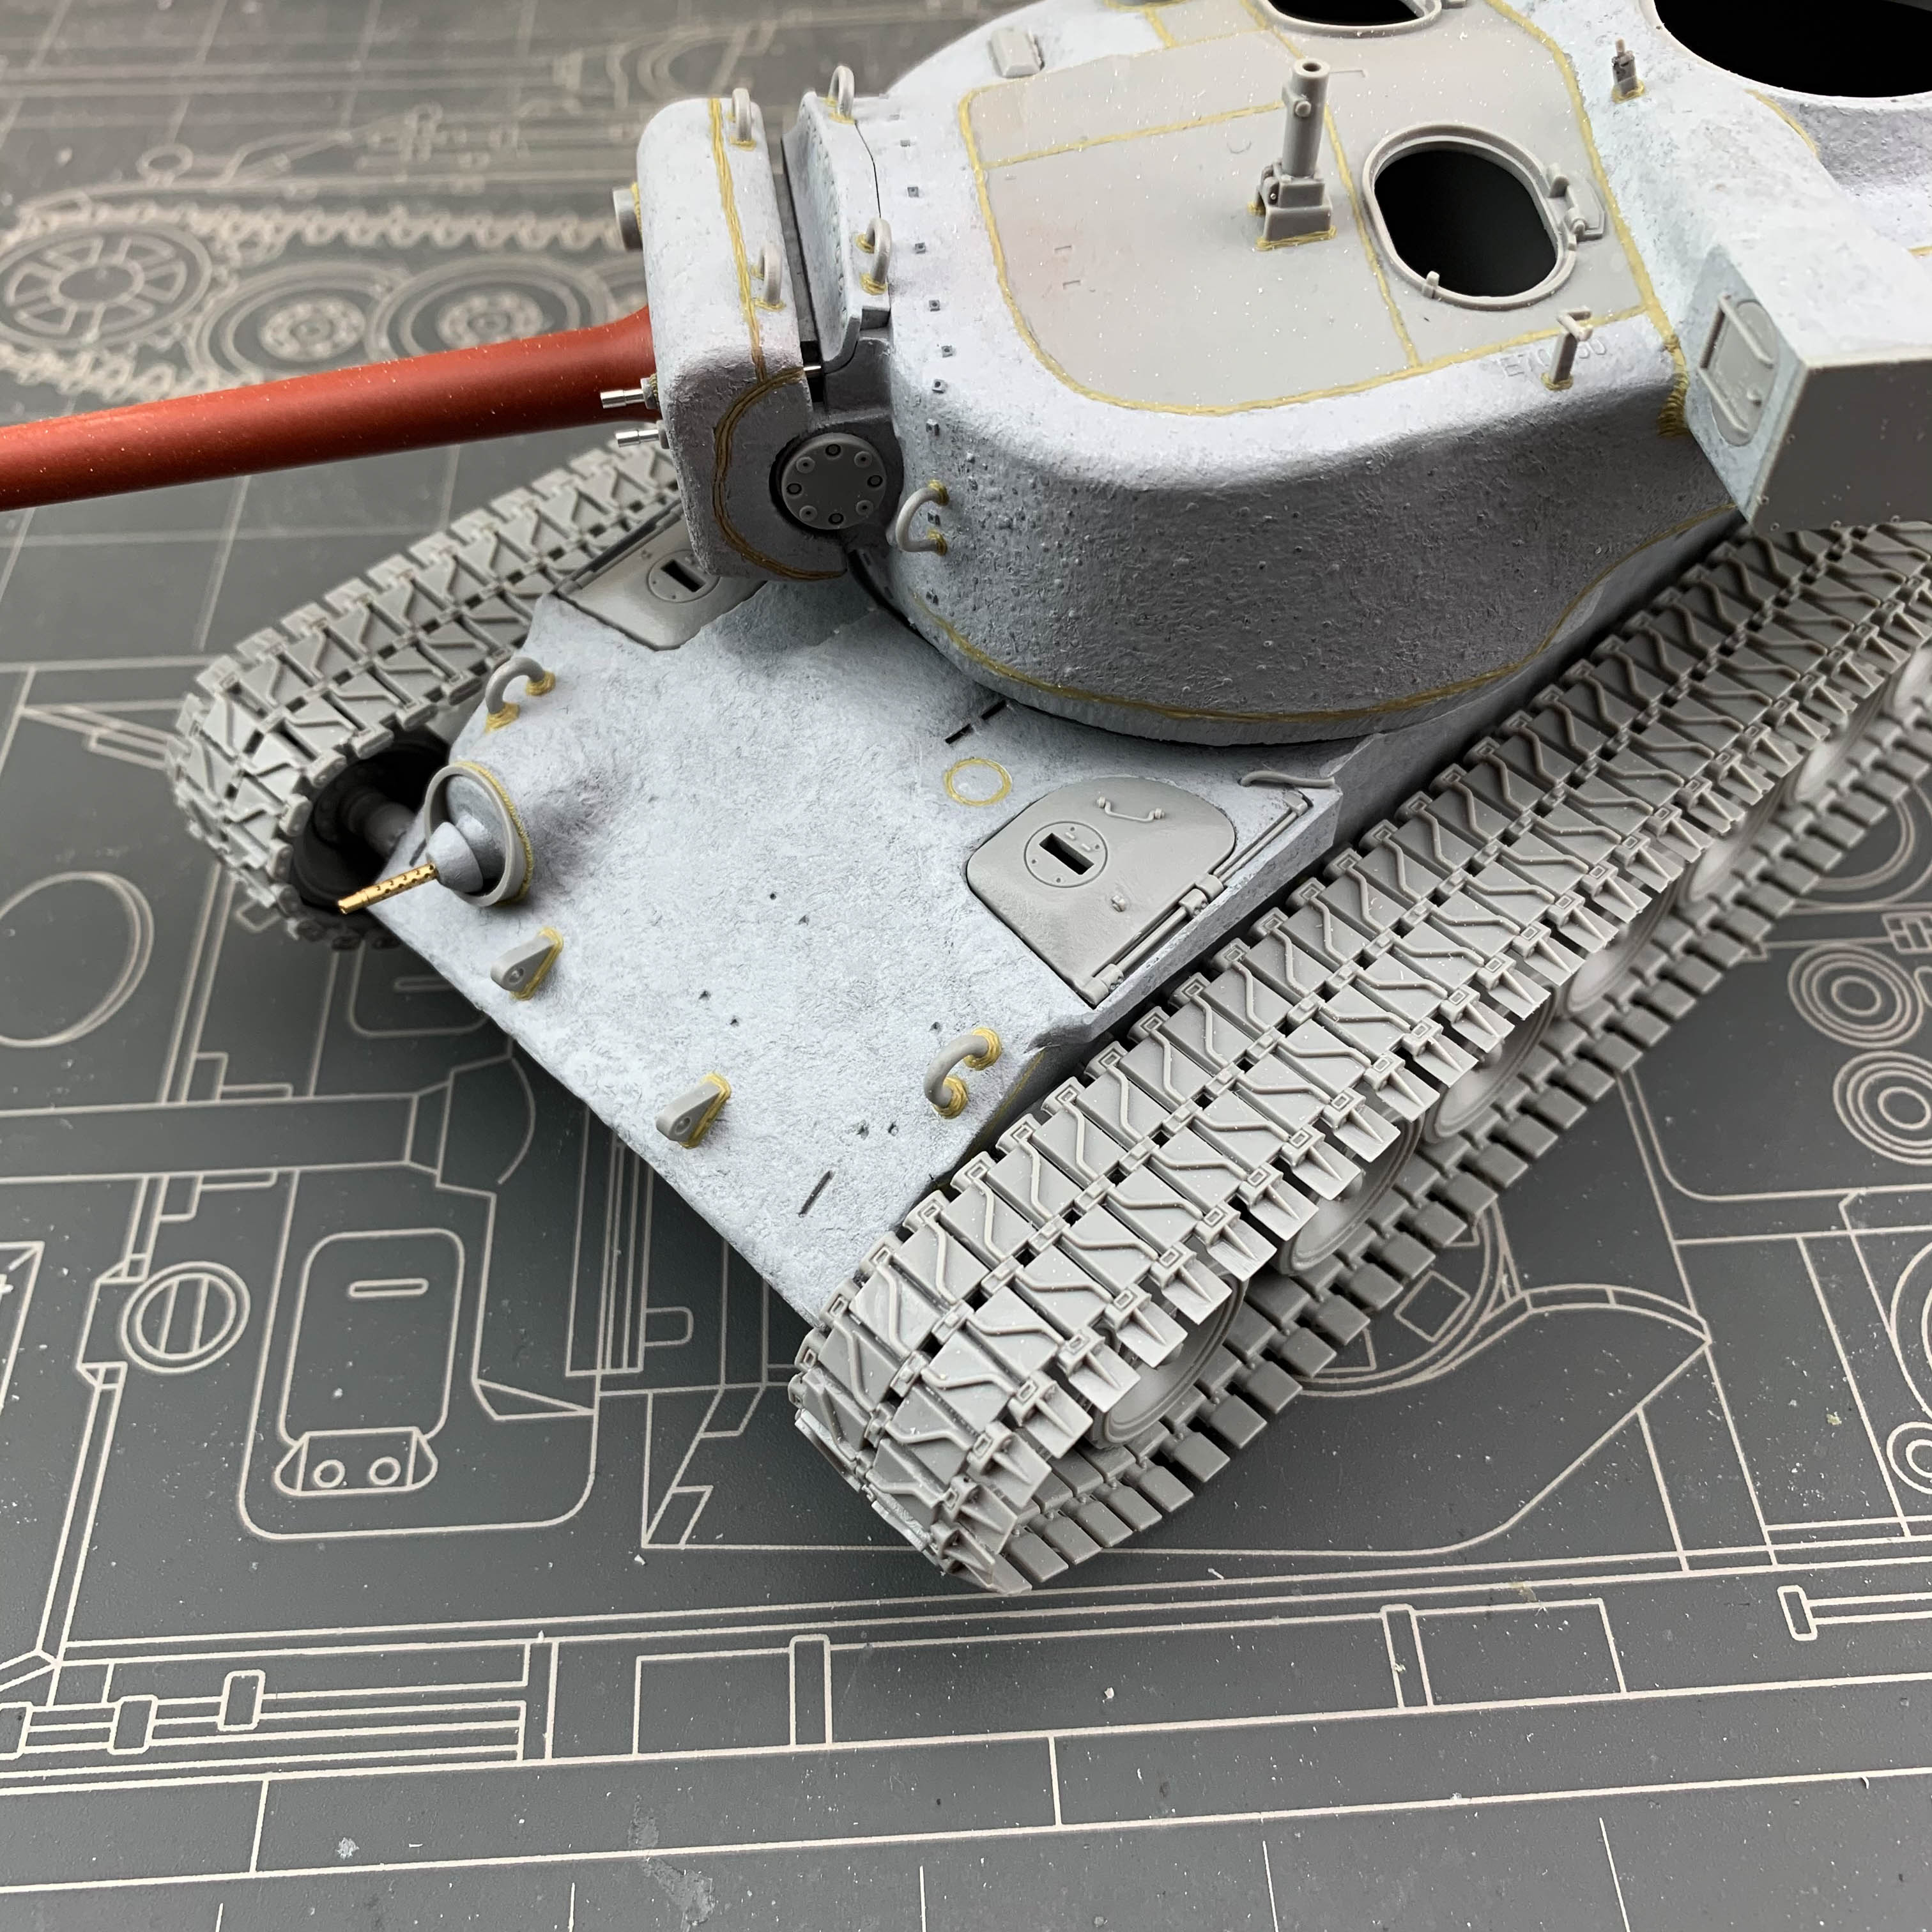
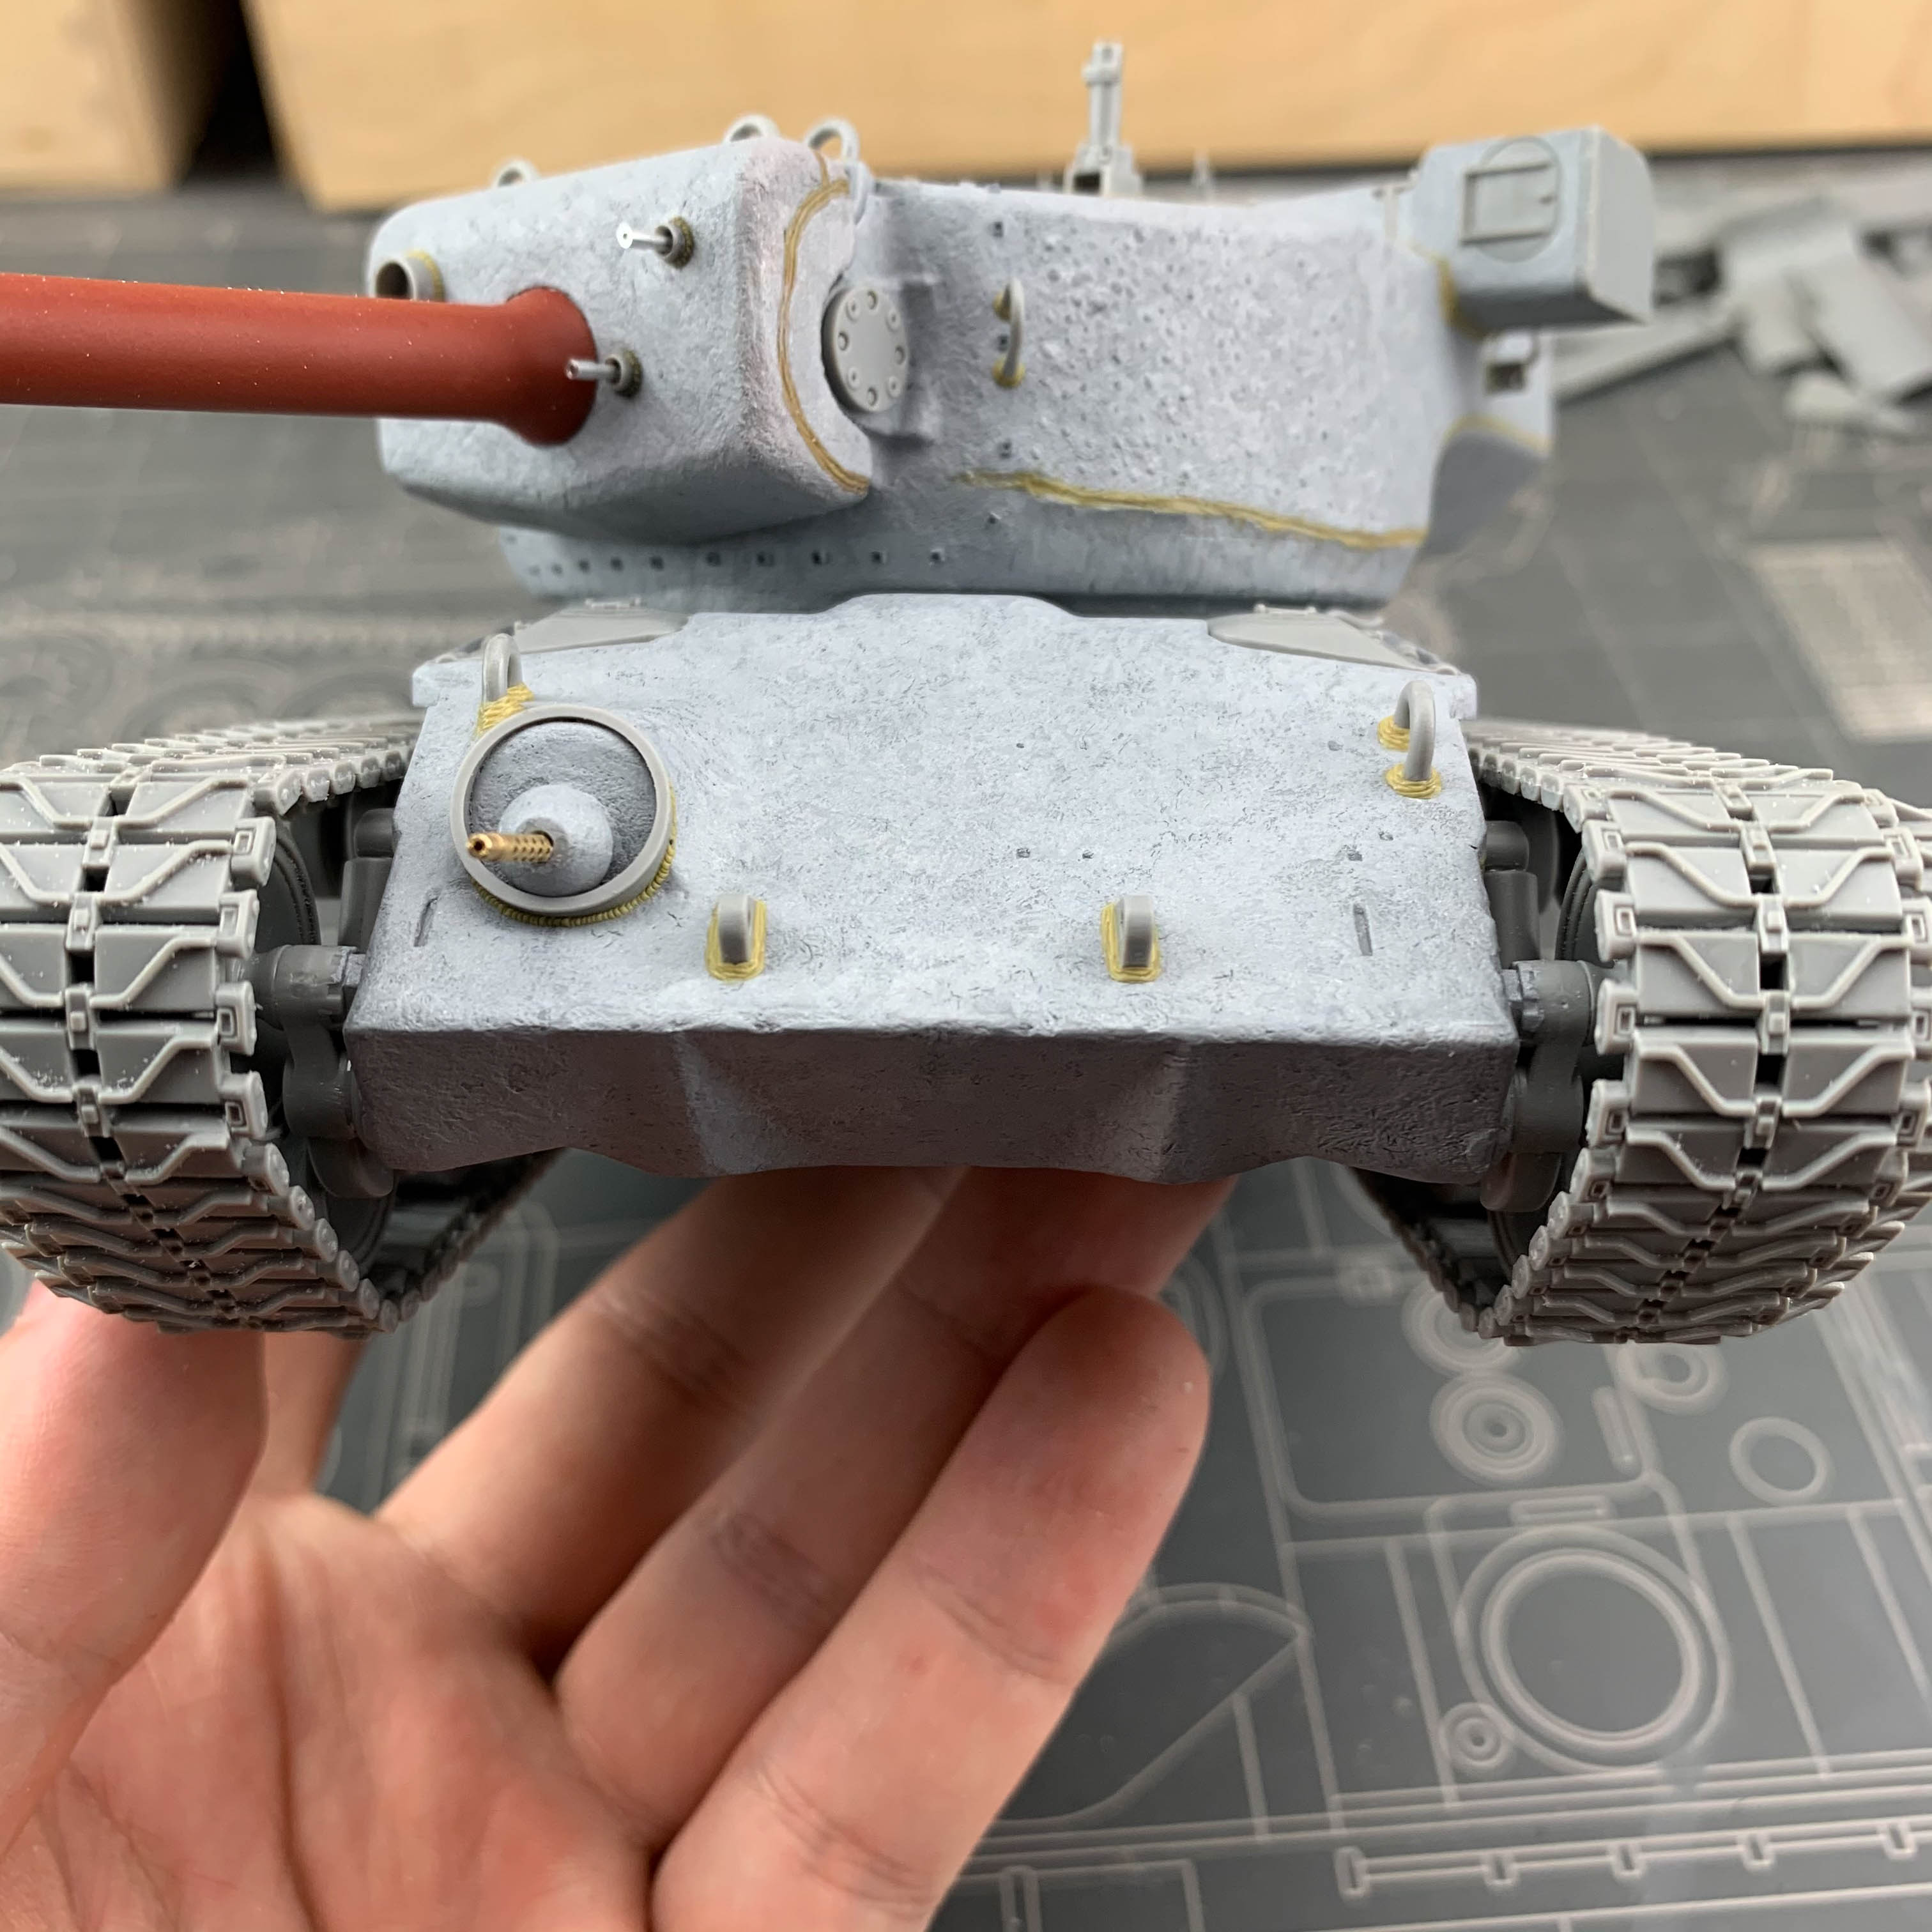
Then it was about preparing the hull. I did some re-shaping with a rotary tool on the frontal cast block, mainly around the hatches. There was a visible lip on both sides which isn't present on the real vehicle, so that had to go. Texturing with a combination of Tamiya putty and VMS CA filler was a breeze. I used to get quite frustrated when I was trying to achieve heavy armor texture because the putty would level itself too much, and it required multiple layers until there was some texture evident. With this combination it's a matter of one quick thick pass and it's done.
I also rescribed the entire engine deck because the individual panels are molded like a single piece with the deck - that means there's no panel lines around them. This took a while, but I think it'll be worth the effort. After that it was about adding more texture, this time only using Tamiya putty and glue as those are rolled steel plates, and I could start adding some details. So far I've only added those which are welded to the hull so I would get most of the welding out of the way in one session.
Now I can add the smaller stuff - fuel tank filler caps, gun cradle, telephone box, and of course fenders, storage boxes and exhausts. I'm keeping all the photoetch work until the very end because that's how I did it on the Jagdtiger and it was more pleasant than jumping from one thing to another.
Oh, and I replaced the twin 50 cals from different manufacturers with two identical ones from Aber. Also, the hatches are just dry-fitted. And because this build is gonna take longer than a week, I think we'll take one week break after the Panzer II series is finished. I'm simply enjoying this build way too much and I don't want to get stressed out about the upload schedule. I think it'll be all ready for paints sometime the next week, but until then, there's still a lot of work left to be done!
Files