Home
Home

 Artists
 Search
 Recent
 Random
 Posts
Posts
 DMs
DMs
 Tags
Tags
 Random
 Importer
 Import
 FAQ
FAQ
 Account
 Register
 Favorites
 Login
Login

First print & Tiger acne (Patreon)
Content
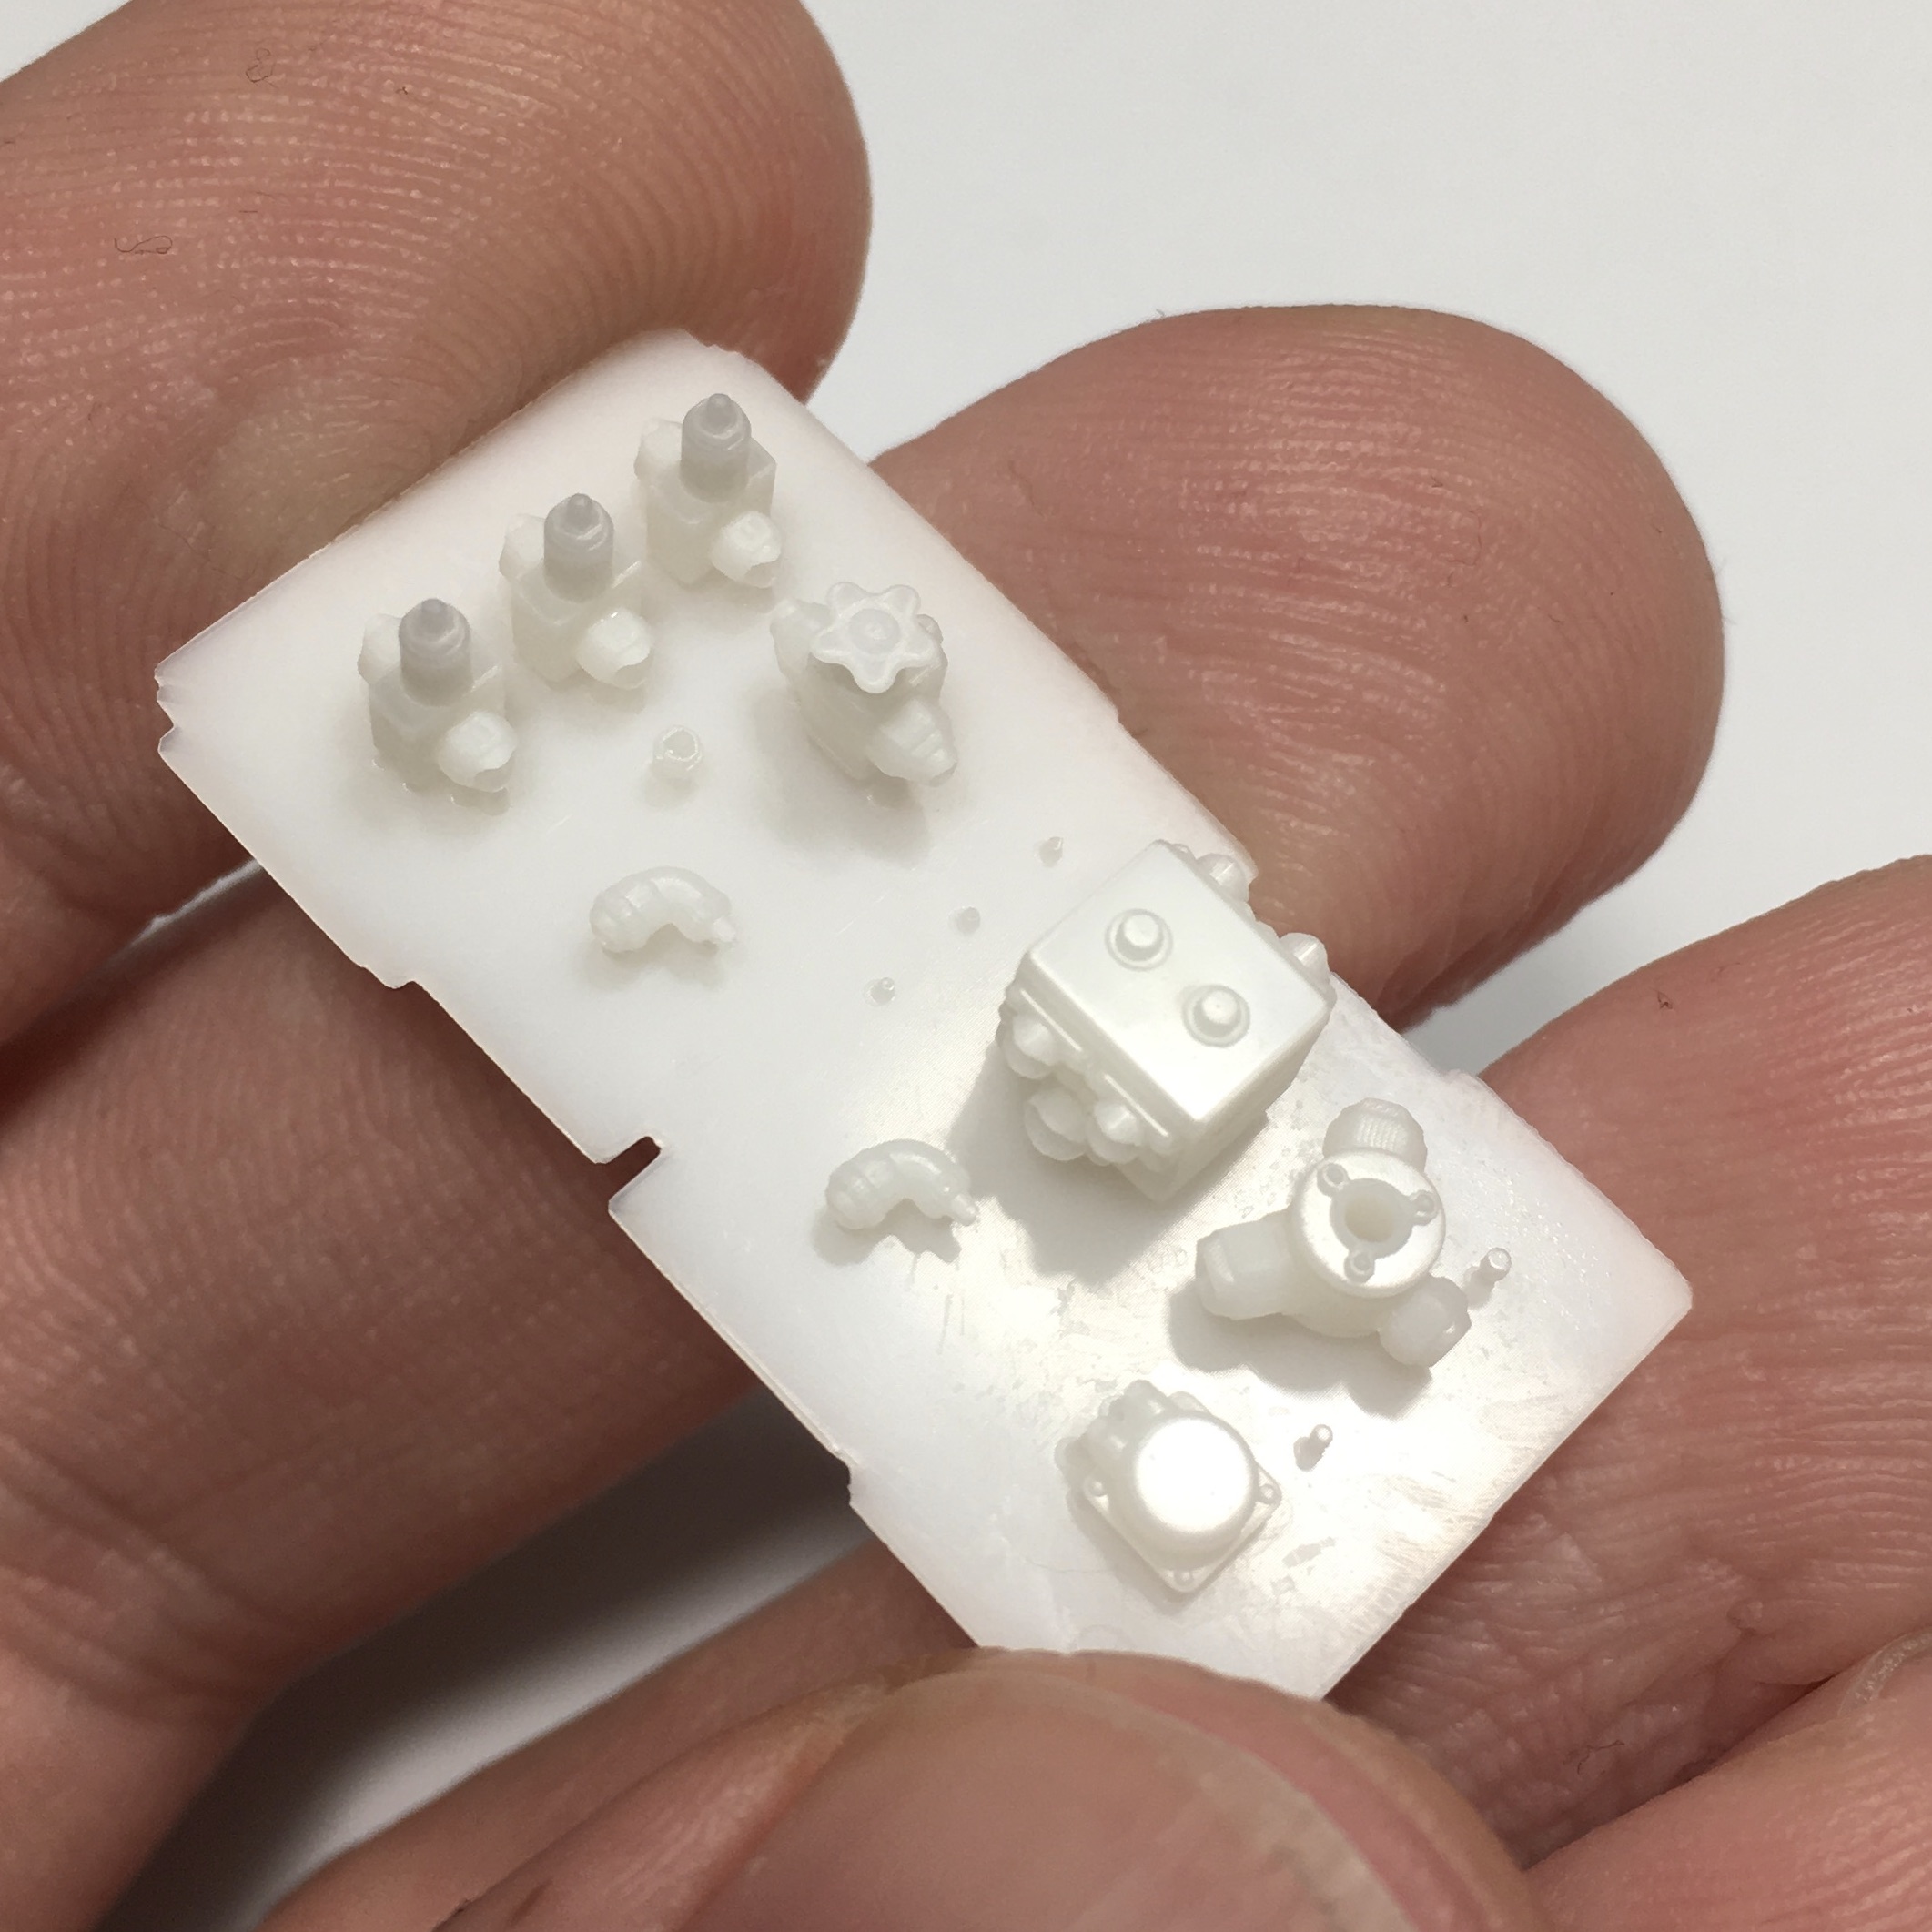
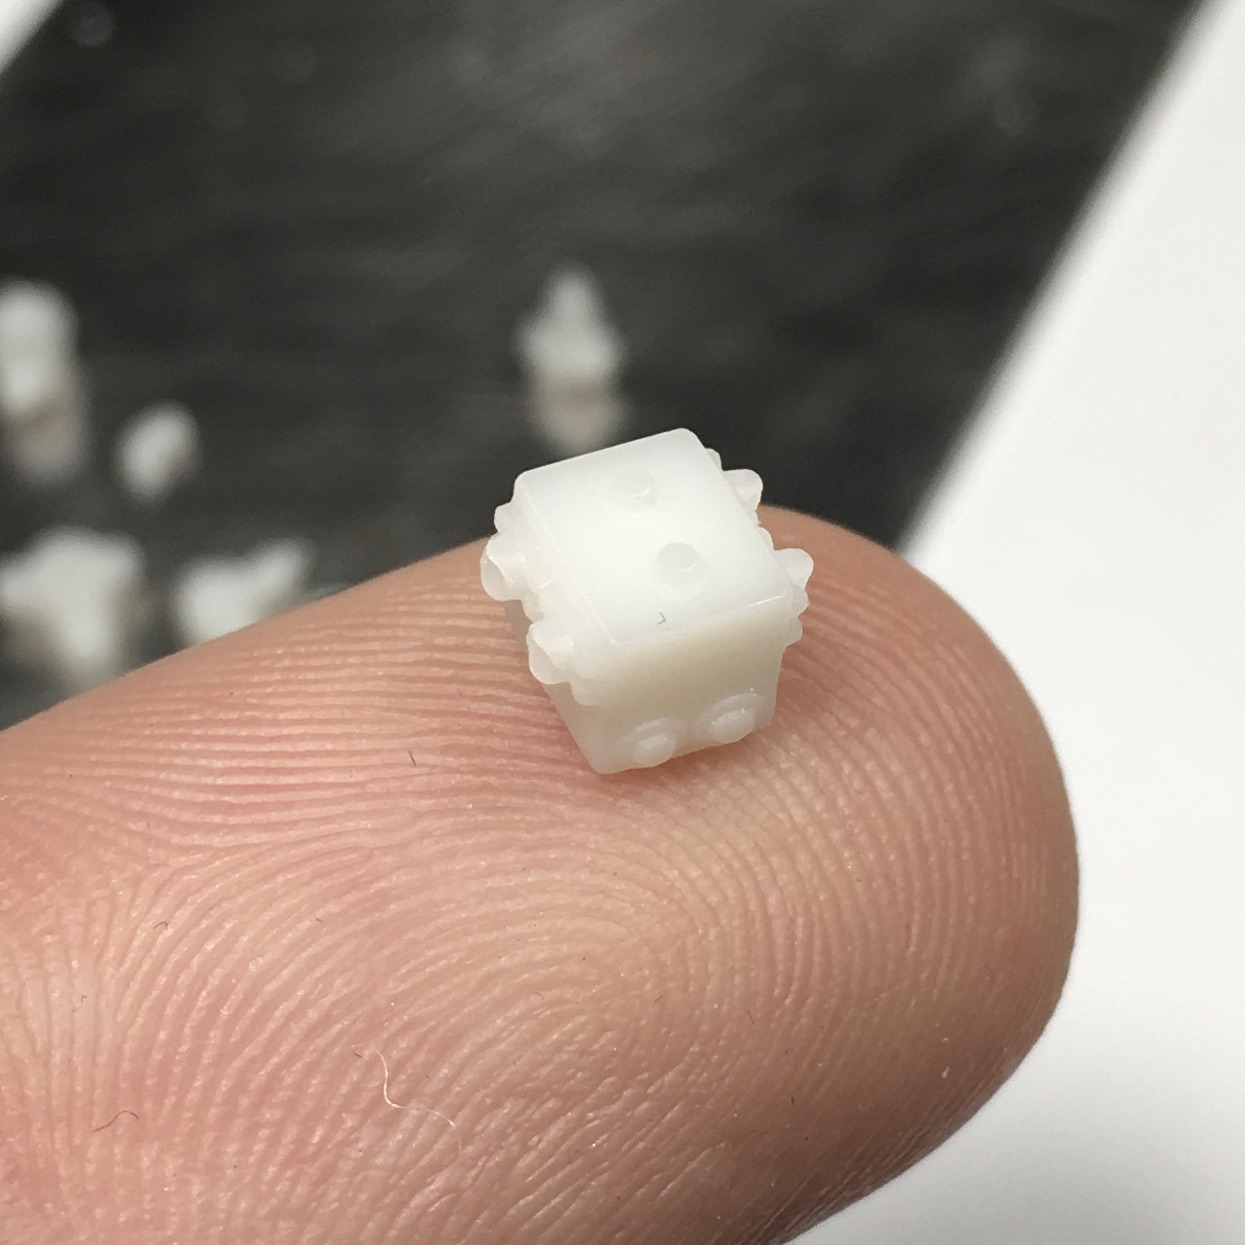
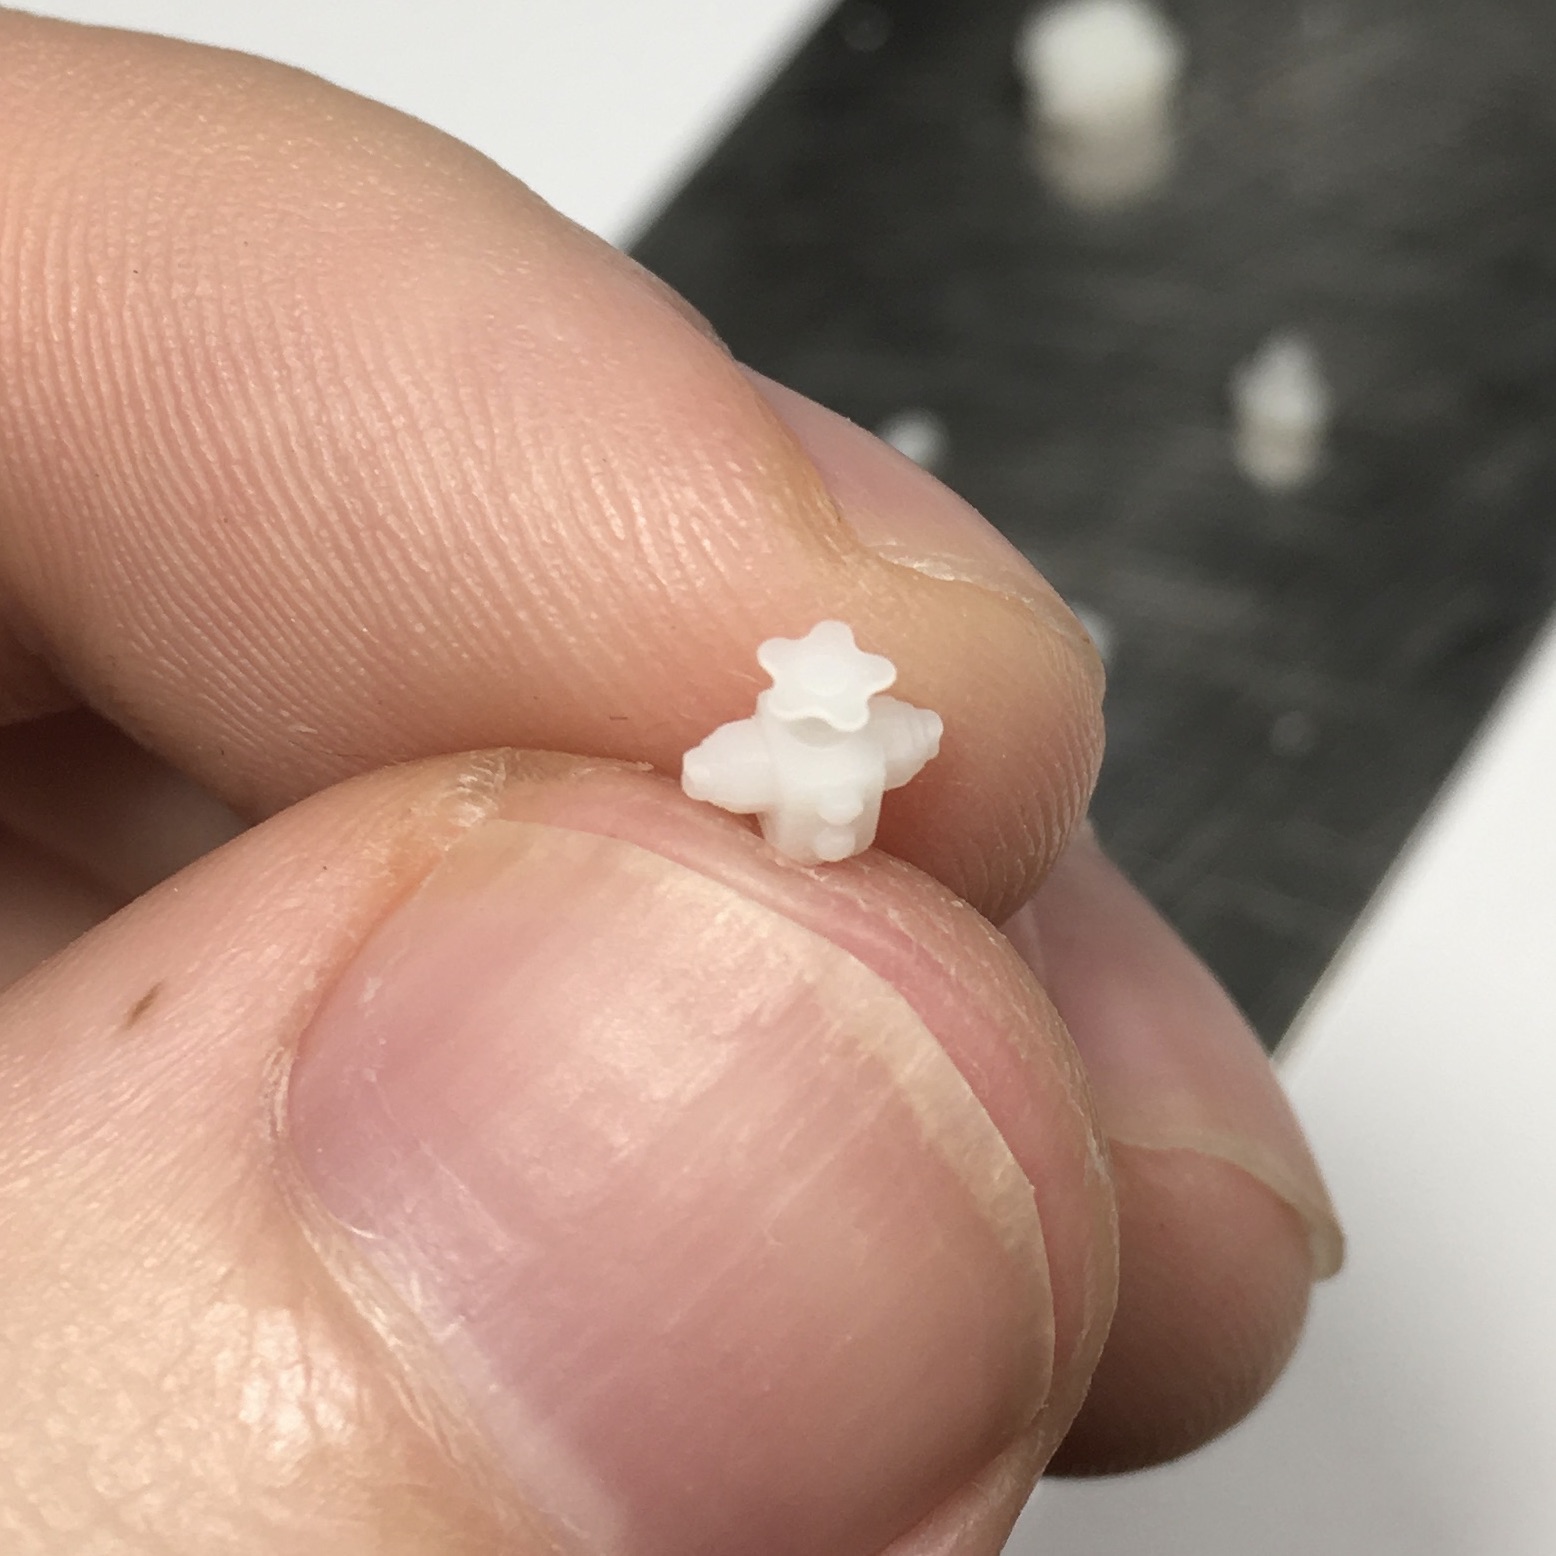
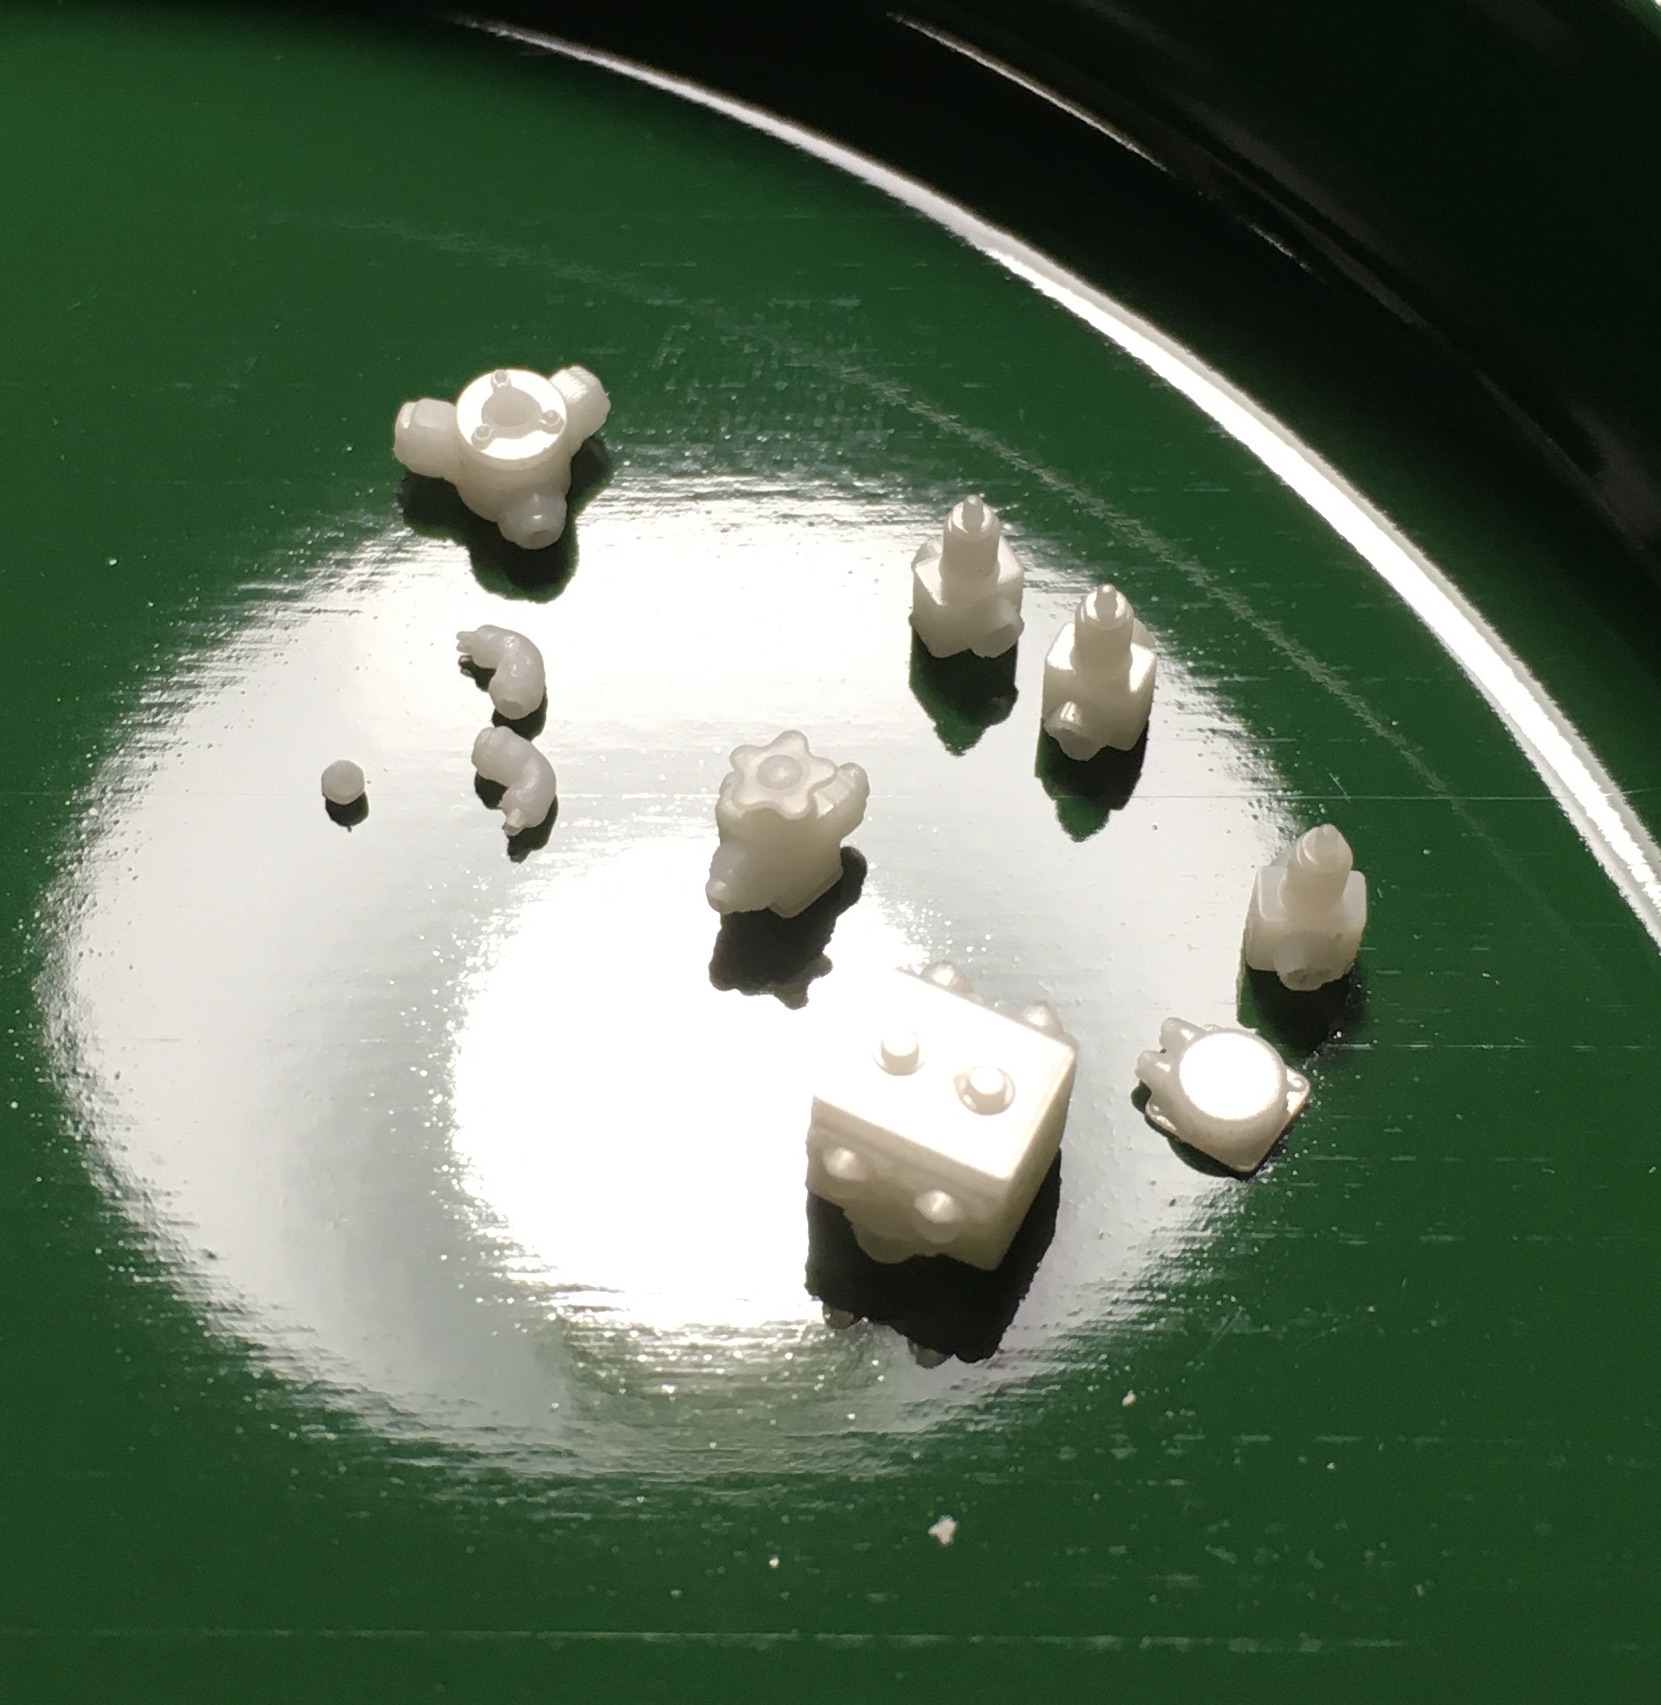
Wooo, first print came out better than expected! Unfortunately they sent me 2 types of resin - clear and white, both which make seeing or photographing details rather difficult!
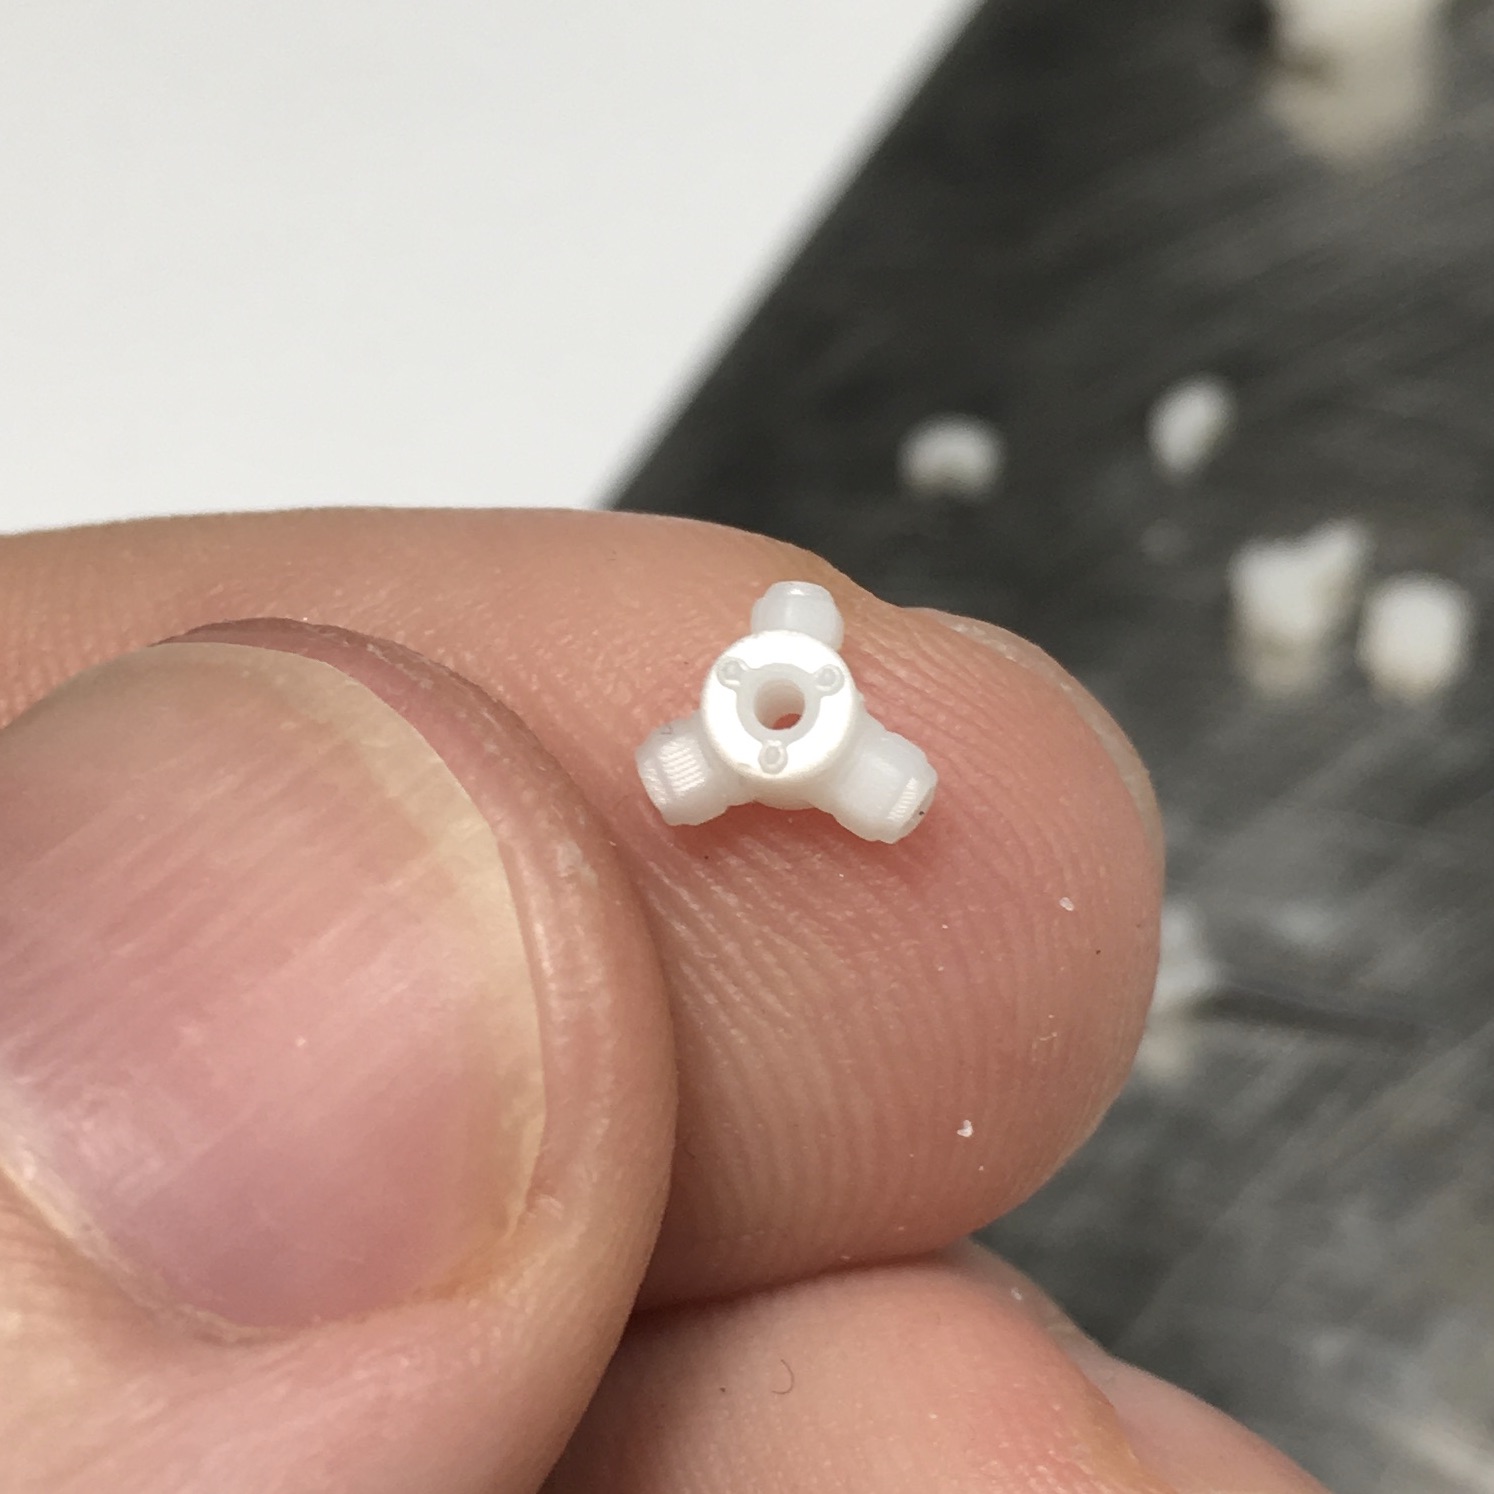
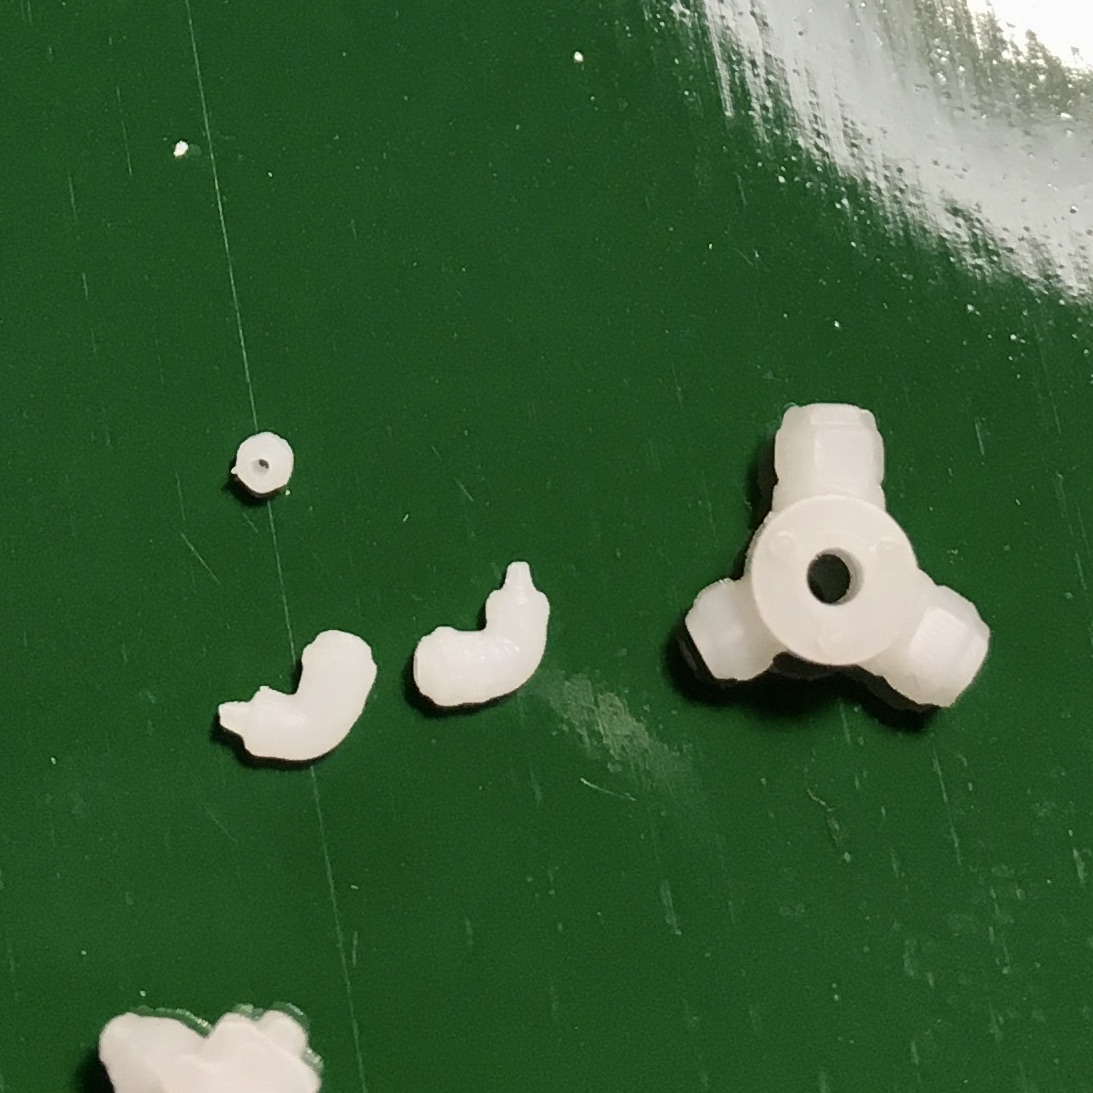
Initial observations: holes can be printed, but when they're smaller, especially surrounded with a thin wall, the printer will skip a few layers which will create this "open mouth" shape. Making the flange wall thicker might help with this (and I can drill it out manually) or I can make it solid with a small indent at the end to help center the drill bit. I'll experiment with it more.
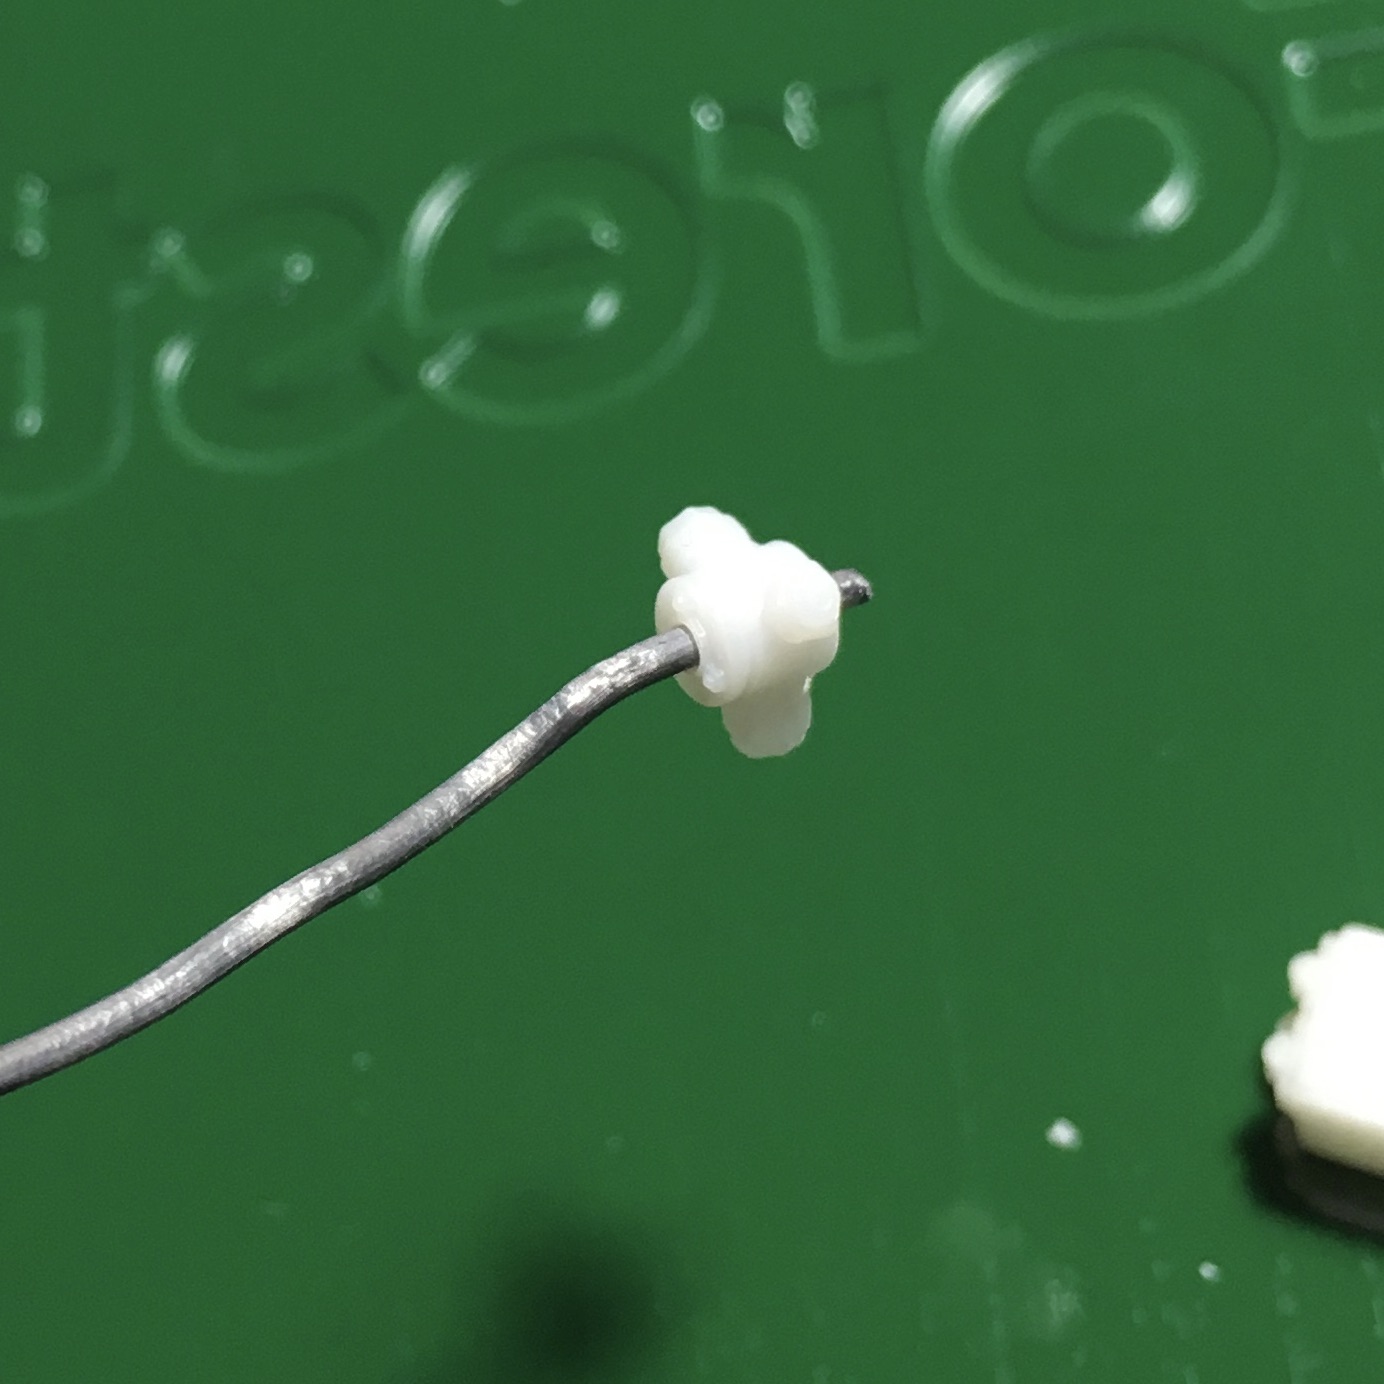
Next thing: yes, the slicer software will simplify the 3D models to make them printable. I'm perfectly okay with this because the amount of detail and sharpness is still way beyond what I'd be able to do from scratch, and it's definitely more crisp than the plastic from the kit (you can check again the kit part photos from a few days ago).
Lastly, a few parts detached from their supports during printing. Must figure out a better way to hold them in place. Also, the bottom of those larger details "collapsed" so instead of smooth straight bottom wall with supports I got a blob of resin. More supports might fix this.
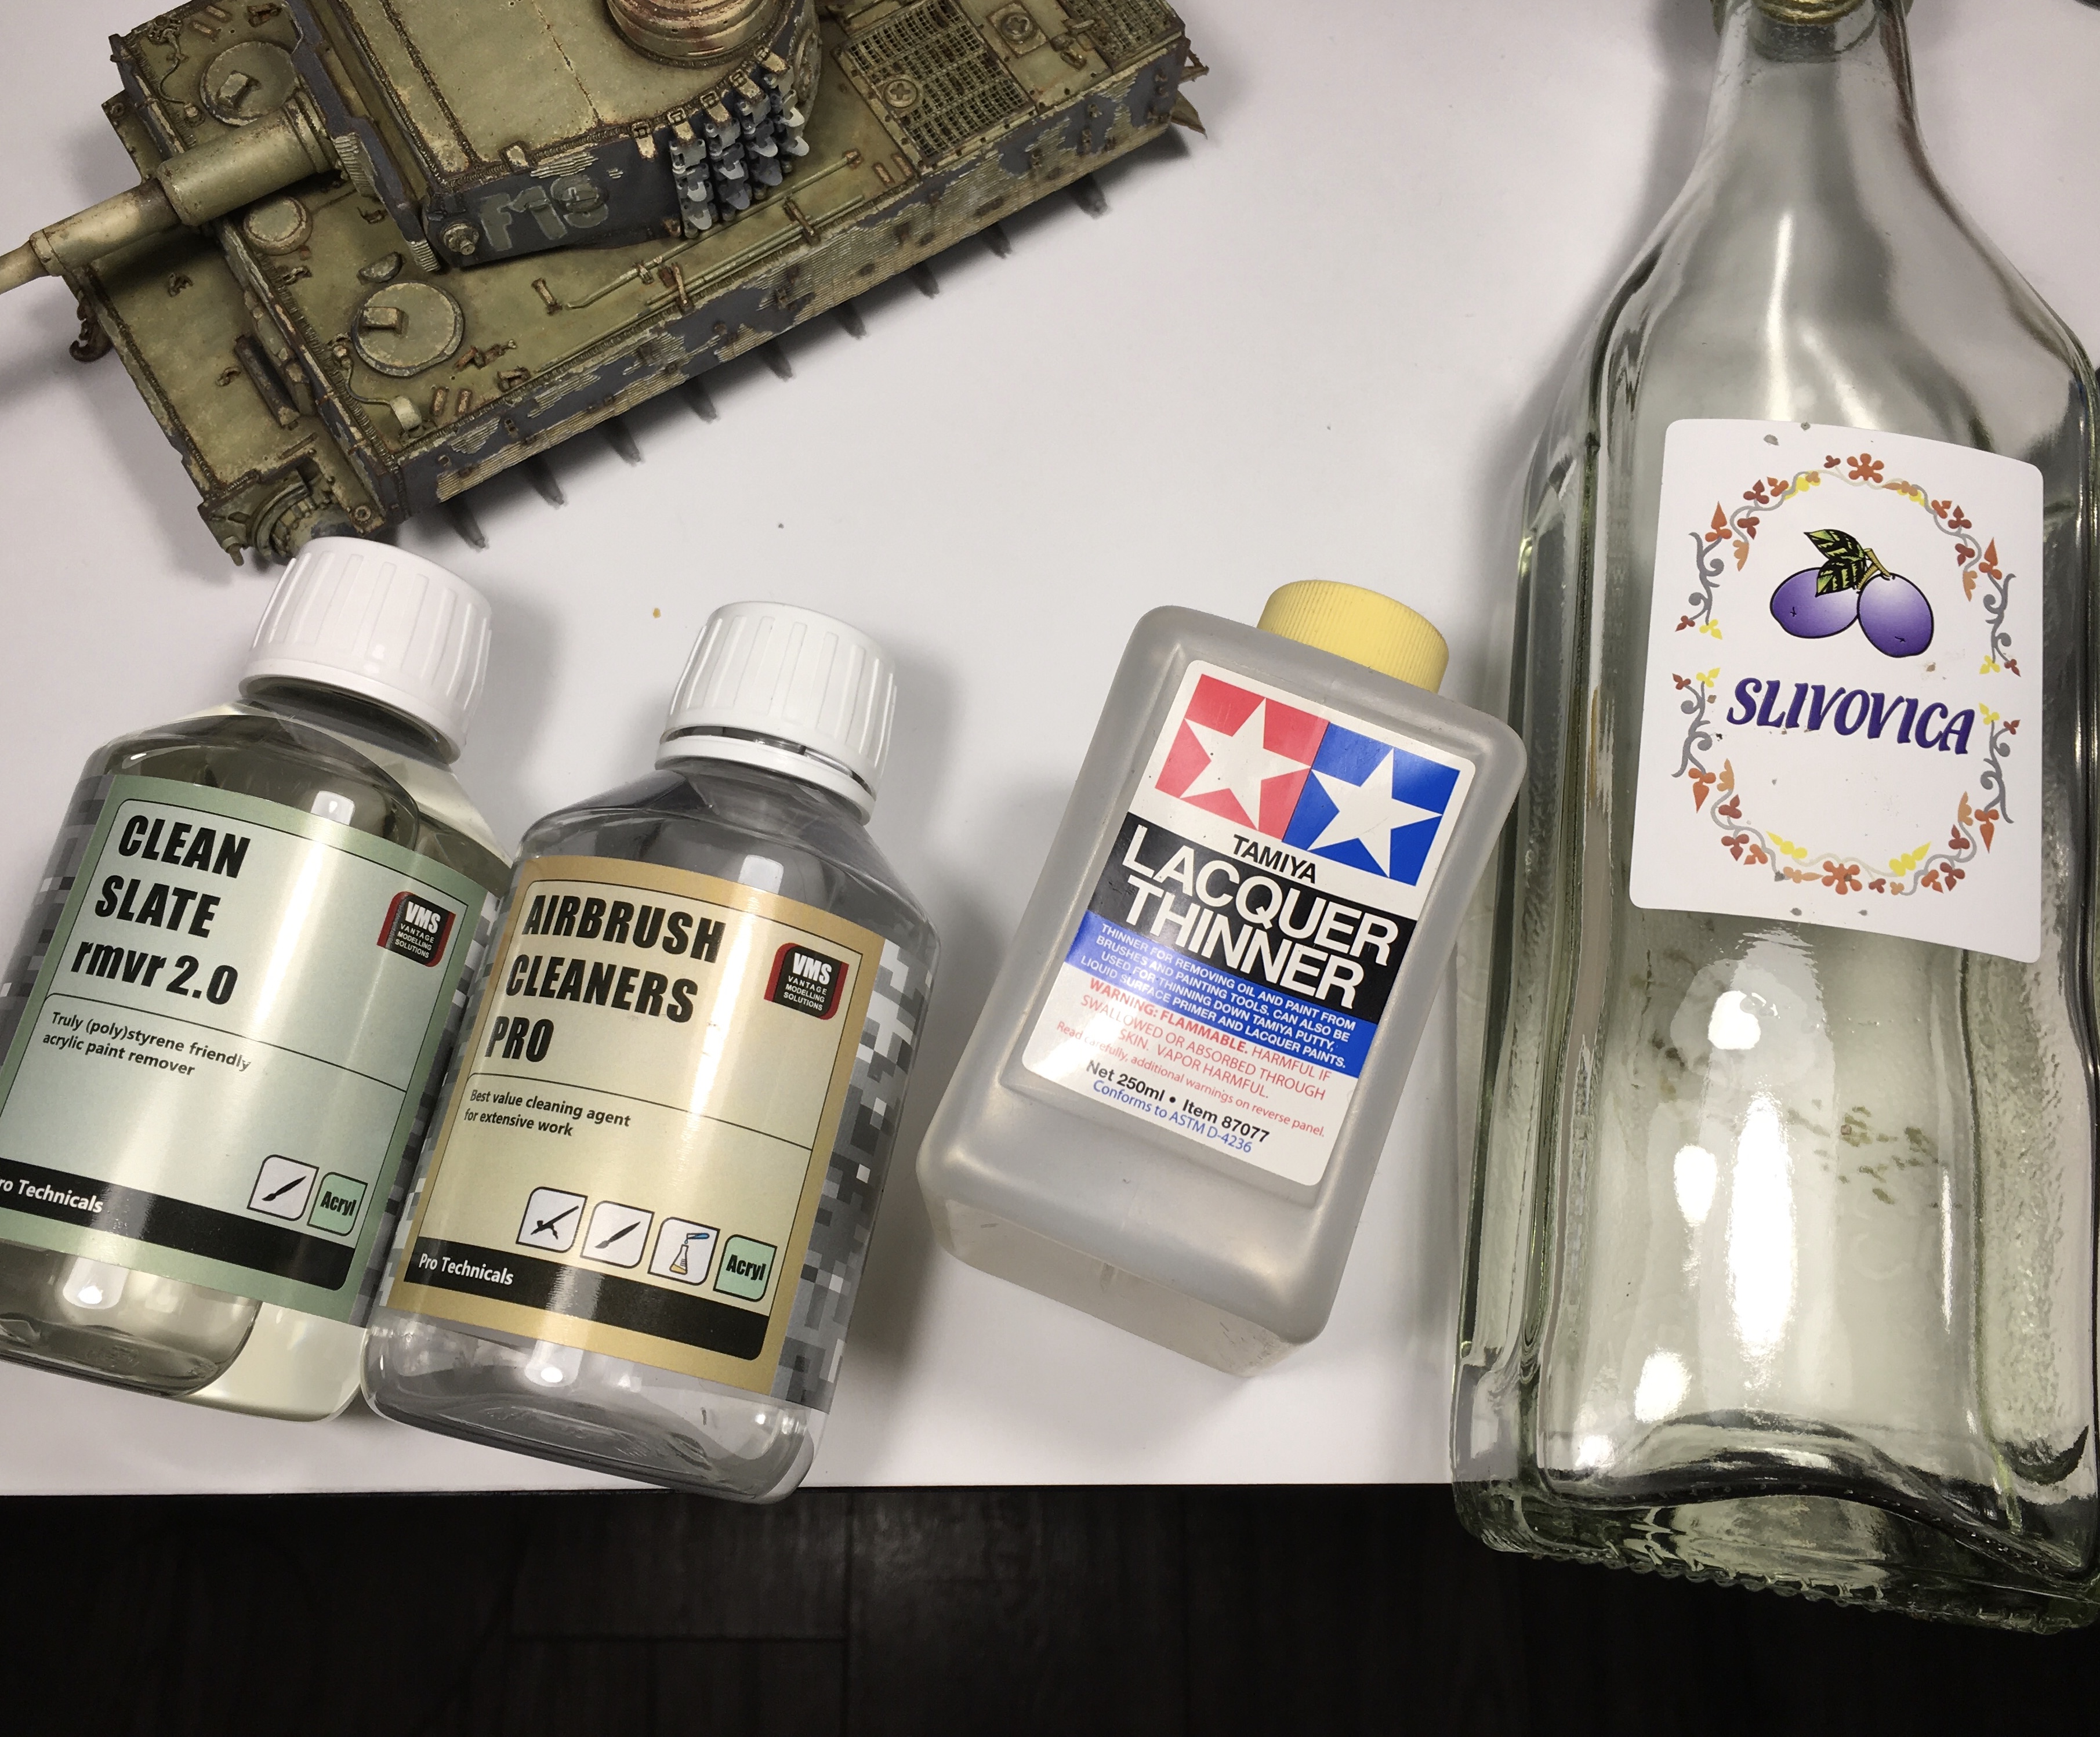
Also a funny story: turns out I ran out of isopropyl alcohol, which is required to clean the print from residual resin. Since I can't go to a grocery store to buy a bottle (they're most likely sold out anyway) I ordered a few bottles online... most online stores had them sold out. People already bought all the industrial alcohol to make hand sanitizers! So, I had a few choices: acrylic cleaners from VMS, Tamiya Lacquer Thinner and plum schnapps. Guess which one I used 🤣
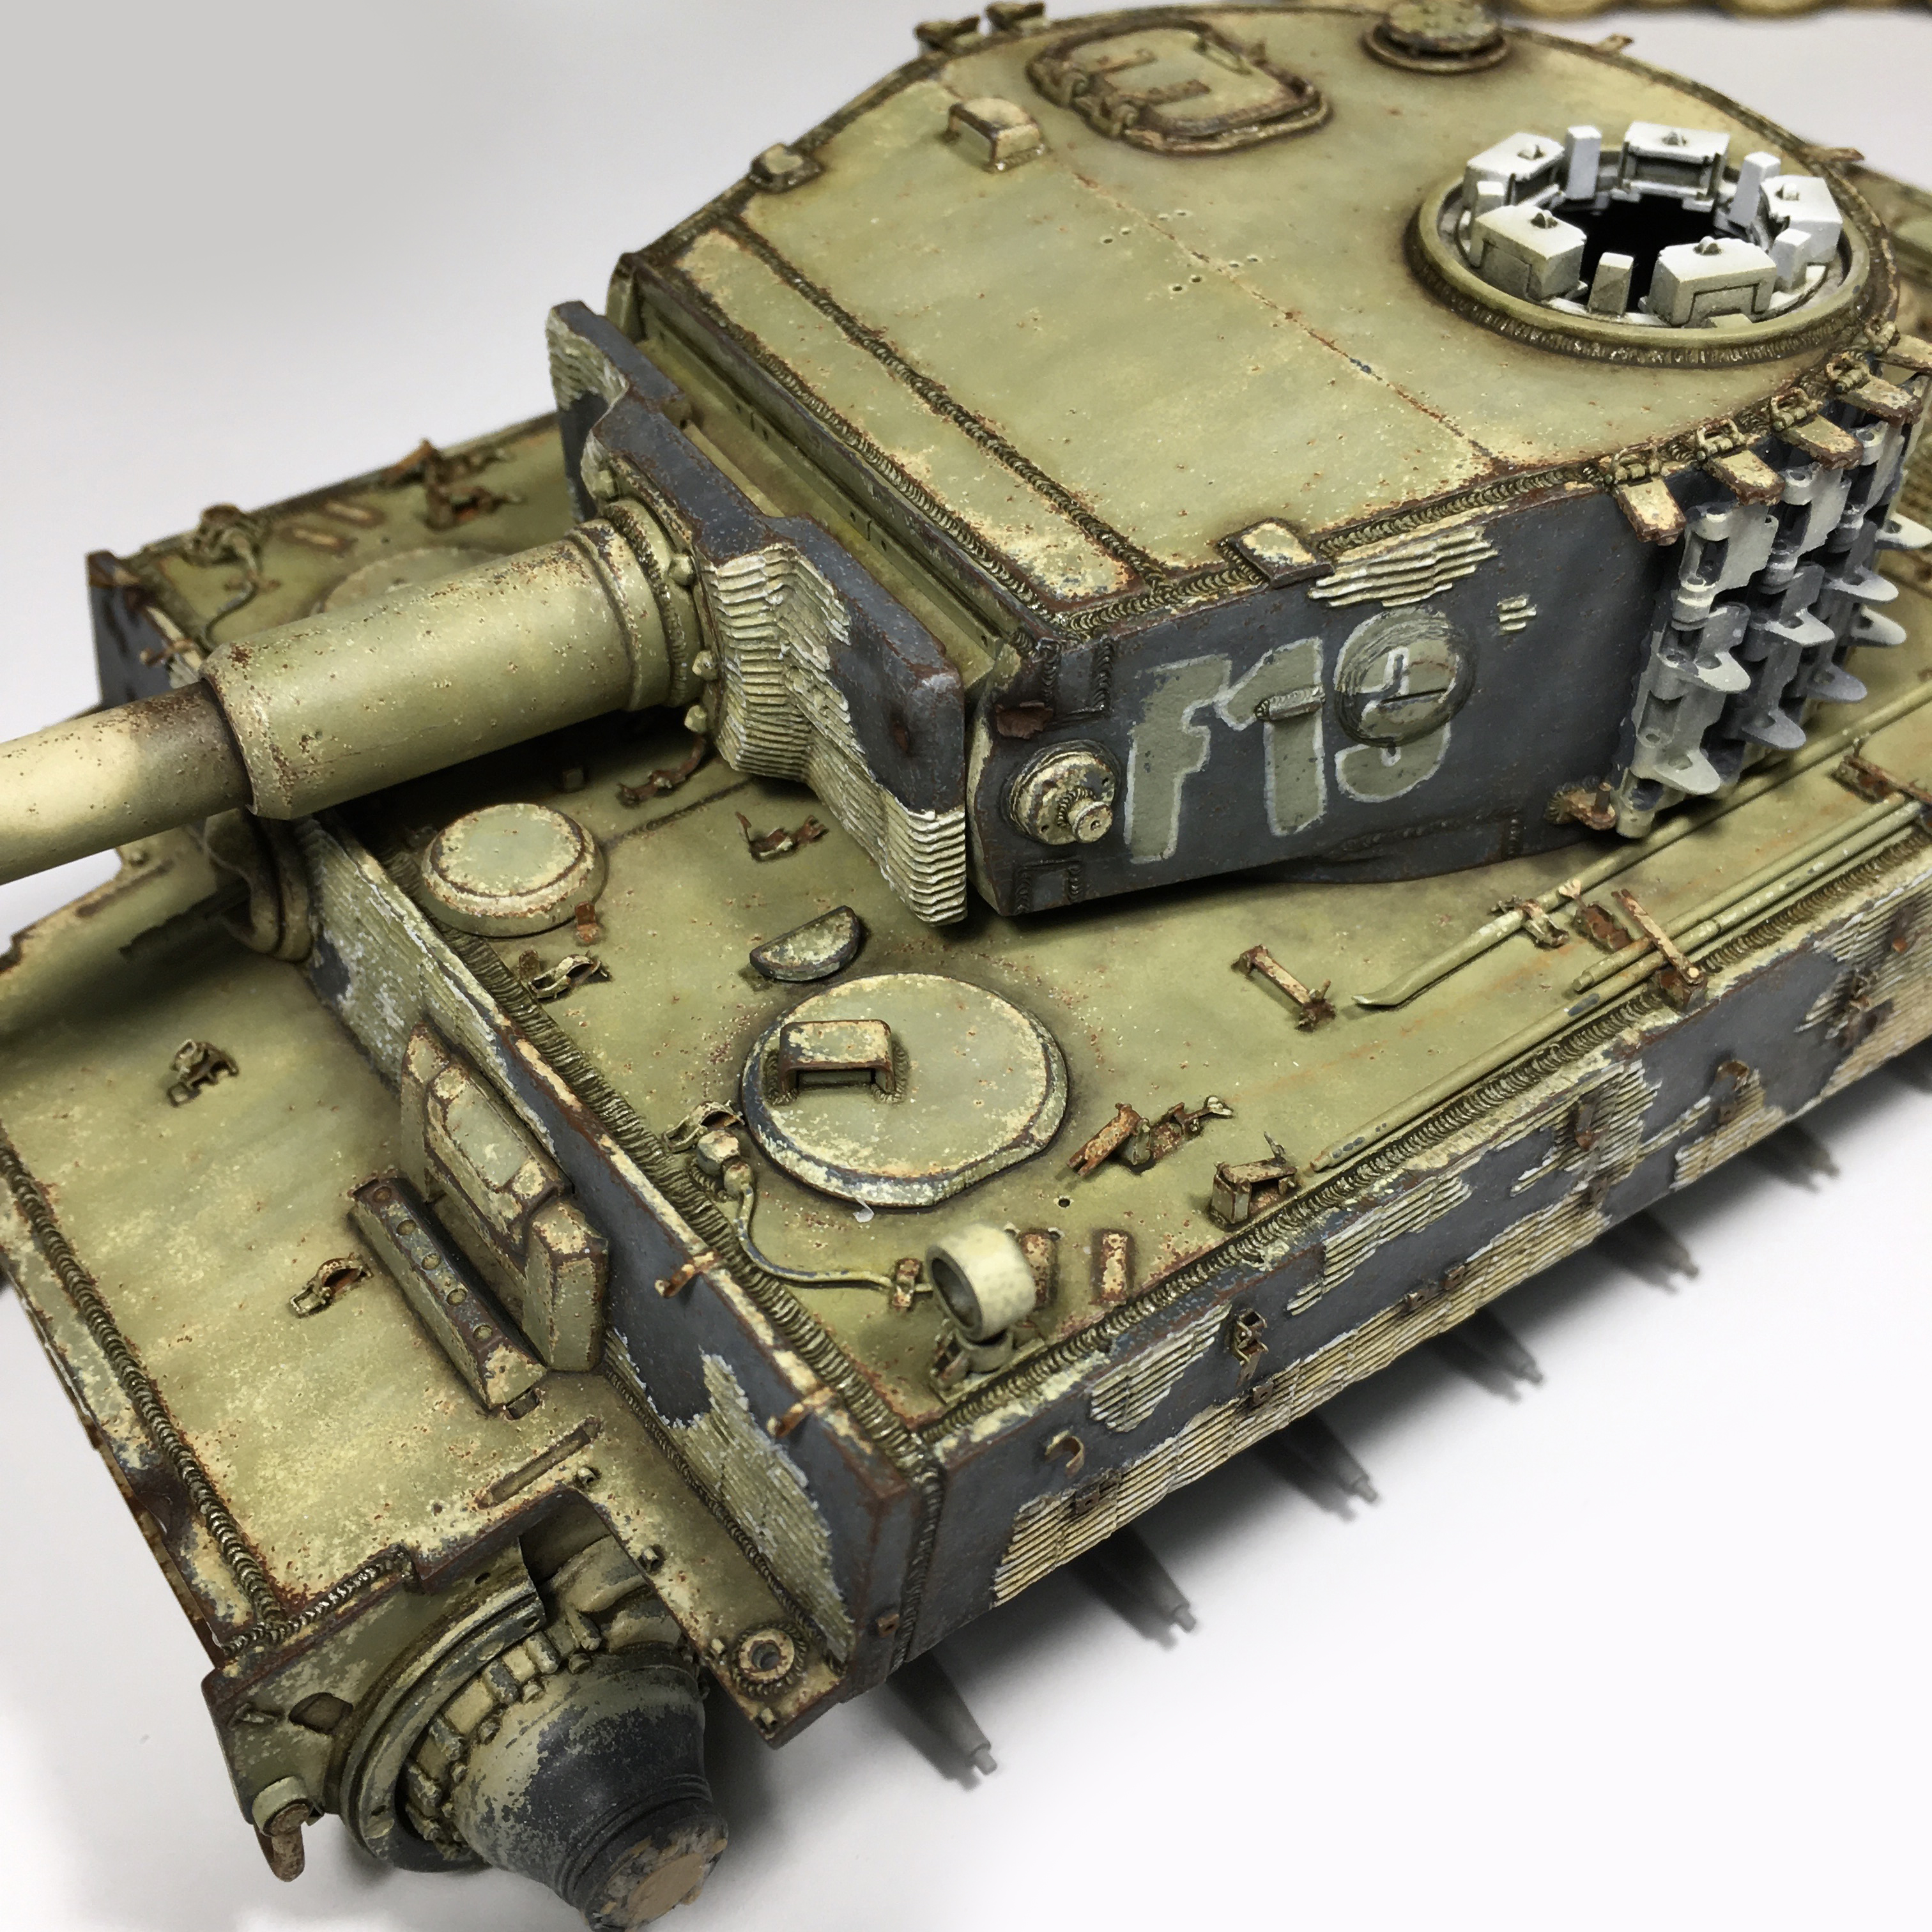
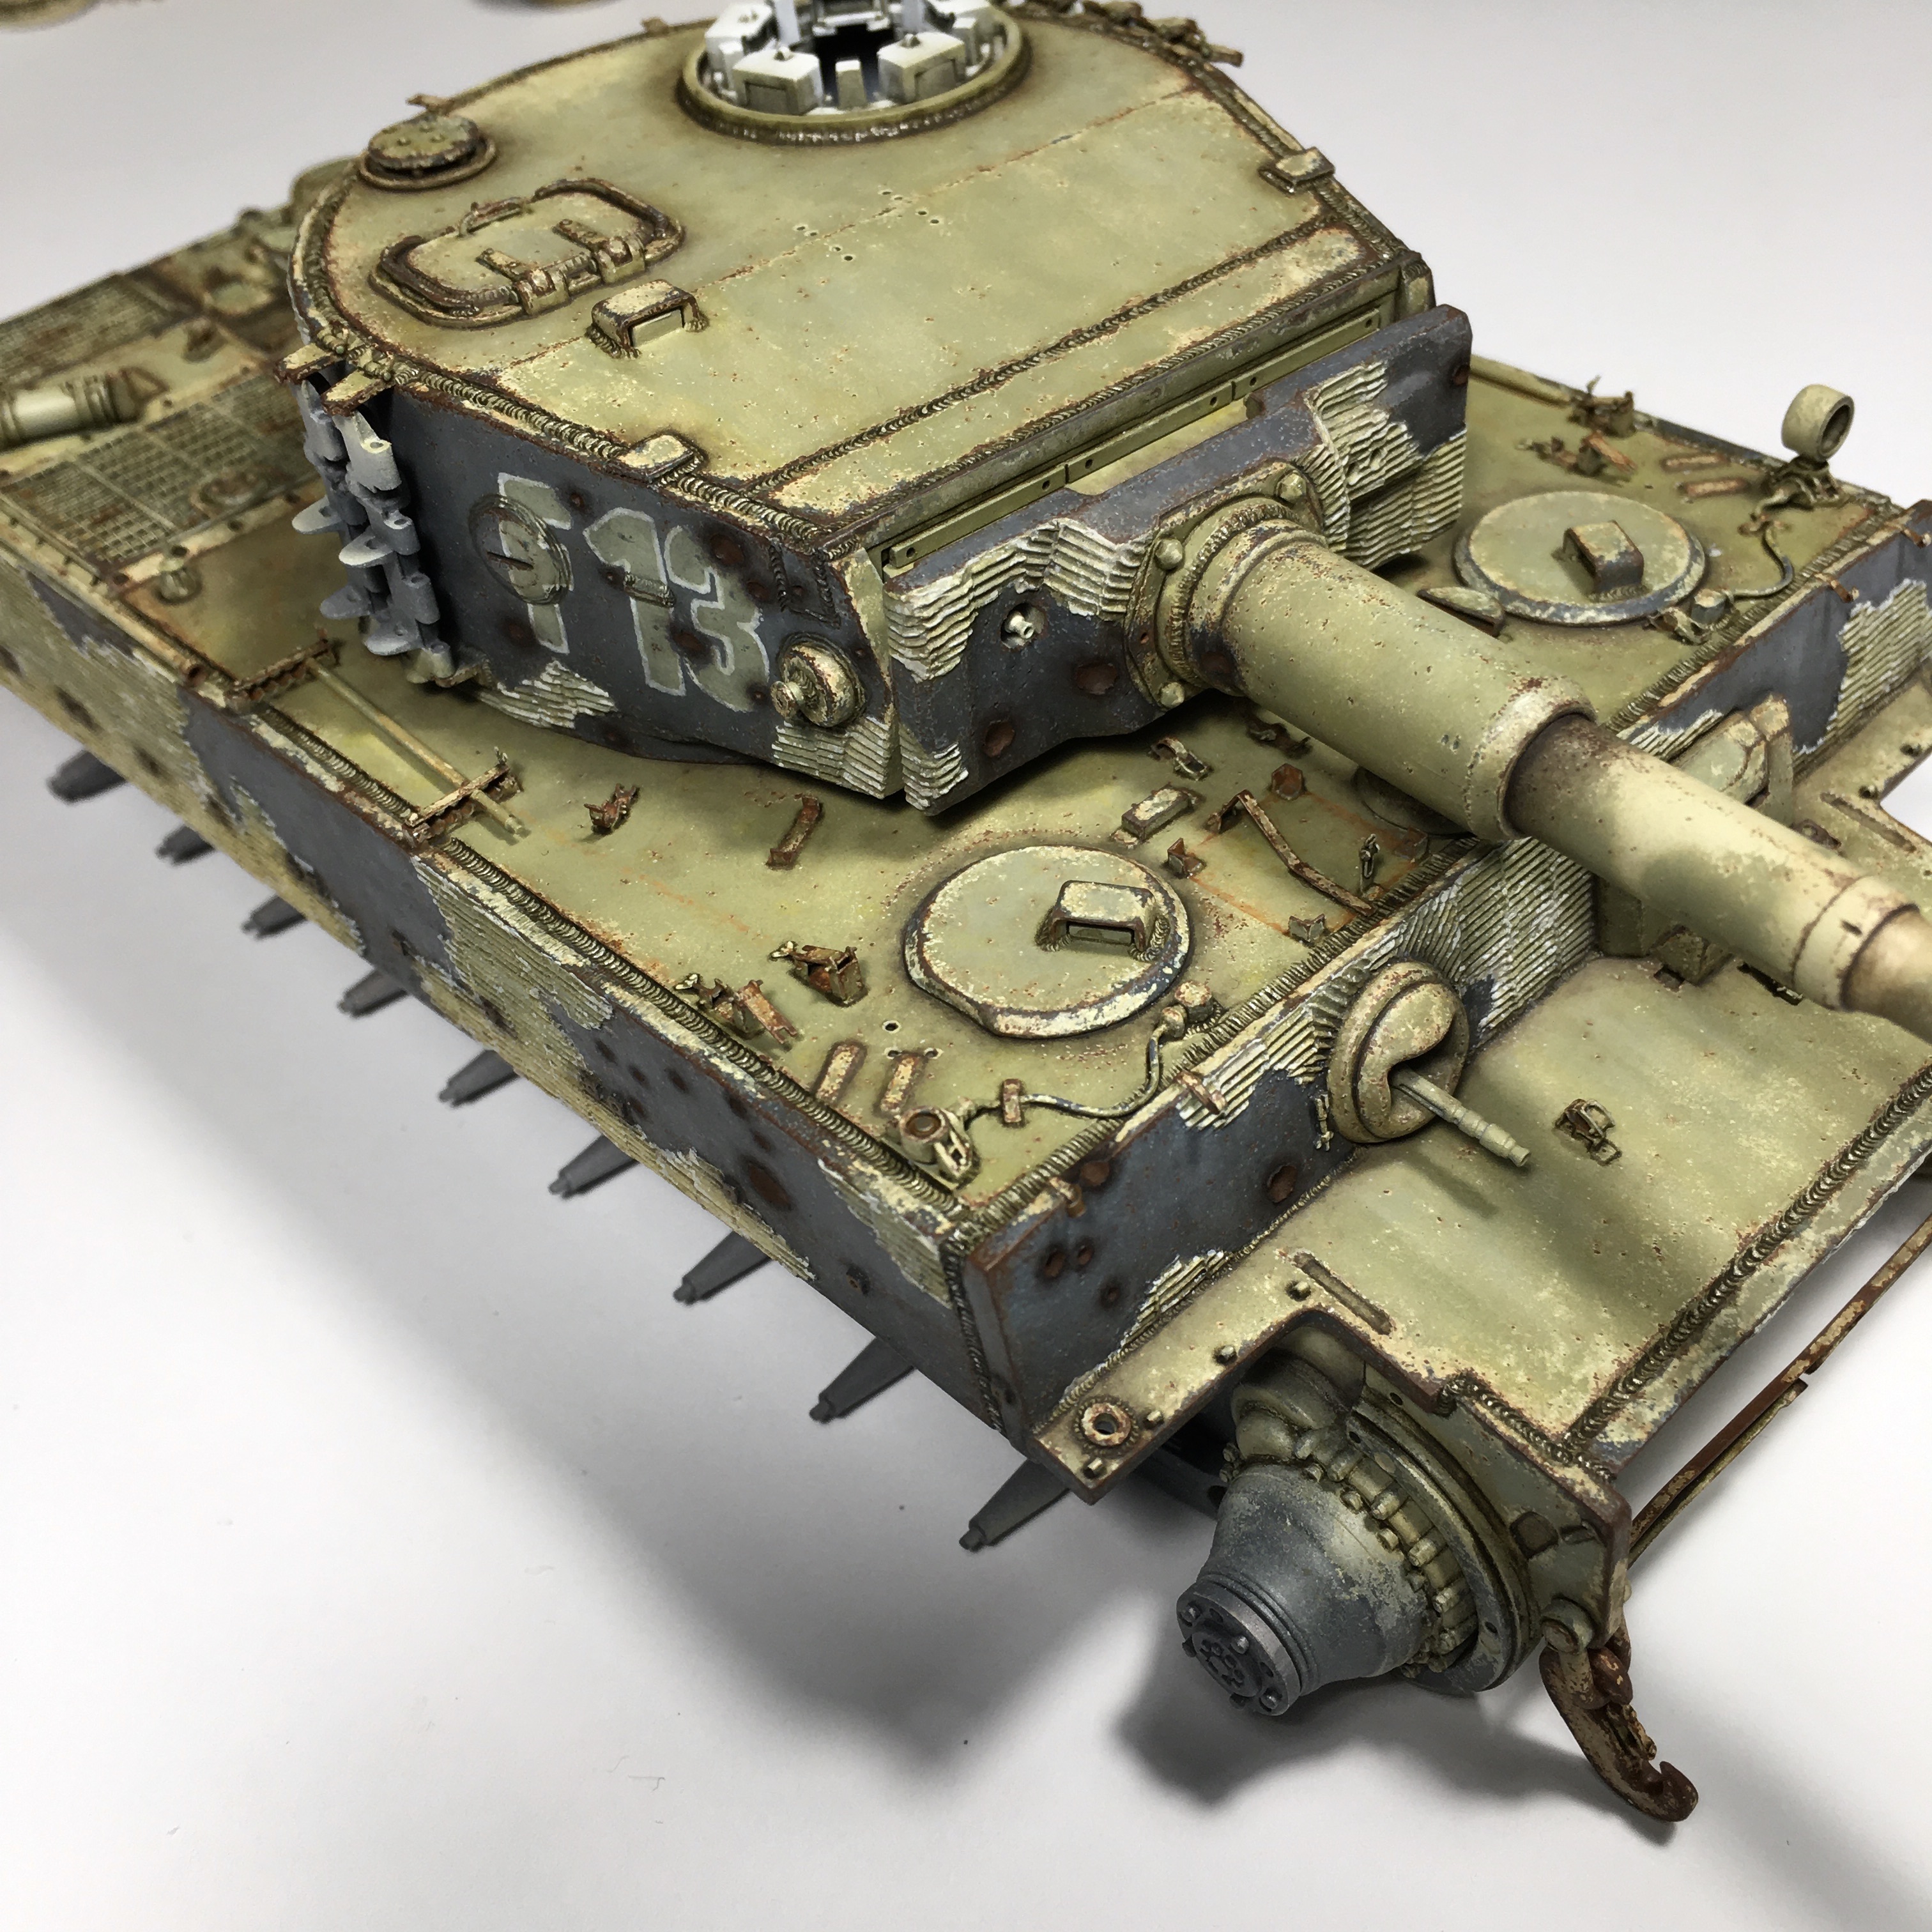
In other news, Tiger got some nasty acne. This is the result of 2 steps out of 5, but I didn't want to rush it tonight. 1st layer is black brown oil paint blended around the impact, this simulates heat residue from the shell, 2nd layer is dark rust acrylic paint brushed into the crater. Up next are chips around each impact done the usual way, so light followed with dark steel, to simulate scrapes from shrapnel and then of course some rust tones around them, and to finish it off some graphite around the edges.
Files