Home
Home

 Artists
 Search
 Recent
 Random
 Posts
Posts
 DMs
DMs
 Tags
Tags
 Random
 Importer
 Import
 FAQ
FAQ
 Account
 Register
 Favorites
 Login
Login

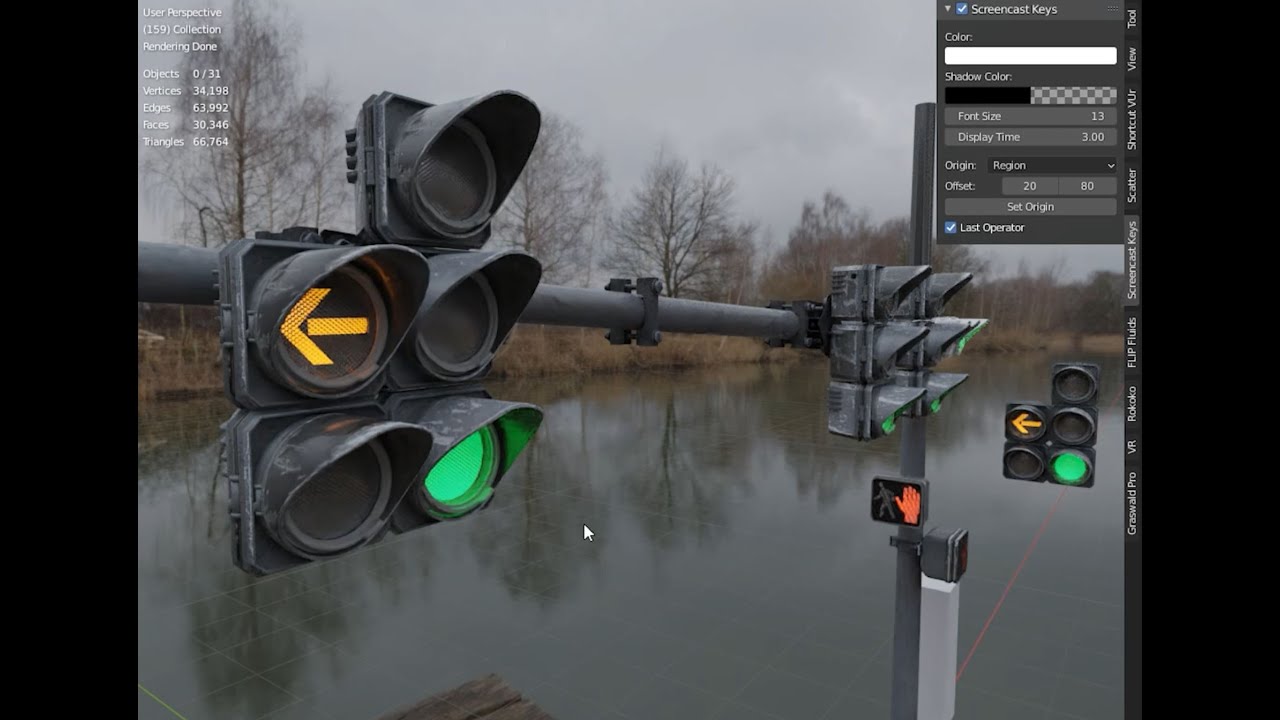
Tutorial: Animating a Traffic Light (and other nonsense) (Patreon)
Content
A loose extension of the "Animating Complex Neon Signs" tutorial.
Unsurprisingly, I planned out this entire project while sitting at traffic lights :P
Also here's a sampler of the scratched metal texture that ended up working really well for me. I think patreon automatically downsamples images, so here's a full res version.
It's stitched from various images from Photobash.org (not a particular endorsement, but lots of folks ask me where I get these texture bits from, and I do appreciate the variety of stuff they have and their relaxed creator-centric usage agreement (for example: it's totally chill for me to share these textures, which is fairly rare when it comes to texture sources). Whenever I make one of these texture atlas things I'll usually just use a screen capture program to snag pieces and paste them right into a photoshop file- it goes really quickly, and having a lot of textures in the same image file really makes the texturing process go faster.
Also! I think I have some rad stuff to share on the patreon in the next week or so; there are some changes I haven't mentioned yet that are fairly exciting :D.