Home
Home

 Artists
 Search
 Recent
 Random
 Posts
Posts
 DMs
DMs
 Tags
Tags
 Random
 Importer
 Import
 FAQ
FAQ
 Account
 Register
 Favorites
 Login
Login

Game Devlog 02 - Game Mechanics and Design Revamp (Patreon)
Content
Before you start, embedded GIFs don't work in the Patreon mobile app. You need to open the browser version on your phone, or you can check the GIFs among the added pictures above.
Hello Everyone and welcome back to another devlog.
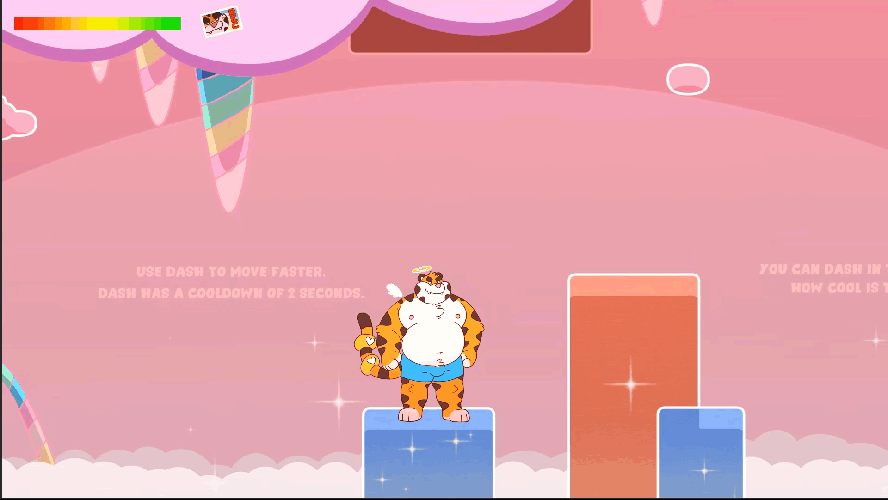
Last time the MC could move already, now it's time that he is placed in an actual game with the basic core mechanics available.
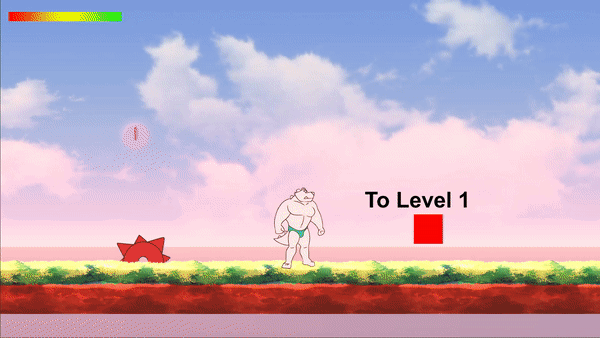
1. Health
Because this is a brawler game, the hero needs a health. He will take damage from traps and enemies and he can replanish his health by collecting hearts. Later, I will also add a stamina bar for special skills. Working with UI (User Interface) elements is a lot of fun, but it's also a bit complicated for my mind how it can interact with things happening on the stage, but logically speaking, both the stage and the UI is just a game object in Unity, the UI is simply attached to the screen, whereas the stage is moving according to the camera.
Speaking of Camera, I currently have 4 cameras in the game.
- The normal main cam
- The "zoom in" cam, for cut scenes and important happenings
- The "looking up" cam when the player needs to look a bit higher
- The "looking down" cam, that I will use for a later ground stomp skill, with some camera shaking.

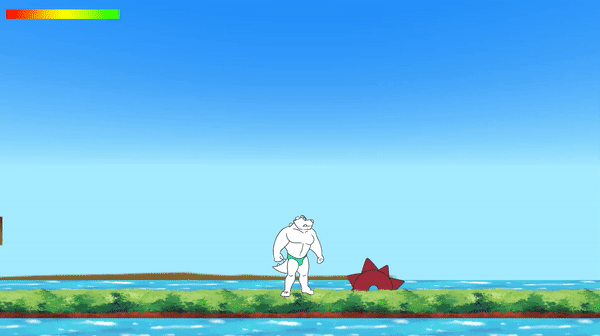
Here is an enemy who is doing a breathing contest with our MC. Currently he is just standing still, but he will get some moves in his own too, to add some action.

2. Lights
As mentioned last time that even though not everything is in place yet, I have already tried out several small things in Unity, one of which was adding 2D lights and "normal maps".
2D Lights work fairly straightforward, they make the 2D sprites lit in a linear gradient way.
Something like this, I added a blue and a red light:

This is already pretty nifty and the demo uses this on the MC, but I want to add later a more detailed lighting system, using "normal maps". Normal maps are basically an extra layer on top of the original sprite, that tell the lighting system which pixel should be lit more and which less. This way you can actually make some 3D looking sprites without having to shade the sprites directly. Downside is, that you still need to make these normal maps for each sprite separately, but the upside is, that they respond to light source direction changes. (If you just shade the char in Photoshop, the light source is always gonne be the same on him, but with a normal map you can dynamically change that).
Here is an example:
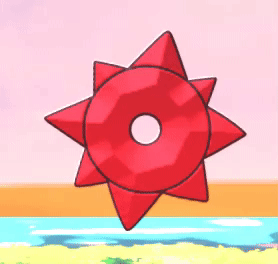
This is one of the demo traps, a saw.

And this is its normal map. Each color represents a virtual direction and will be only lit, if a light source is facing their way. Meaning, that if there is a light source at the top, the green parts are gonna be lit, but the rest not, if there is a light source below, the red parts are gonna be lit and the green not and so on.

In practice, this is the result:

The saw is now "3D" lit, with only a single extra sprite. BTW, there are programs that can generate you normal maps automatically, like Laigter - https://azagaya.itch.io/laigter
But this method is too inaccurate for characters that have a complex line art, and it looks too detailed and takes away the cartoony style, so alternatively, you can take your own sprites and start to shade it normally, but instead of adding a darker color, you add a corresponding color from the normal map spectrum.

This way you can add sharper edges and more accurate areas what should be lit and what not, but yeah, it can be a bit time consuming.
In the end I made a test on the terrain. You can see, that the lights fall really sharp on the terrain instead of a gradient blur (like the pink first light). I added a "sunlight" and even moved it around a bit to symulate a day cycle. Lights and Shadows can be applied to each layer and can even ignore them (like the player has no applied lights). If you add too many lights, some areas are gonna be too light, so it needs some tweaking till everything looks good.

I really want the game to have many light elements, I always find well lit games fascinating and beautiful, like Ori and the Blind Forest or Child of Light, Rayman Legends, etc.
3. Levels and Unlockables
Now then, enough goofing around with the lights, the game needs some functions to work well, which is a Level system and a Save/Load system.
First, I plan to have 5 main and 1 final boss stage. Each of the 5 levels is going to be guarded by a boss too. Also, I will add a 2nd player character later in the game who will have his own skills and extra levels. In Unity, this function is called the "Scene Manager", each stage is a stage, and you can add as many as you want, and not just stages, but special rooms, menus, etc can be "scenes" too.
Here is the test of the level loader from Level 1 to 6.
In the Demo I moved the level loader out of sight (it was actually built on Level 1 in a separate area), and added a different checkpoint that brings the player back to the main menu (which in Unity is "Scene 0").
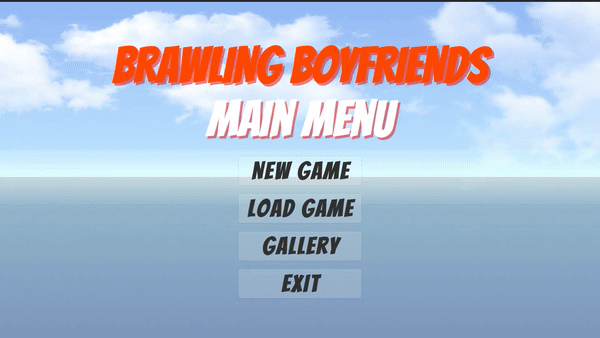
Here you can see the first main menu and the pause menu already, "options" is empty, and I removed the gallery from the pause menu and instead added it as an in-game button so it can be always accessed. Also, as the animation shows, the auto-save is working here already. When the player reaches Level 2, the checkpoint gets stored and when the game is loaded again, that checkpoint will be activated.

Usually, when a scene is loaded, the previous scene is unloaded, so that resources are freed up (no need to have Level 1-5 in the background loaded, if the player only needs Level 6), but I didn't want to unload the game when the gallery is opened (which is also a "scene"). Fortunately, you can load scenes on top of other scenes, so in the following example this happens:
- Scene 0 (main menu) loads
- New Game starts, Scene 0 unloads, Scene 1 (Level 1) loads
- Player clicks on the gallery button, Scene 1 stays and Scene 7 (Gallery) loads additionally.
Also, this was the point where the image unlock system was finally working, for which a HUGE thanks to Chewy, the developer of Robin Morningwood Adventure (https://twitter.com/GrizzlyGamerDev // https://www.patreon.com/grizzlygamer/), who is like a wizard in Unity and C# Programming and built up this system in minutes. ♥

I don't have any exact numbers yet how many images/animations I'll put in the game, but I want to make them appear frequently, have secret ones, some that you can buy from NPCs, some you can unlock in quick time events, etc.
4. A new hero appears
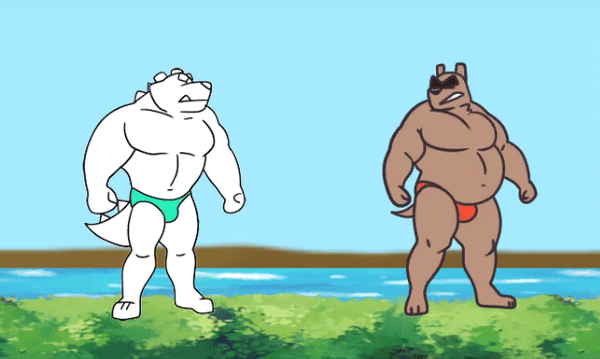
As the early development went on, I finally reached a point where I could focus a bit on the graphics too. First I didn't know what the MC should look like, but I wanted him to be a tiger and have my personality... soooo... why not simply make my fursona the MC? I asked a few ppl, my hubby and everyone said it's a good idea, lets go with that, so I did a few designs and started to redraw the sprites of the first MC.
This was the first version and I liked it, but he looked a bit grim.

So I made some corners rounder and imo cuter. His body looks similar to mine IRL, which is important to me, so I can relate to him better and have a better feel for drawing him.

After a few sprites I have imported the new images into the game and, because the new sprites were 2x big as the old ones, to have a crisp look on 4K too, he looked really huge at first. Later I have redesigned his hitbox, the camera settings, etc and gave him the look you saw in the demo.

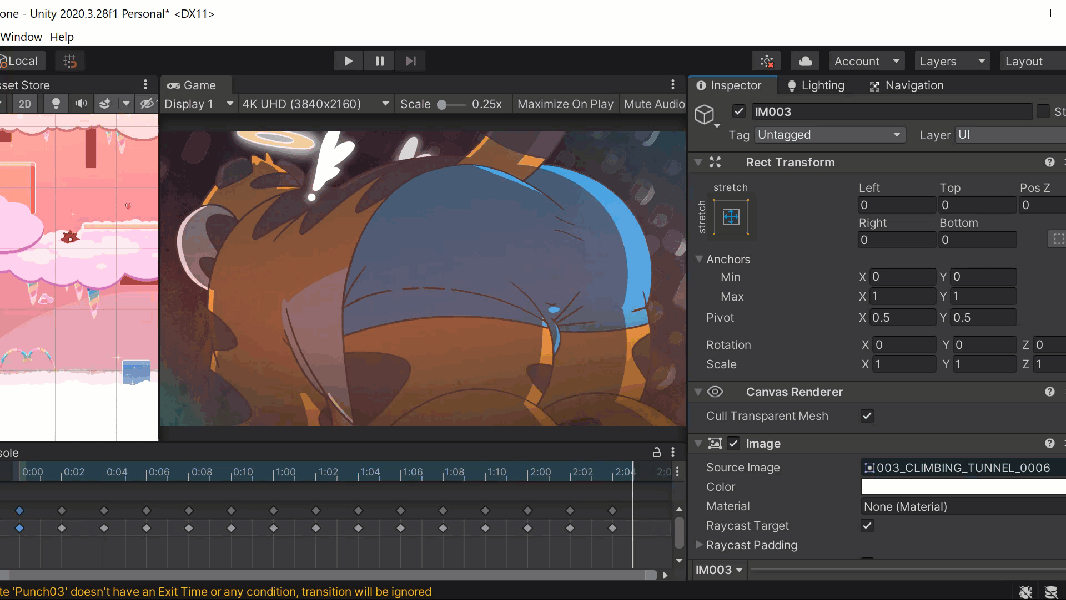
Here is a small screencap of what it looked like when I made the new sprites. This is "Animation Shop Pro 3", which is like a 25yo program, but it's super simple and I use it still to combine frames into GIFs quickly and to see if the motion is good enough.

Currently I'm animating the game in Clip Studio Paint EX, but the animation feature, especially using the timeline is extremely tedious and I also have Toon Boom, which is a lot easier to use, but I cannot crop and export frames as easily as in CSP, so I'm sticking to CSP for now. Because CSP cannot export any videos or GIFs in 4K or more, for the collectible animations I export the frames as PNG/JPGs and then combine them in Unity to an animation.

And this is pretty much it for the 2nd part. After all the core elements were working, I started to design and put together the demo stage so I can share the progress with you all.
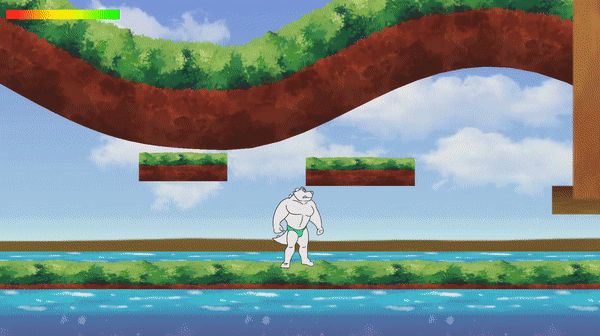
This is what the complete stage looks like in the editor. I painted the stage in Clip Studio, exported it in 6 separate layers and then placed the game elements, like enemies, hearts, traps, etc inbetween these layers to add more depth.

The 6th layer with the sprakles is actually a bit nearer to the camera, so when the player moves, the sparkles move with a greater speed, emphasizing their position in "3D"

It's very subtle, but adds a bit to the illusion of 3D.
Thank you for your attention, comments and feedback is always welcome.
See you next time~♥
Files