Home
Home

 Artists
 Search
 Recent
 Random
 Posts
Posts
 DMs
DMs
 Tags
Tags
 Random
 Importer
 Import
 FAQ
FAQ
 Account
 Register
 Favorites
 Login
Login

Skeleton Soup! (just a filament swap, no multimaterial needed!) (Patreon)
Content
Howdy, wonderful people!
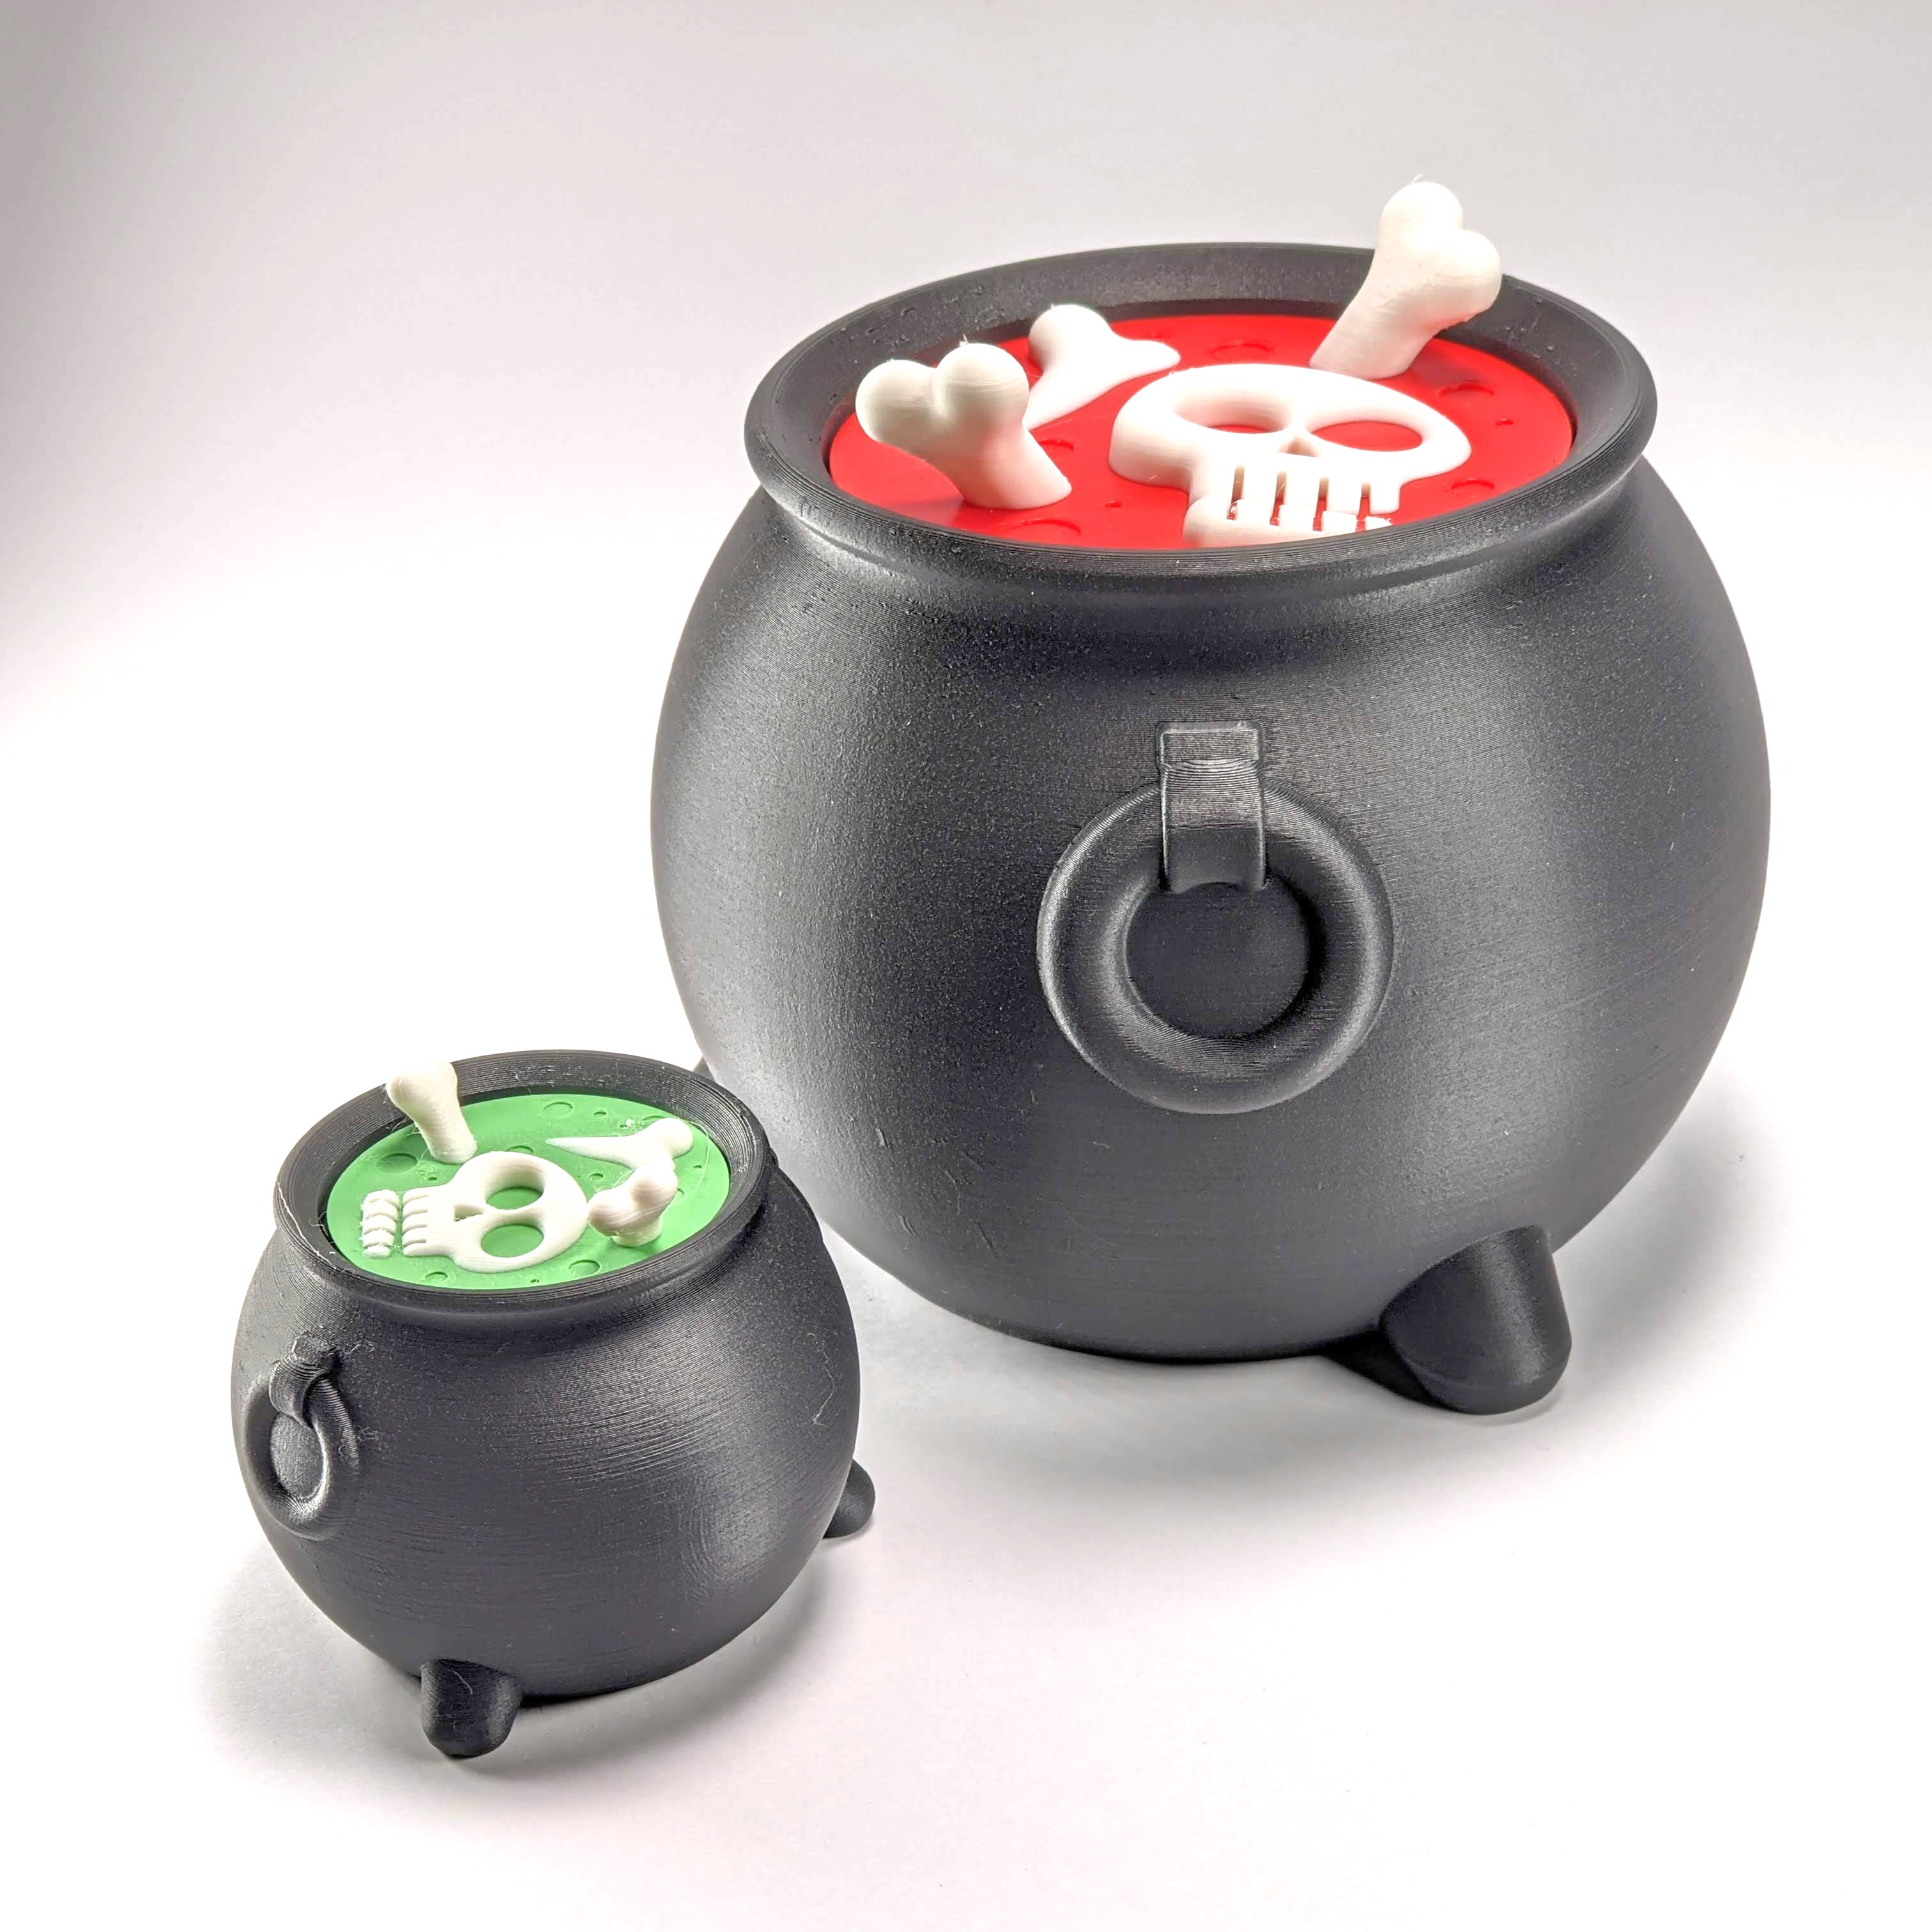
This spooky concoction makes good use of multiple colours, but does not require anything beyond a simple mid-print filament change for the lid! Yes, that bubbly bit with the bones is really a threaded lid that keeps the contents of the cauldron secure.
The lid is designed so that the texture of the liquid part is contained entirely below the level of the protruding bones. So, just swap that filament accordingly for a delicious and stylish serve of skeleton soup.
This model comes in two sizes - small and large - and differ only in the tolerances of the thread between the lid and the cauldron.

Printing Tips
Nothing tricky here, the cauldron is designed for easy printing with no problematic angles. There's generous tolerance between the lid and cauldron threaded parts, too. Likewise, the angles on the bones sticking out of the lid are easy and won't cause any problems either.
So, let's talk colour change!
Depending on your slicer and printer you'll want to change the filament once the main part of the lid is done, so that the skeleton parts can be a different colour. If you're using a slicer that lets you insert a pause for filament change, then it's all very easy, and you can set it so that it initiates the swap just at the layer where the bones start.
If you have to do that swap without the aid of slicers, and have to time it manually, just wait until the bones start to get outlined, and do the swap at any point after that. It doesn't matter if it's a little late and there's some lid-coloured lines at the start of the bones. Swapping too early, however, will look bad, so don't do that :)

As you've probably already worked out, all the parts print right-way-up, like so:

Print Dimensions
The big cauldron occupies 128mm x 131mm on the print bed and is 97mm tall
The small cauldron occupies 64mm x 66mm on the print bed and is 48mm tall
The big lid occupies 79mm x 79mm on the print bed and is 31mm tall
The small lid occupies 39mm x 39mm on the print and is 16mm tall
File Locations
You'll find this one on dropbox under 722 Skeleton Soup
Link to dropbox post: https://www.patreon.com/posts/31697592
Further Thoughts
Multimaterial hardware is great fun, but carries with it a great deal of extra complexity, failure risk, expense and material wastage. So, I love the idea of achieving similar things with a simple, easy filament change that requires nothing extra to achieve!
Happy printing!
xoxo
Sven.
Files