Home
Home

 Artists
 Search
 Recent
 Random
 Posts
Posts
 DMs
DMs
 Tags
Tags
 Random
 Importer
 Import
 FAQ
FAQ
 Account
 Register
 Favorites
 Login
Login

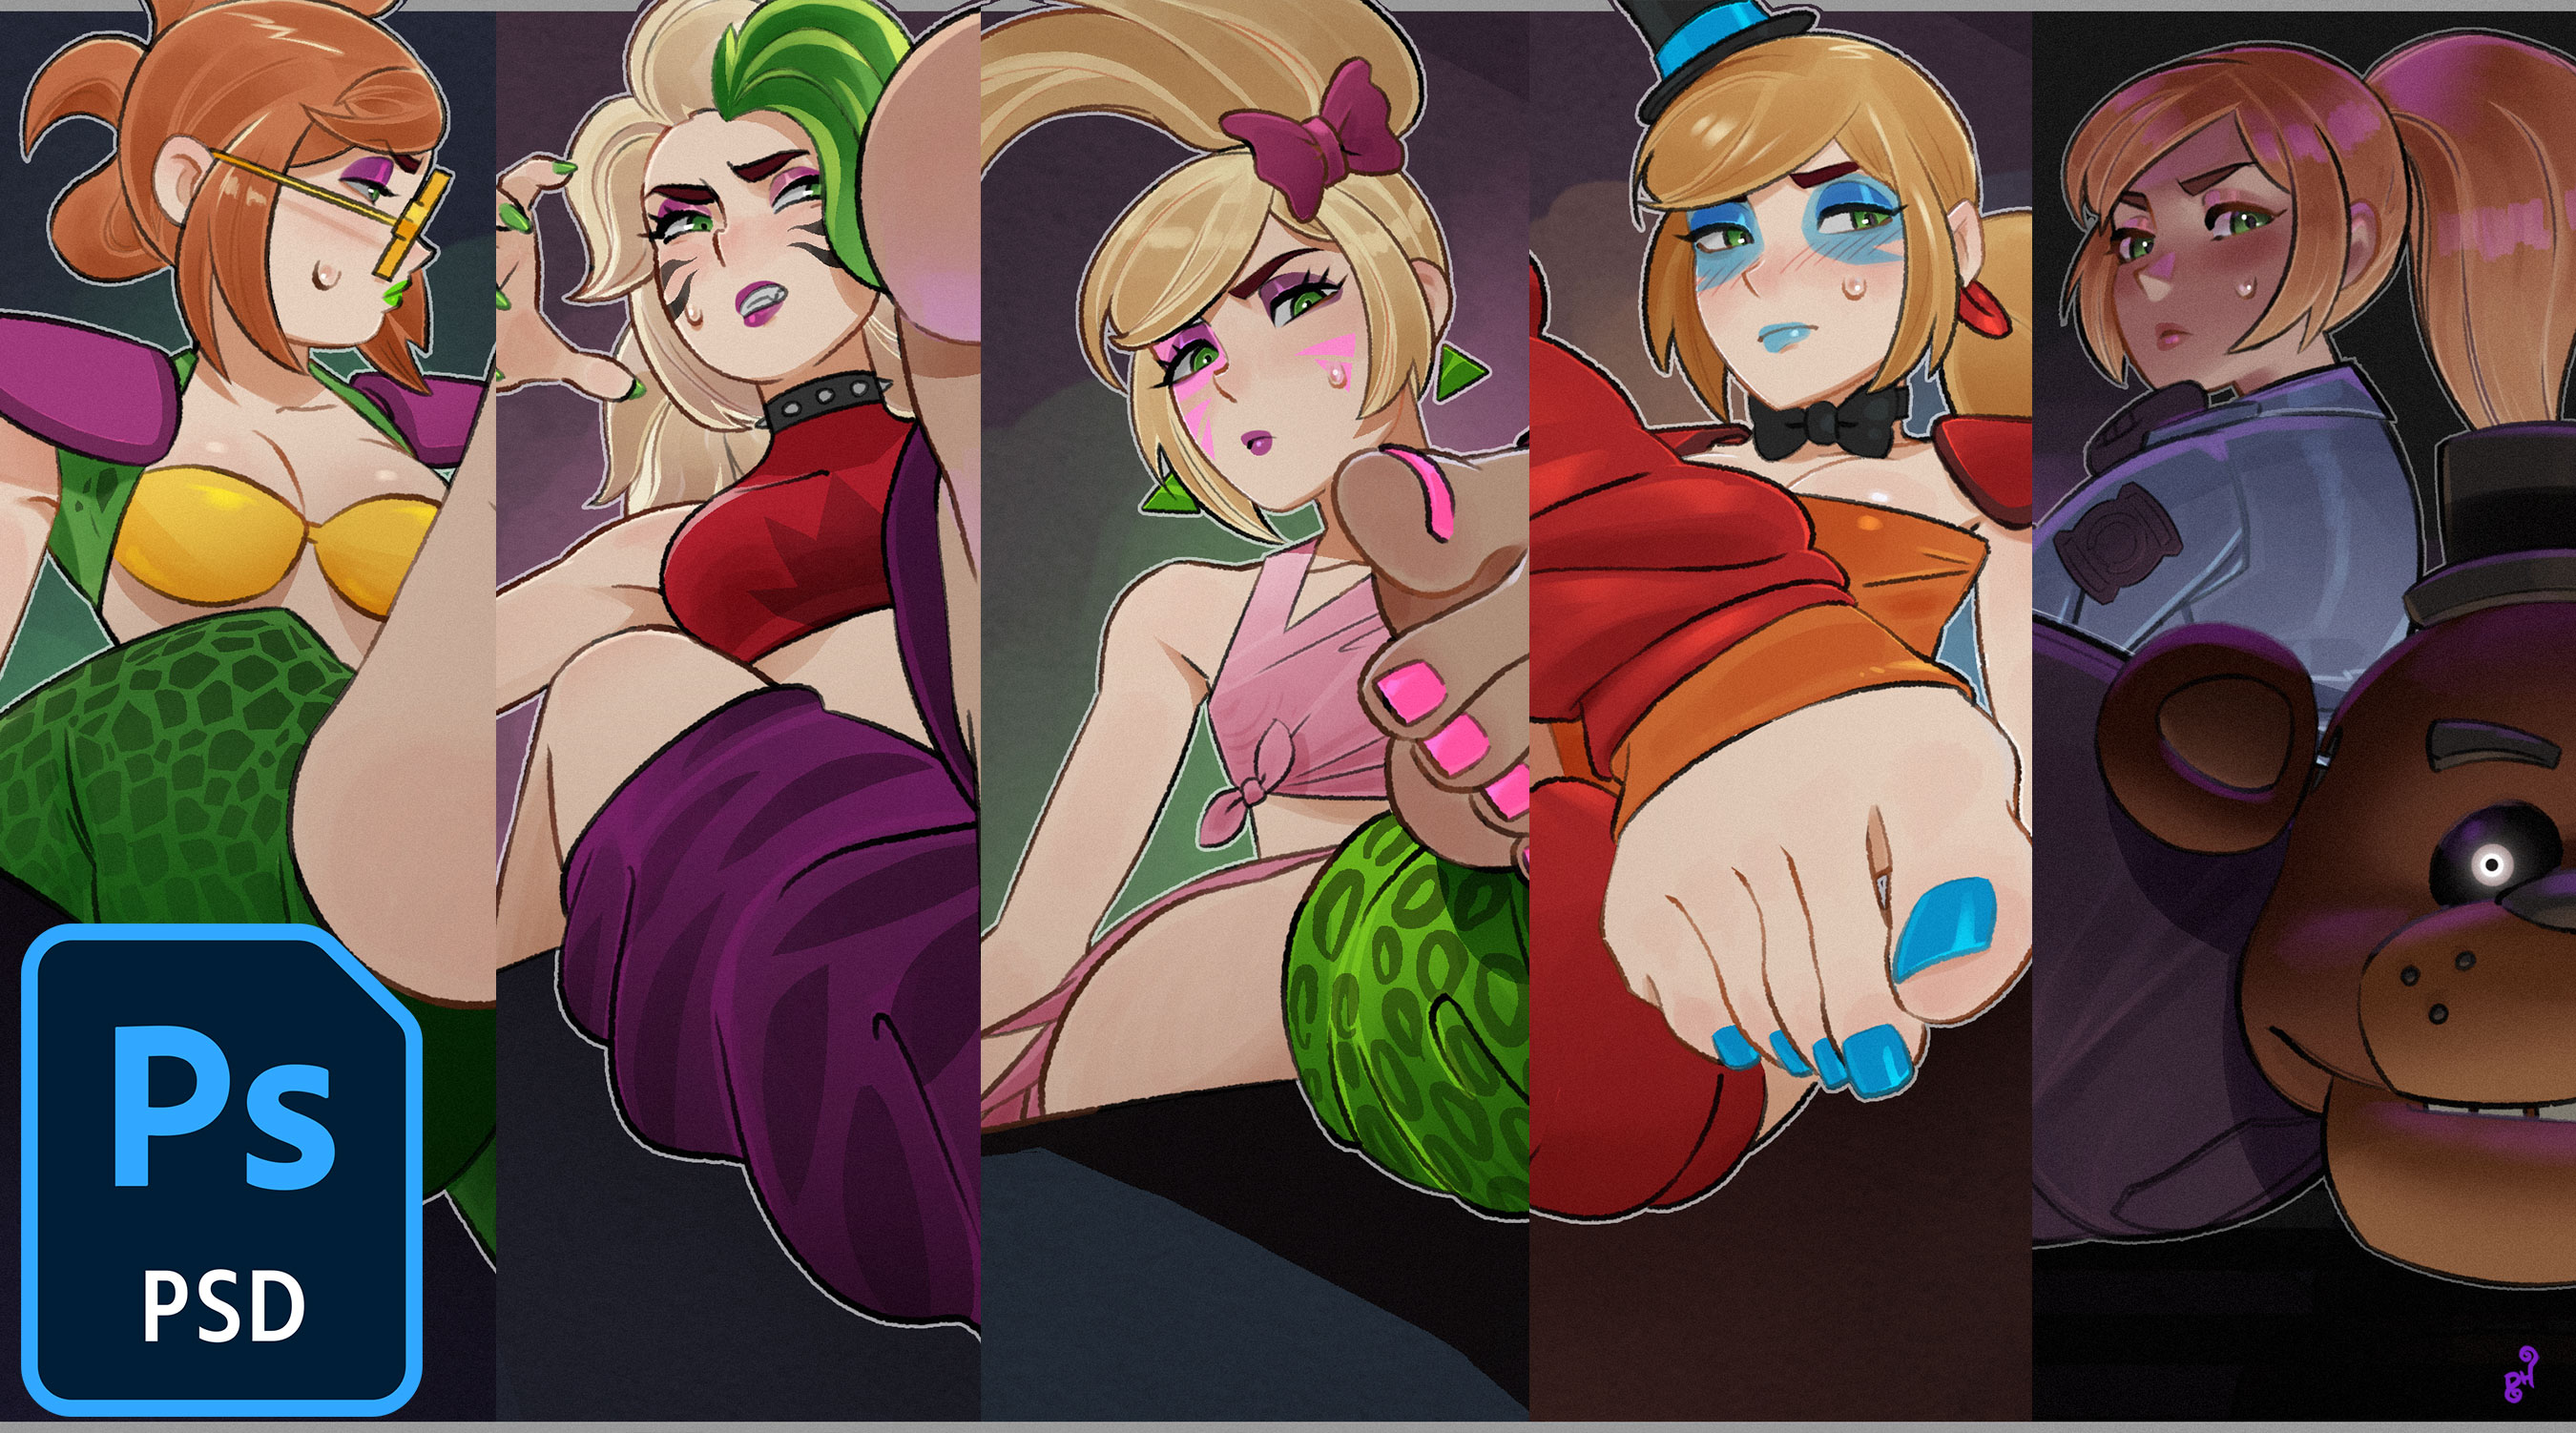
Vanessa Cosplay (.PSD file) (Patreon)
Content
Is that...? Is it...? No way...
Yeah I'm way too late to actually make a joke about it...
Sooooo I finally found a way to publish this! Let's guide you through what makes this one special, so you can progress as well! You can get the file here (ask me for the key in private to access it)!
Sorry for French in the docs btw, I hope you can find the right options in english (feel free to ask me if needed)
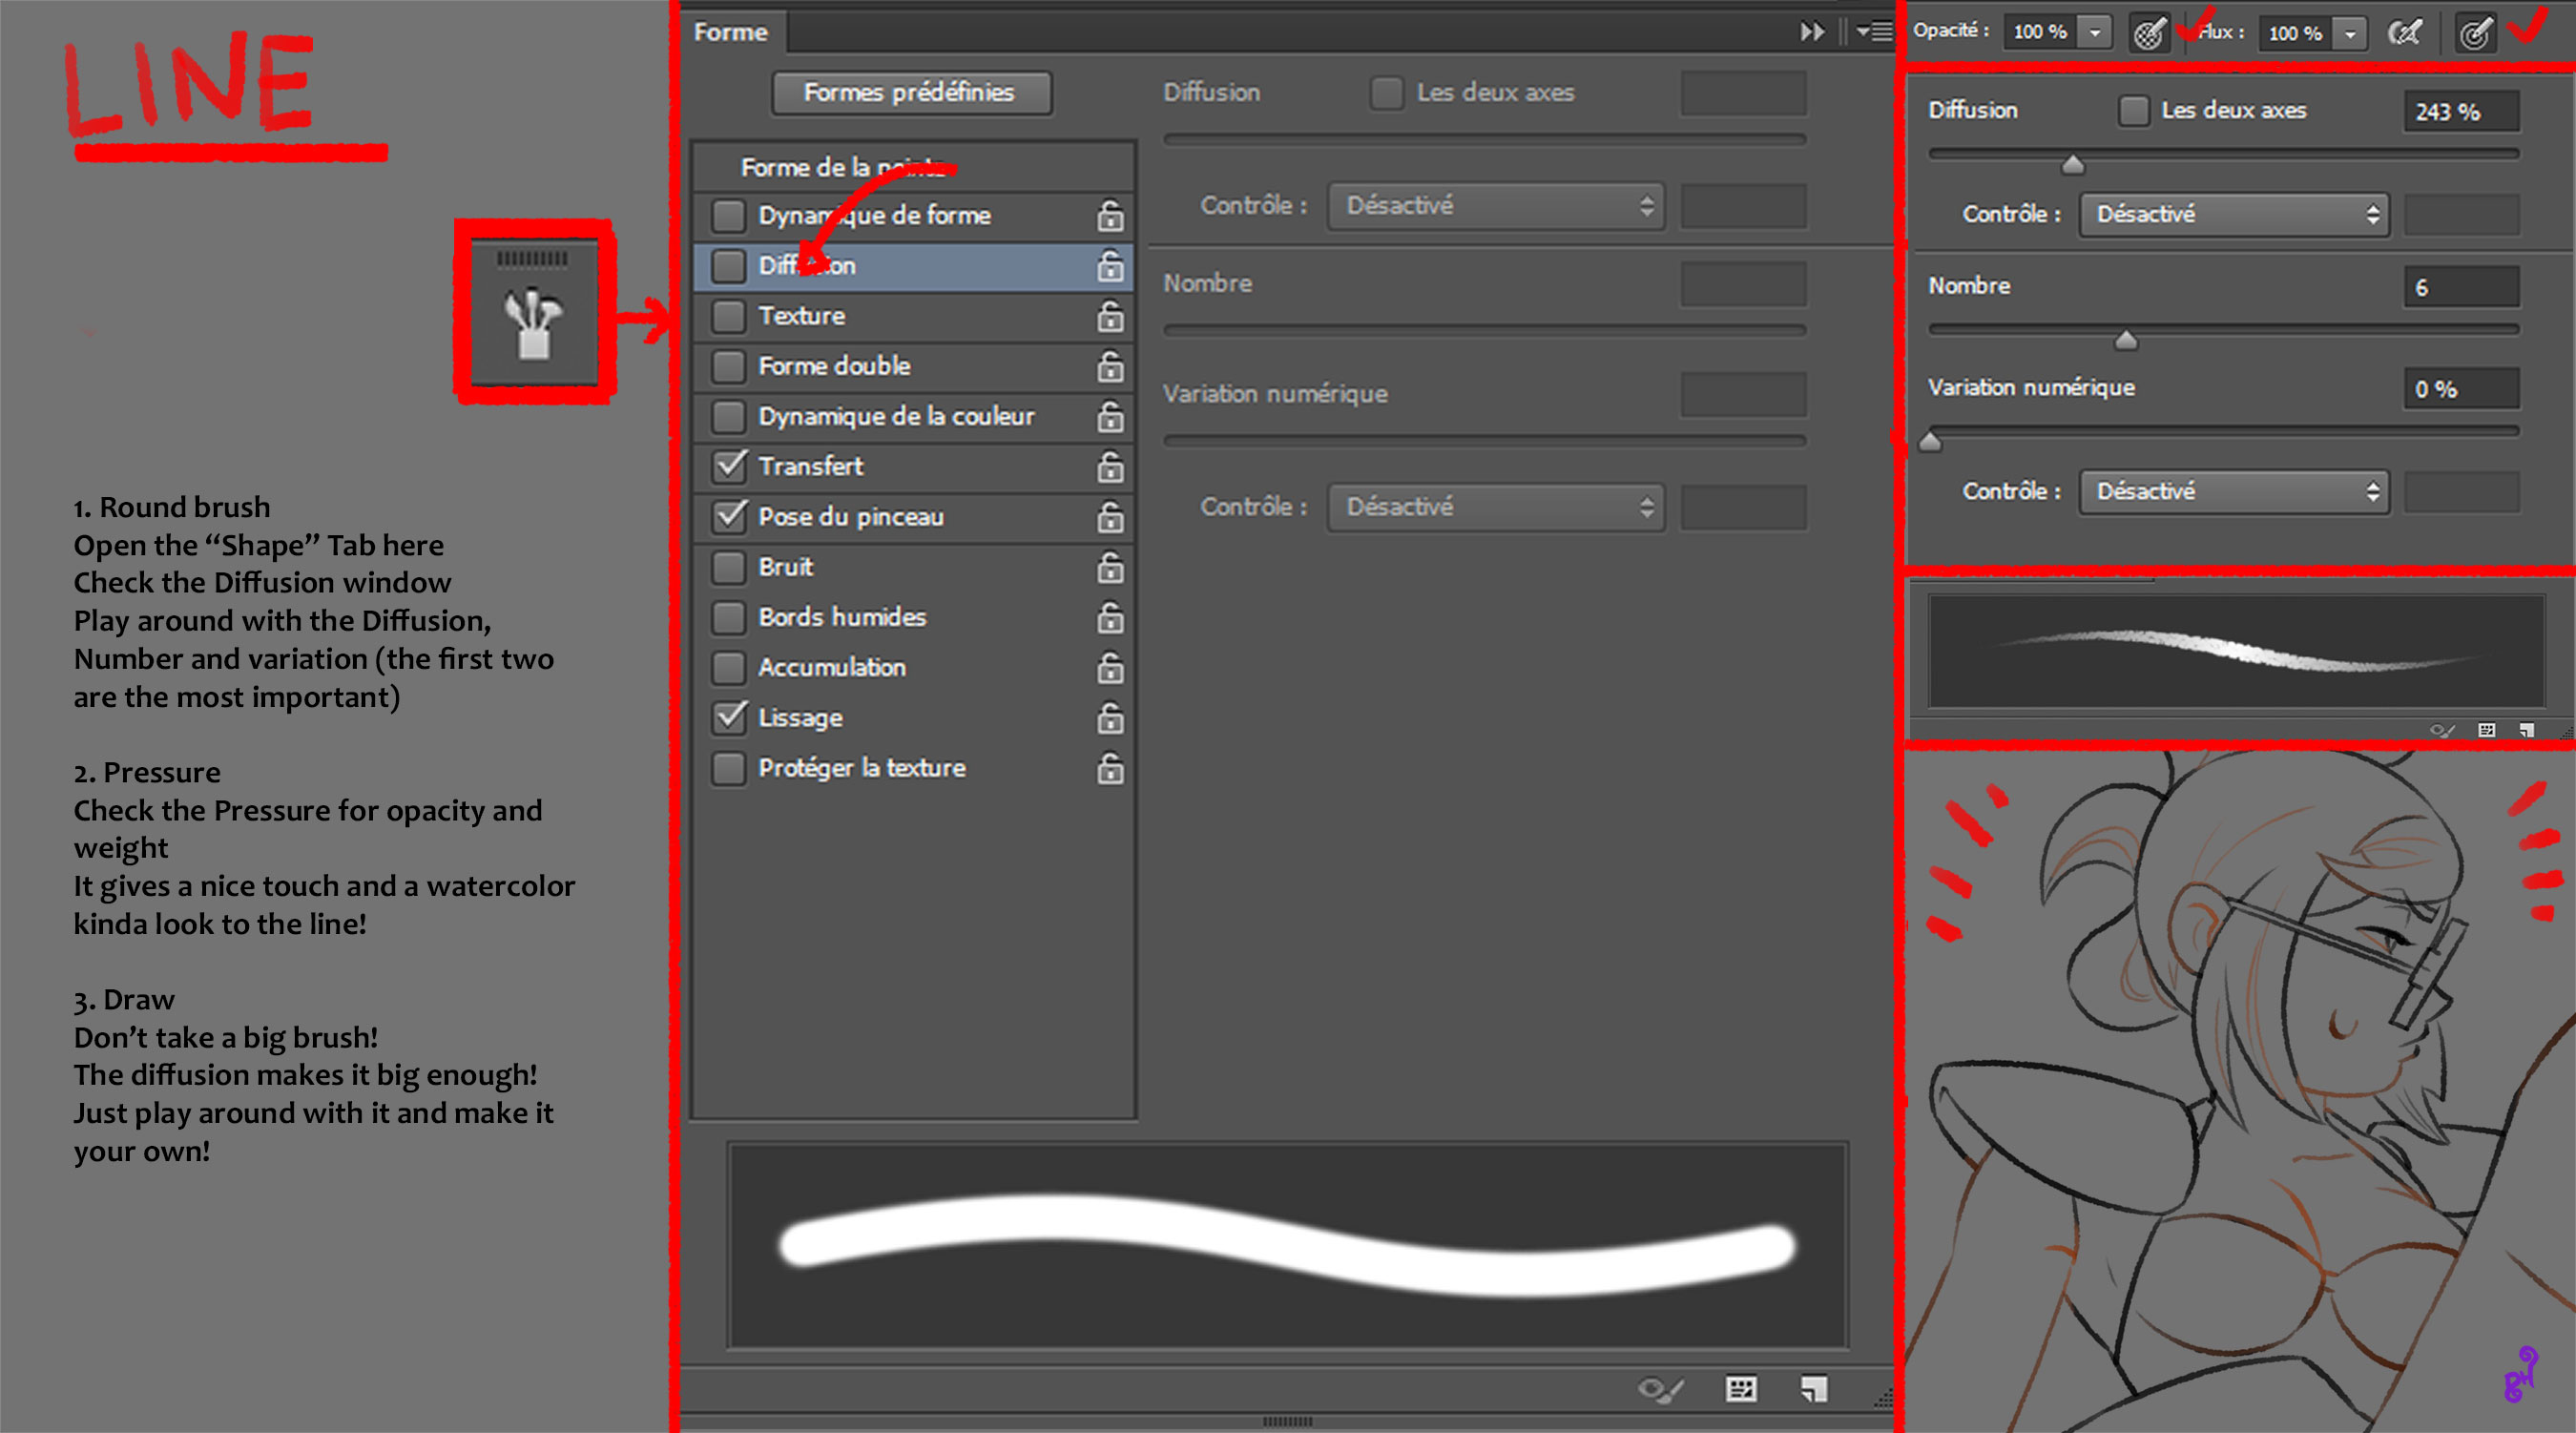
First thing, the line!
I'm using this technique since... Well january of last year, but it's reaaaaally looking good here! It has such a nice texture... And you might be wondering: what brush am I using? The round brush!
There are just a few tweaks here and there to make (see Doc 1) to get a crispy/watercolor-ish kind of line.
My main inspiration here is Wamudraws, and while studying their work, I realized they sometimes do watercolor + pixel art. You can use the eraser without smoothing sometimes, to get a crispier result! It's up to you to decide when you need to switch between smooth and hard, play around with it and find out!
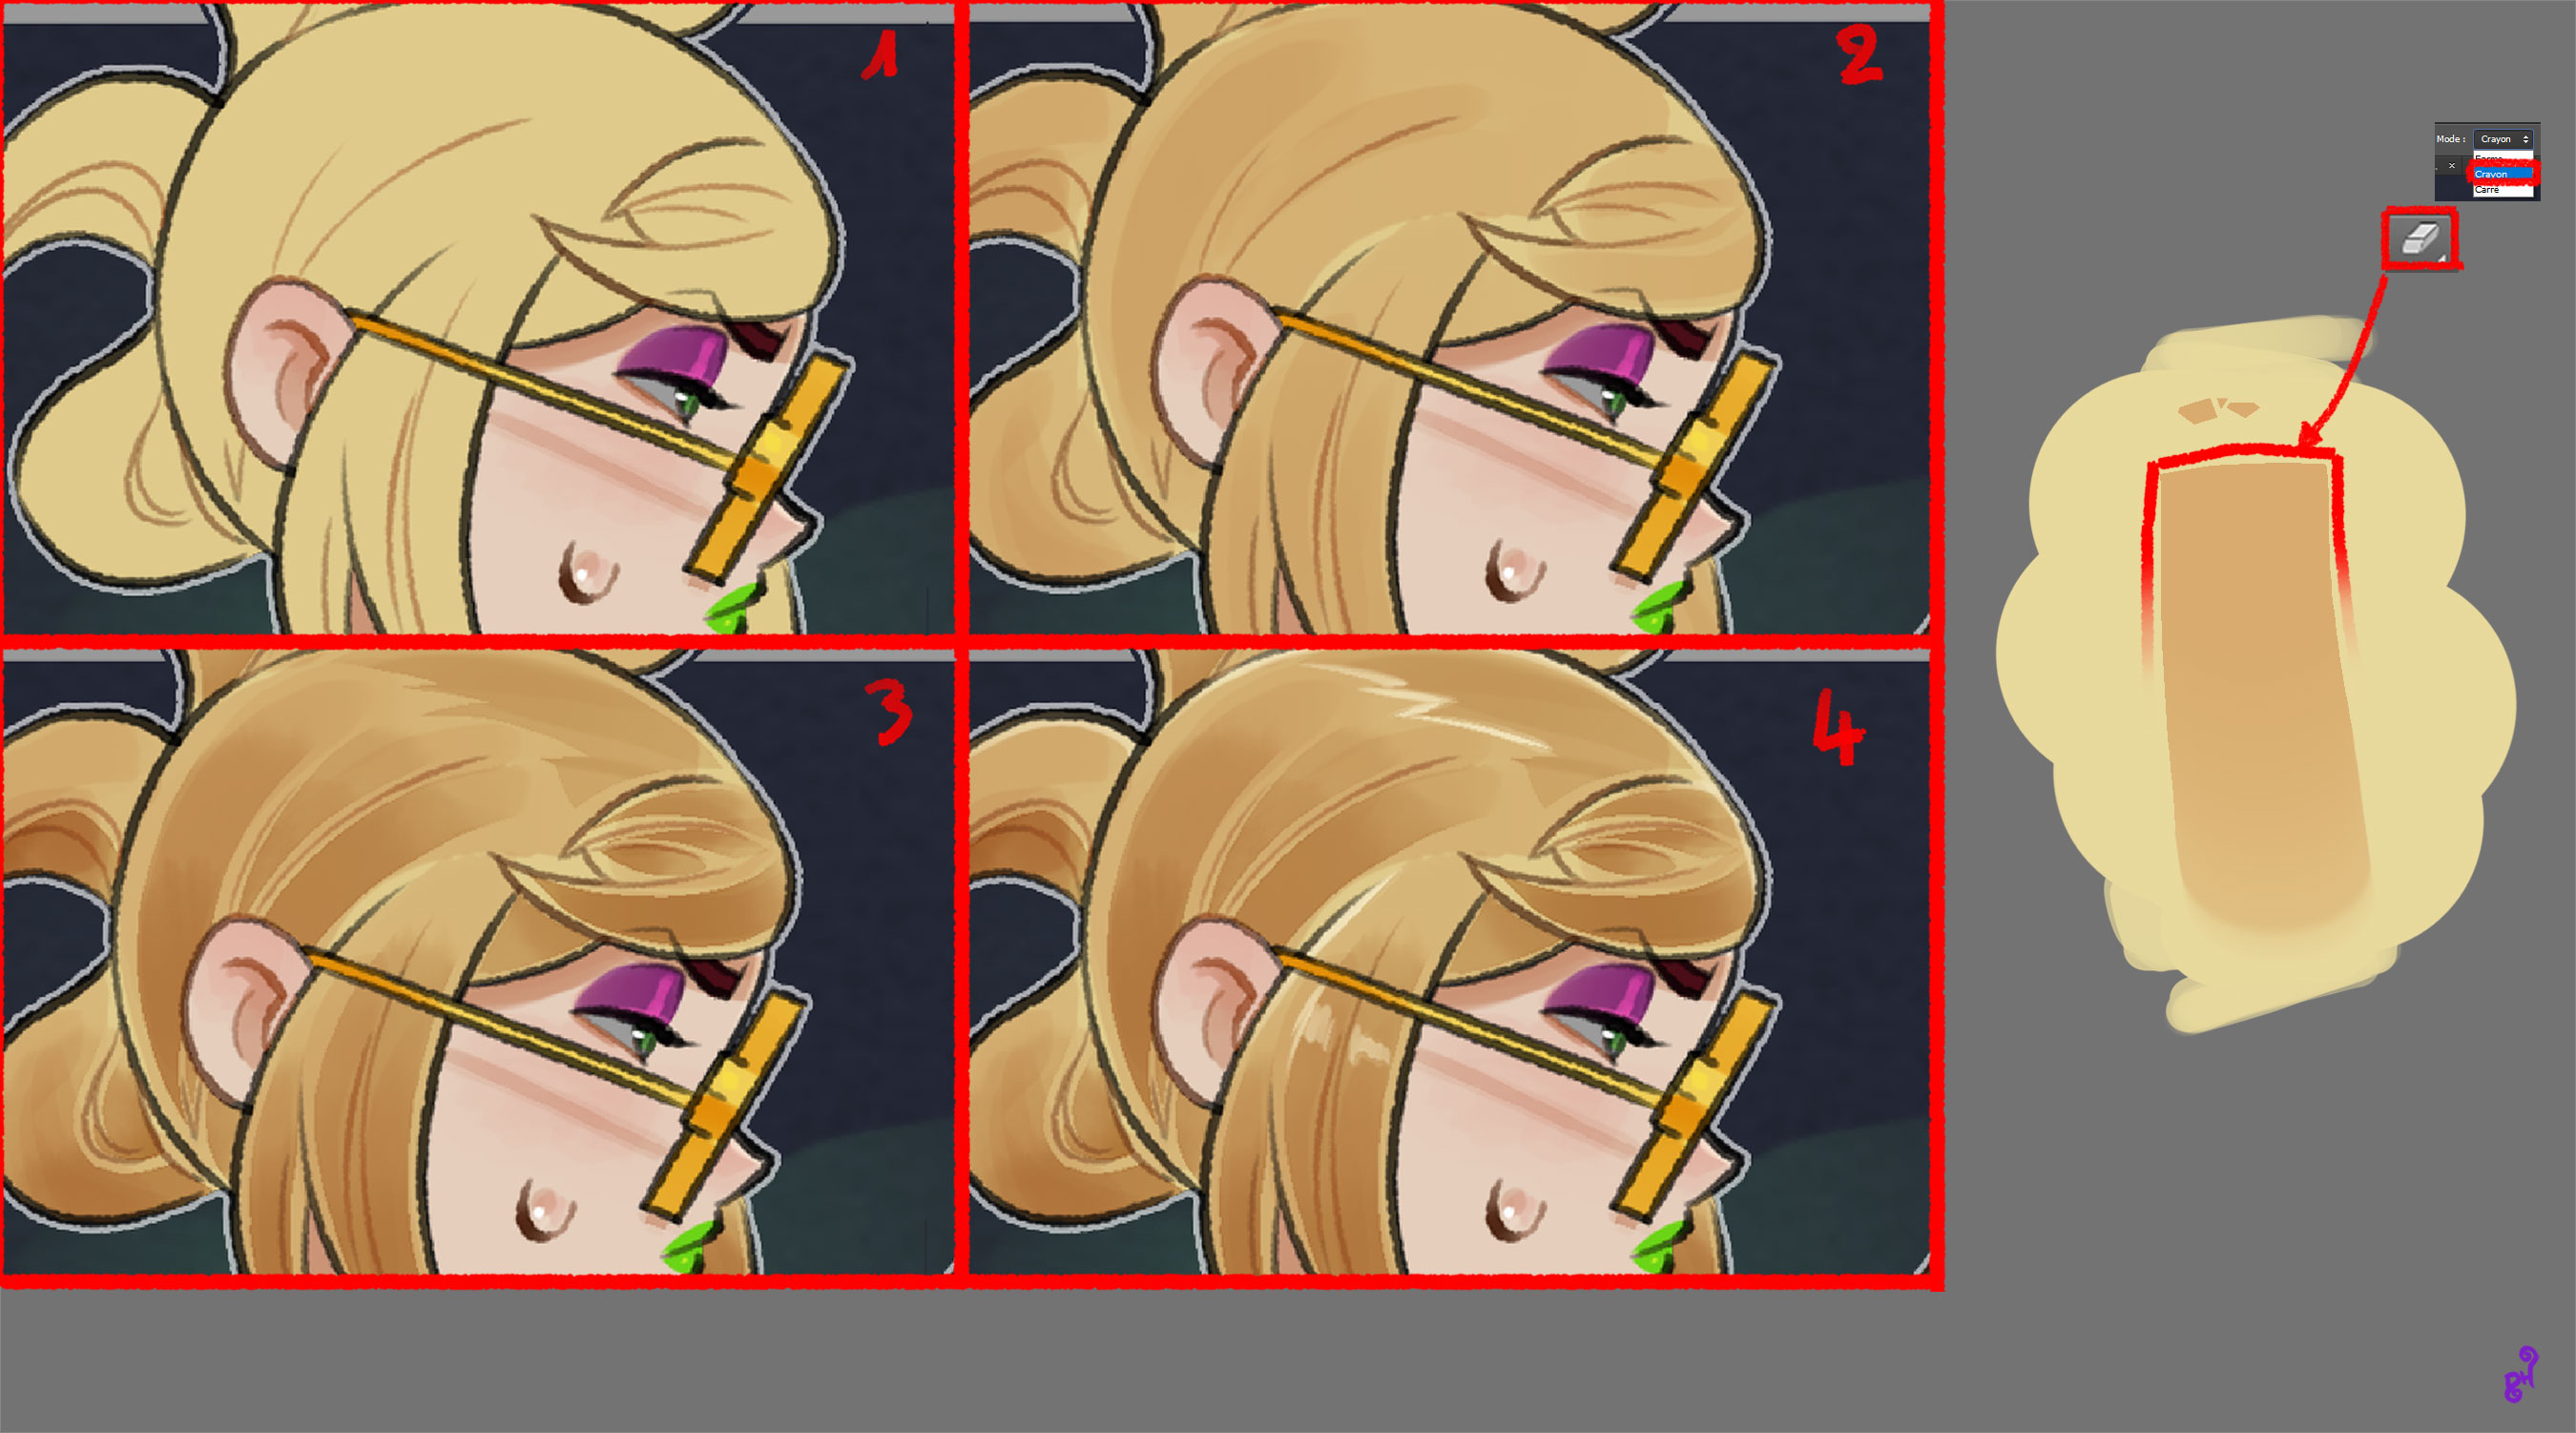
Now, colors!
Here I actually used the round brush and another one with a watercolor-ish kind of texture (already available in Photoshop I think, but you can find something pretty easily for free on the net if you don't find anything appealing).
Just do the base colors with the round brush, and put a few strokes over it with the second brush for the texture. To get it right, find a few good refs so you can see how it works best, and play around yourself with it. (see Doc 2)
For the shadows, switch back to the round brush and erase the border with the crispy eraser. It gives a nice combo with pixel art and watercolor.
Light works pretty much the same, I didn't charge it up too much (same for the shadow tho). You can play around with the mood at the end by adding a color/saturation/ or Light/shadow slider on top of it.
And the render!
Like I said, just a few tweaks with light/shadow/contrast color/saturation and you can merge your picture all in one to play around with the render.
I didn't do too much here, just a bit of noise as I wanted to get a nice "old" kinda look to the picture, but not the point where you can't really see what's happening. Sometimes too much post render is... too much.
Soooo yeah, here you go finally! You should have access to all 5 pictures here! I didn't include the 6th one since I did it on another file, and the process is literally the same. Let me know if youhave any question, and I hope this one was helpful or fun!
Thanks again for your patience, I'll post the rest of the promised files pretty soon!
Files