Home
Home

 Artists
 Search
 Recent
 Random
 Posts
Posts
 DMs
DMs
 Tags
Tags
 Random
 Importer
 Import
 FAQ
FAQ
 Account
 Register
 Favorites
 Login
Login

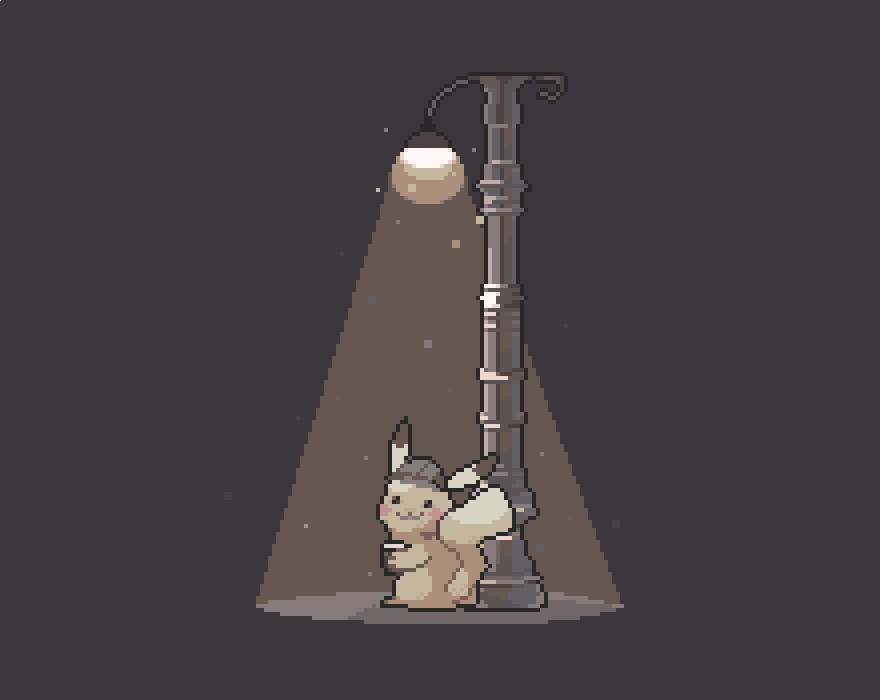
Detective pikachu files (.ase .psd) and walkthrough (Patreon)
Downloads
Content
added a .psd bc it was requested on the discord (pls .. join it if u havent)
here's some stuff about how it was made too
[snooty voice] ambience

see how colours are repeated? lights show up dust particles and moths, especially at night. the closer to the light, the brighter the dots. both the ground shadow and the light source use repeated colours from the lamp

for those who can't read my chicken scratch, light is focused mostly strongly in the area produced by the lamp bulb. anything not touched by the light will still reflect a little bit, because it is a super shiny surface. for example, the space next to above the bulb will still reflect some light but none will be reflected on the bulb top because light cant reach there. adding a few layers of glow can make a real nice effect

the centre of shiny metallic-y objects like a street lamp are almost always darkest in the centre and brightest on the edges. a quick way to make a lamp not boring is add ridges- add lumps and bumps to the lamp and spread out your light source along

extremely professional walk through! anyway because pikachu and the lamp are solid objects (that we know of. who knows what pikachu really is) light will not pass through them. this is what we make a shadow. pikachus chin, back and tail bend are the further-est from the light source so naturally they are the least lit. his ears, tail and shiny forehead are closest so they receive the most light. the ridges of the lamp stick out so the attract the most light. the ridges on the other side are further-est from the light, so they get the least
making the lamp is easy with a quick trip: symmetry option


whatever you draw is repeated on the other side. i do this lil trick for a lot of things- lamps (obv), glass things, prop items, etc
im very pro with these lol. as always, lemme know if there's anything i missed/specific things u would like to learn. words aren't my strong point
Files