Home
Home

 Artists
 Search
 Recent
 Random
 Posts
Posts
 DMs
DMs
 Tags
Tags
 Random
 Importer
 Import
 FAQ
FAQ
 Account
 Register
 Favorites
 Login
Login

R30 Outlines (Script 4 of 5) + CG Preview w/ Workflow (Patreon)
Content
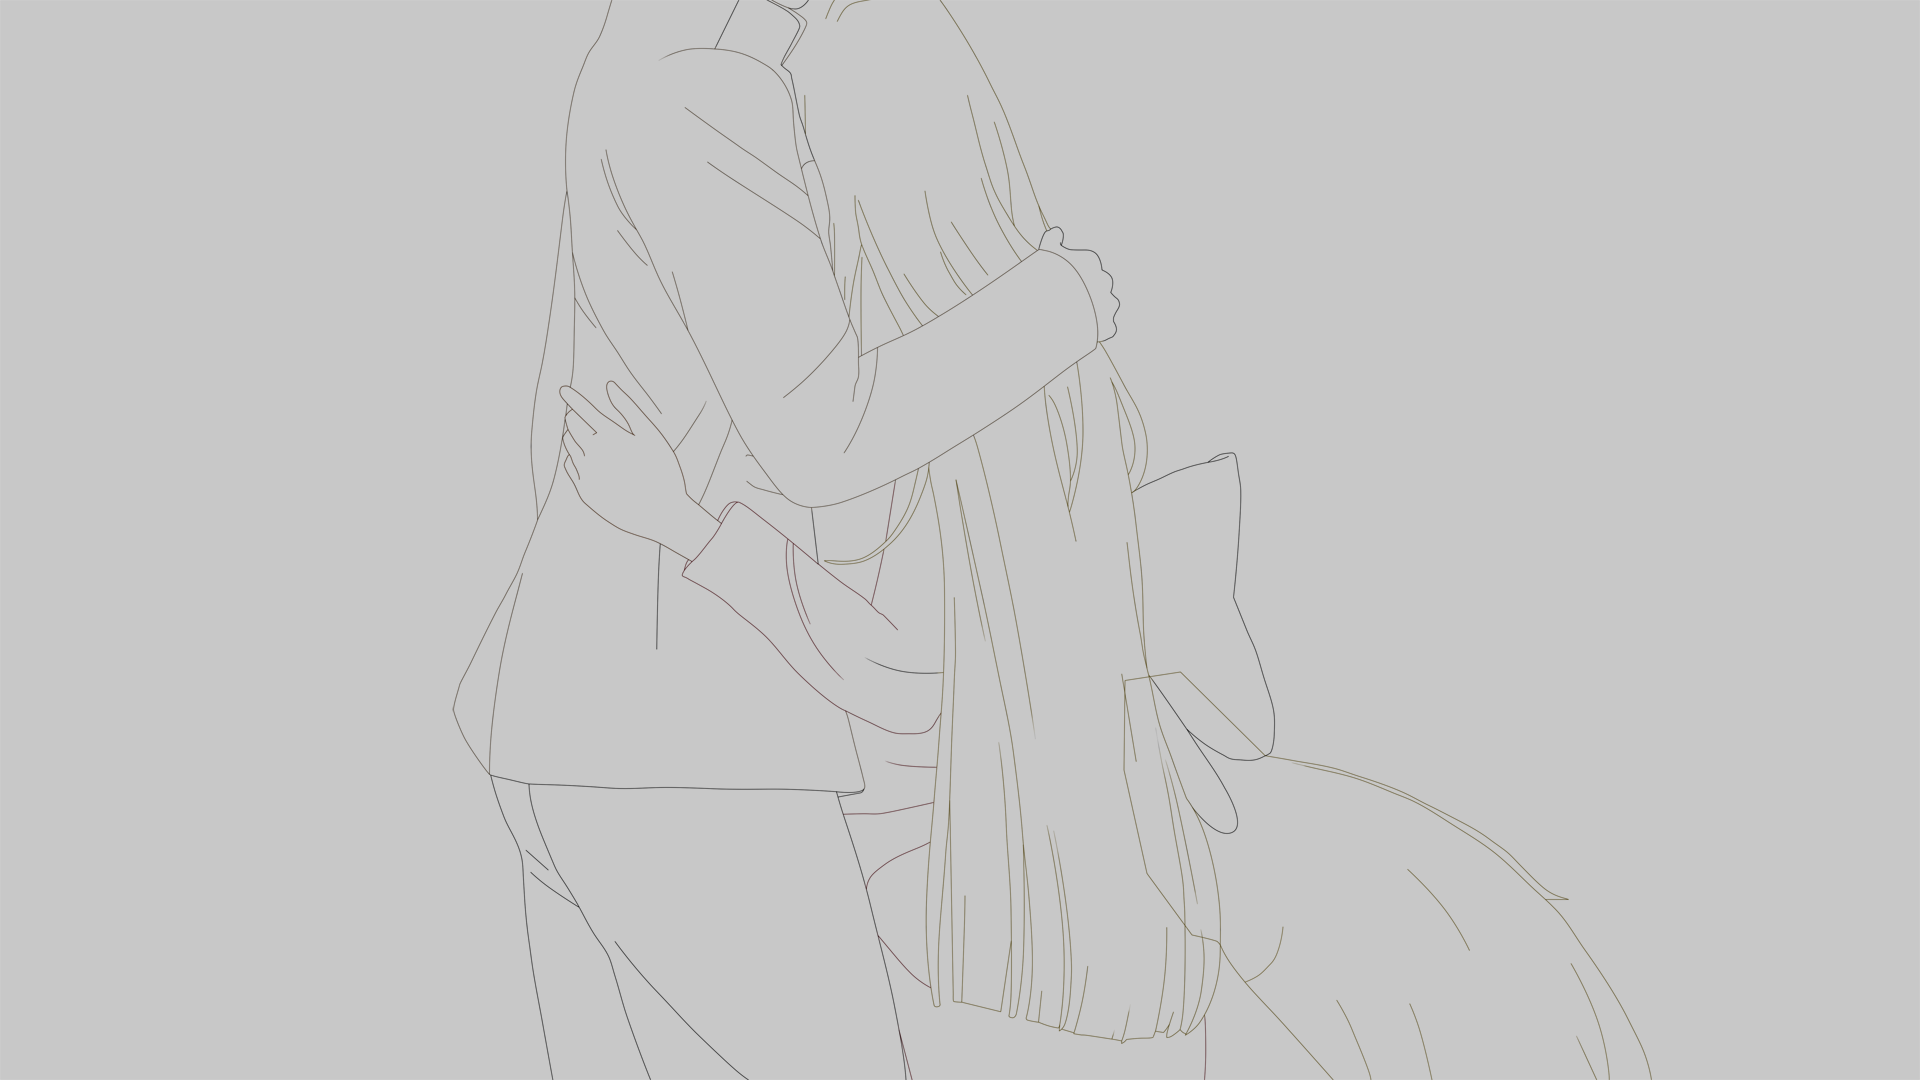
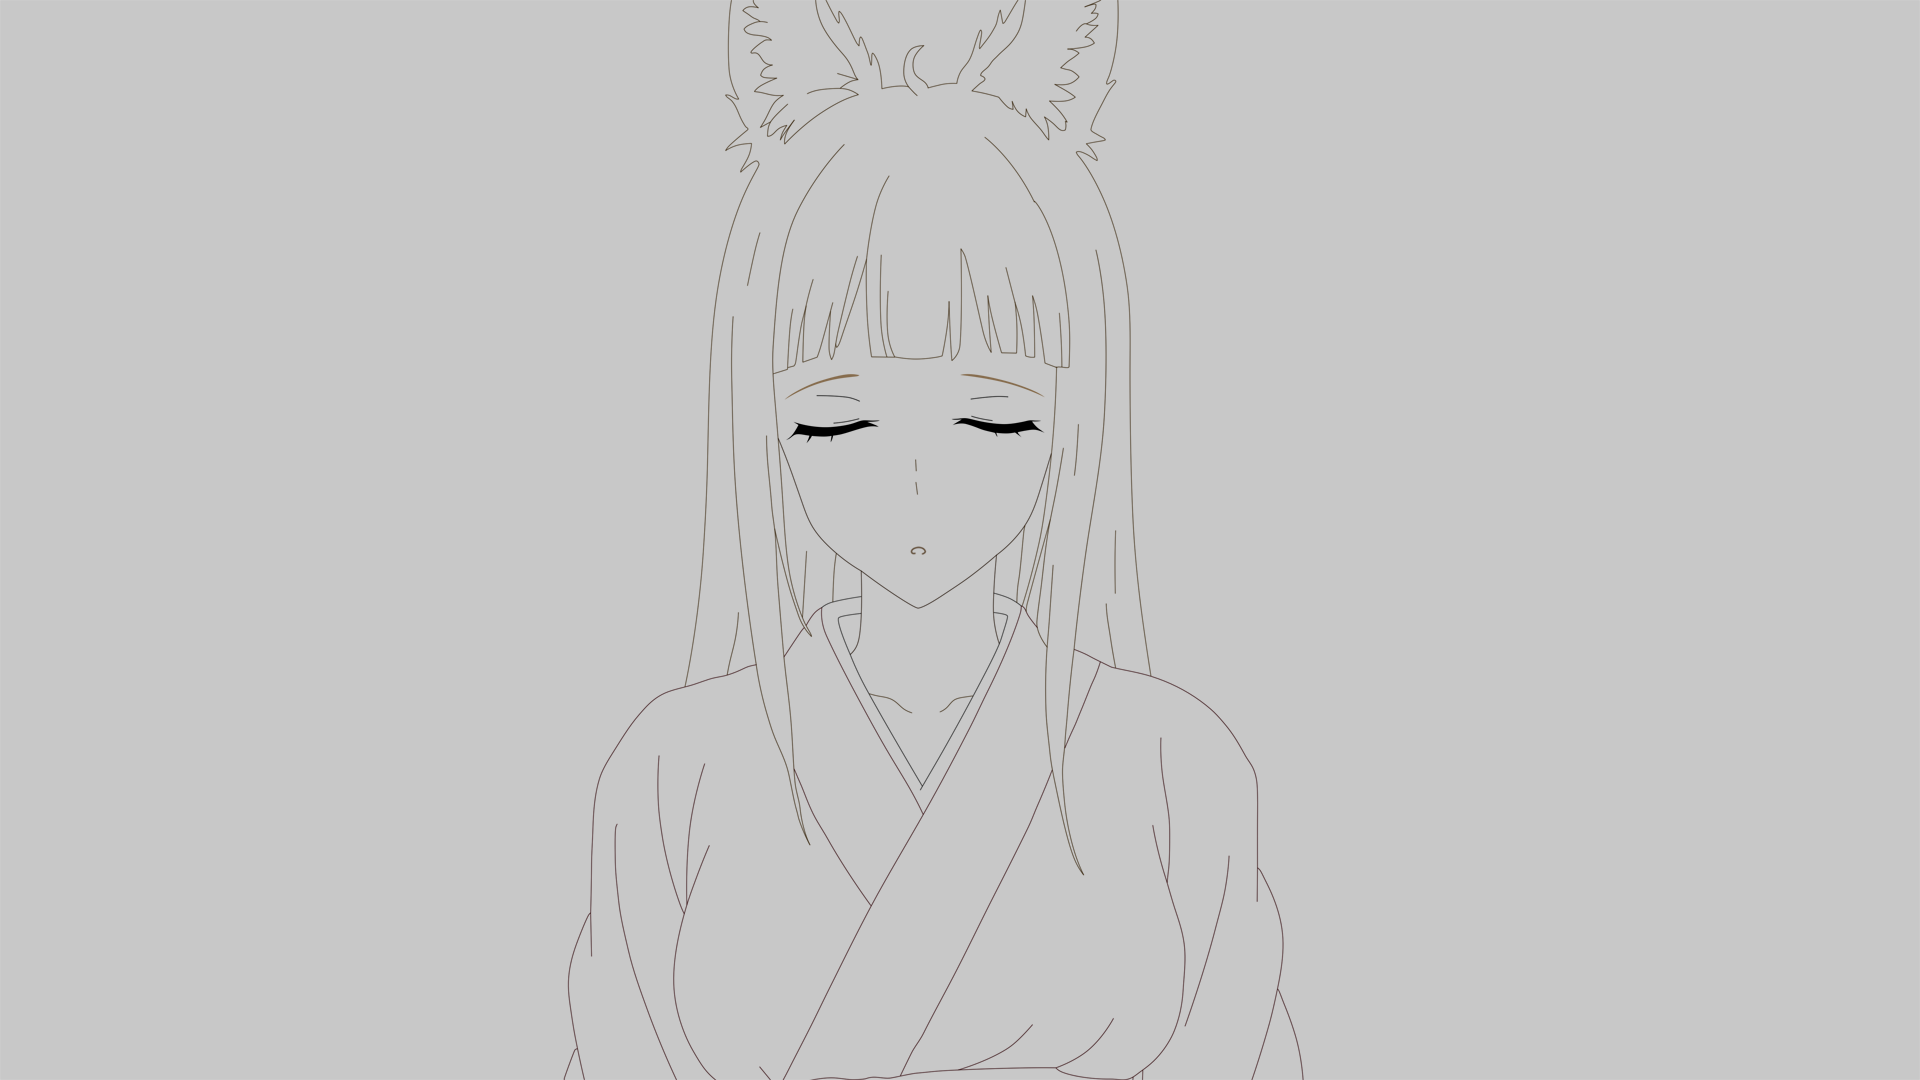
These are the outlines of the CGs that will make up the confession scene, since my previous post showing my workflow to create a background was so well received, I thought I could make another one showing how I make one of those CGs, so I can use this opportunity to also show a preview.
1. Gather Reference
The great majority of times I will be using KK to pose characters as it is the easiest way to get characters to resemble their anime counterpart, however I also need to look at the characters to see if there's any detail missing I should add during the tracing of the outline.
2. Outline
Once I am happy with the posing and I have gathered enough references, I do the outlining.
Unlike the backgrounds, I plan to keep the outlining however I do not want it to stand out too much like it would on overworld sprites, so I go for a way in the middle and color the outlining with a darker base color.
3. Color
I color each component as a separate layer, I mostly used KK colors this time except for Haruhime's hair as they are more of a pale yellow.
I also forgot to color part of Bell's jacket before taking the screenshot, which uses the same base color of his pants.
4. Shading
I shade them the same way as I did with the background, using 4 different layers (Sharp Shadows/lights, and Soft shadows/lights), however in this CG I have added an extra layer to give extra color to some elements: For instance, Haruhime's hair and tail have an orangish tint, and her kimono has a brownish tint. This extra color is added the same way as the soft shadows/lights (soft brush, 10% opacity).
5. Overlapping & Post processing
I overlap the CG with the background within Unity and post process it. I usually go easy with the postprocessing, but I wanted to give a more dramatic effect to the scene, I will go much easier on the second one as it is more "light".
Files