Home
Home

 Artists
 Search
 Recent
 Random
 Posts
Posts
 DMs
DMs
 Tags
Tags
 Random
 Importer
 Import
 FAQ
FAQ
 Account
 Register
 Favorites
 Login
Login

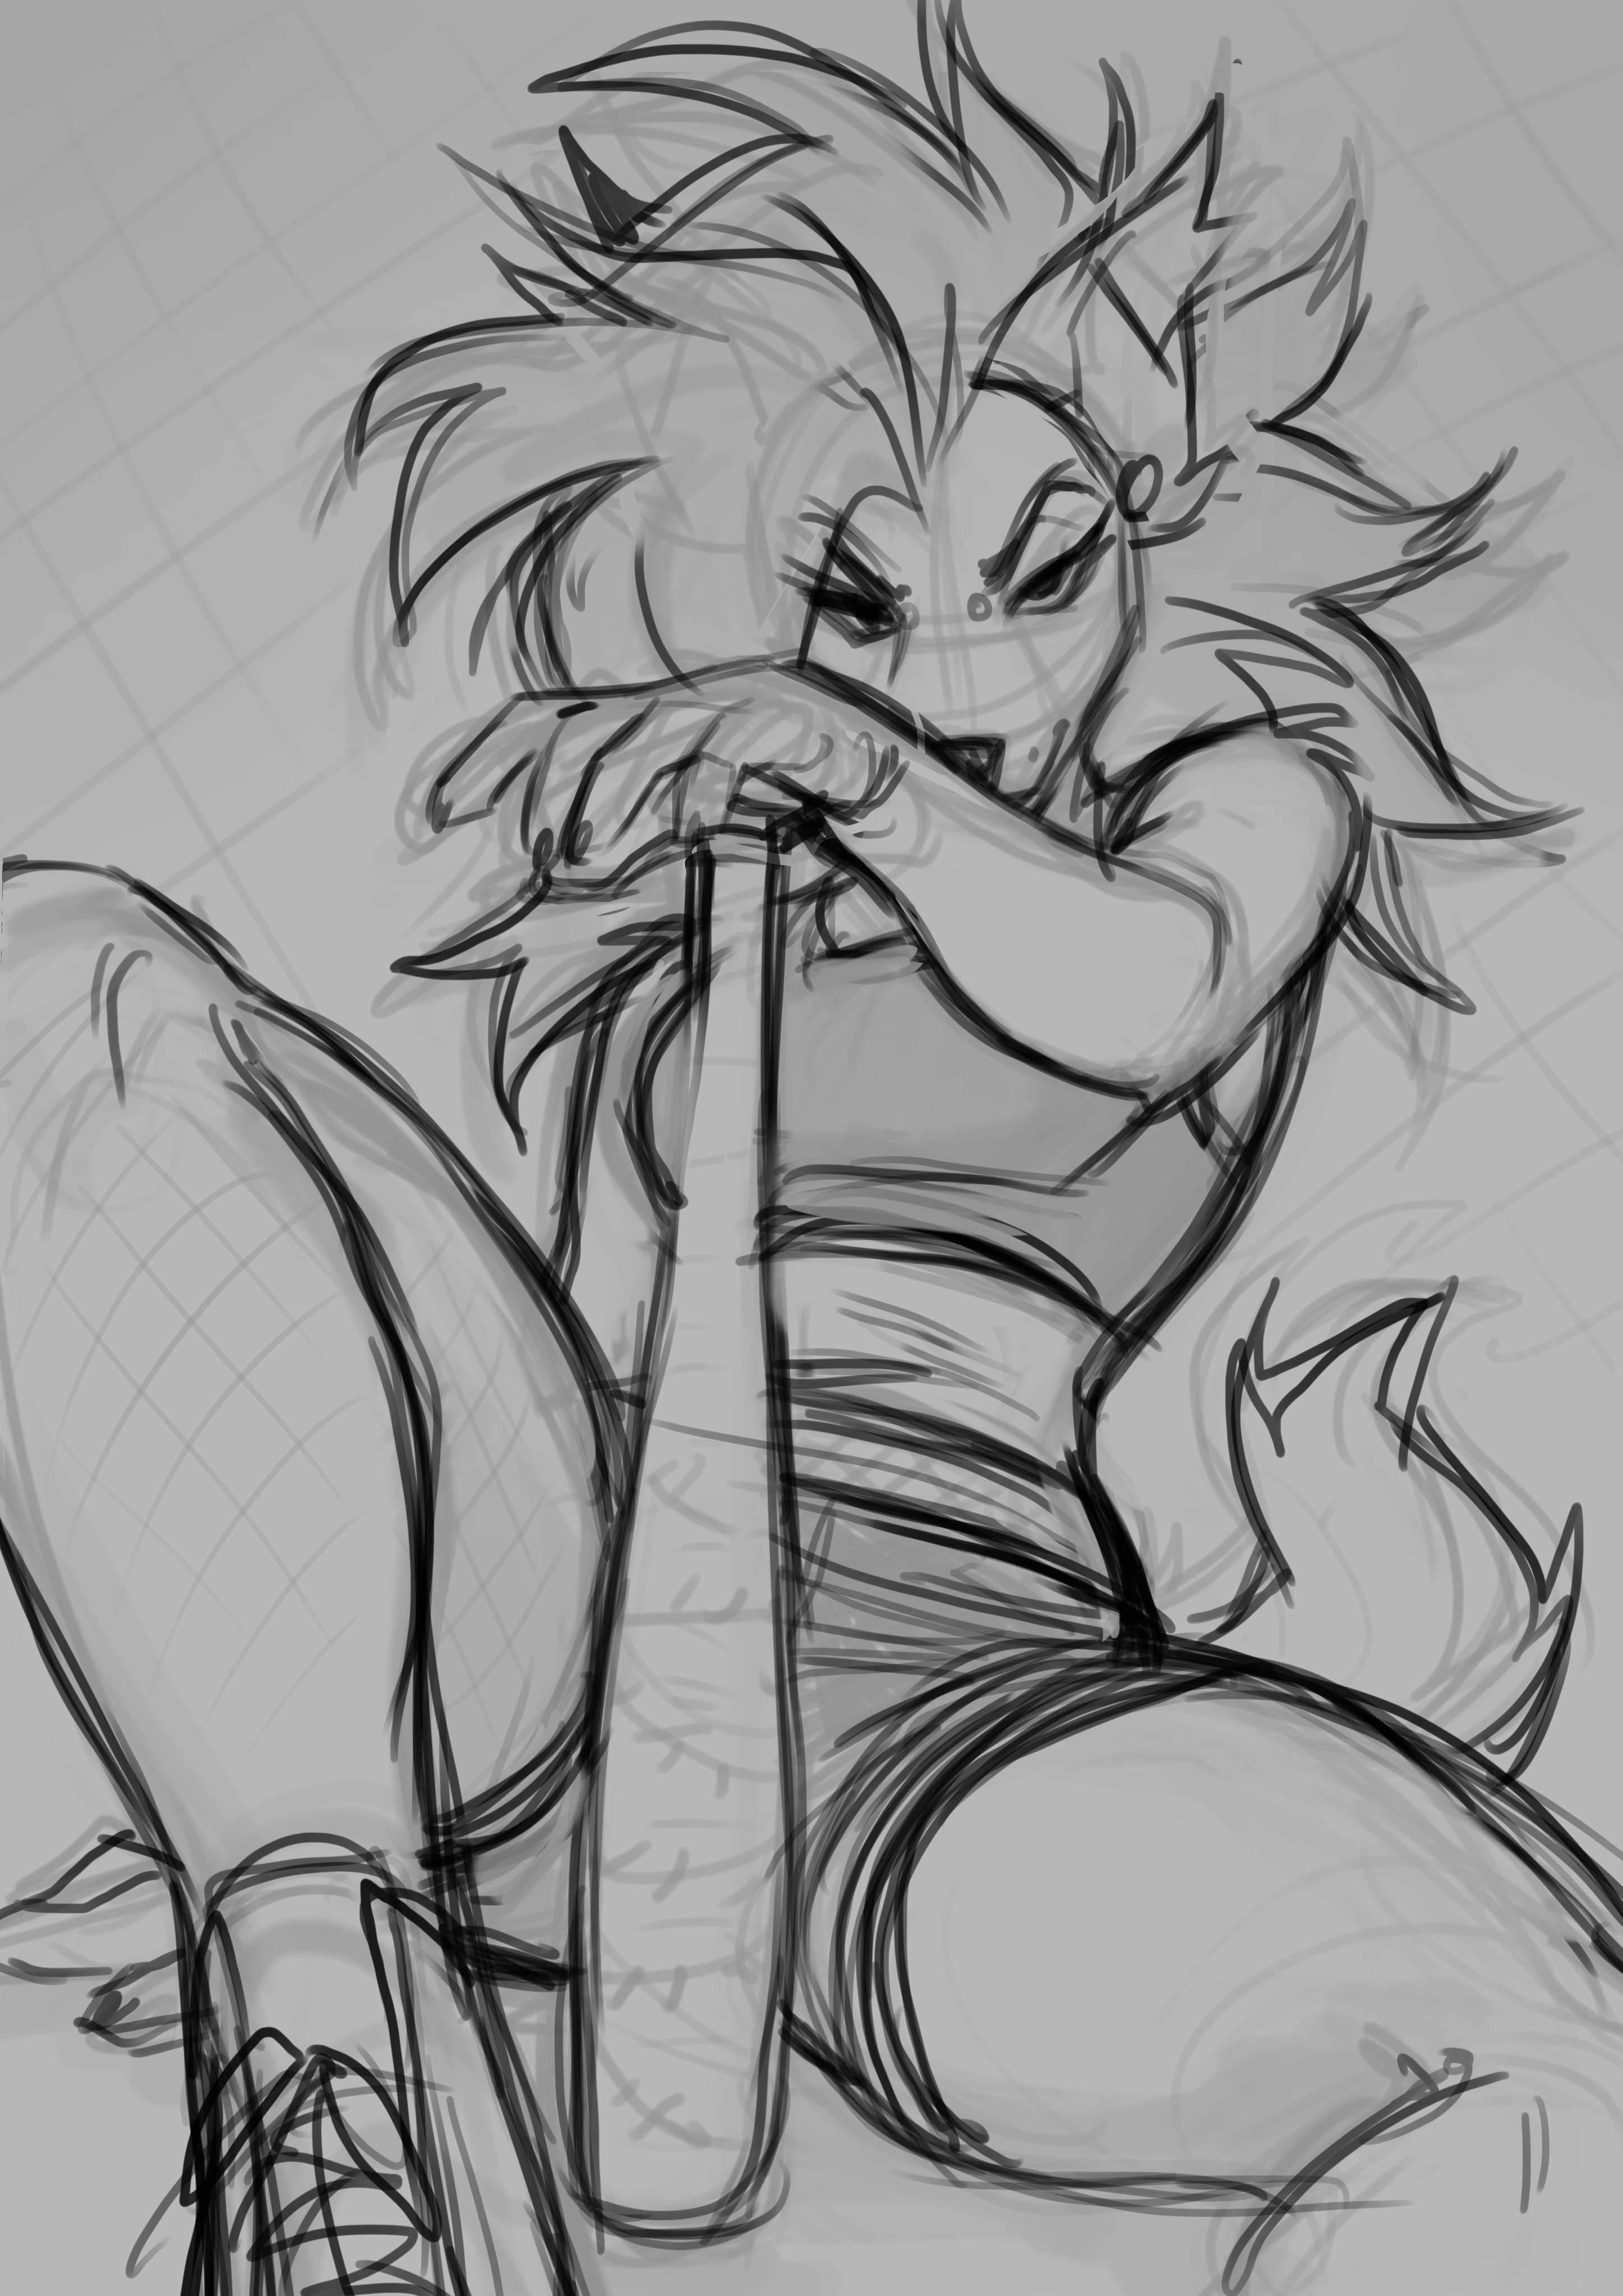
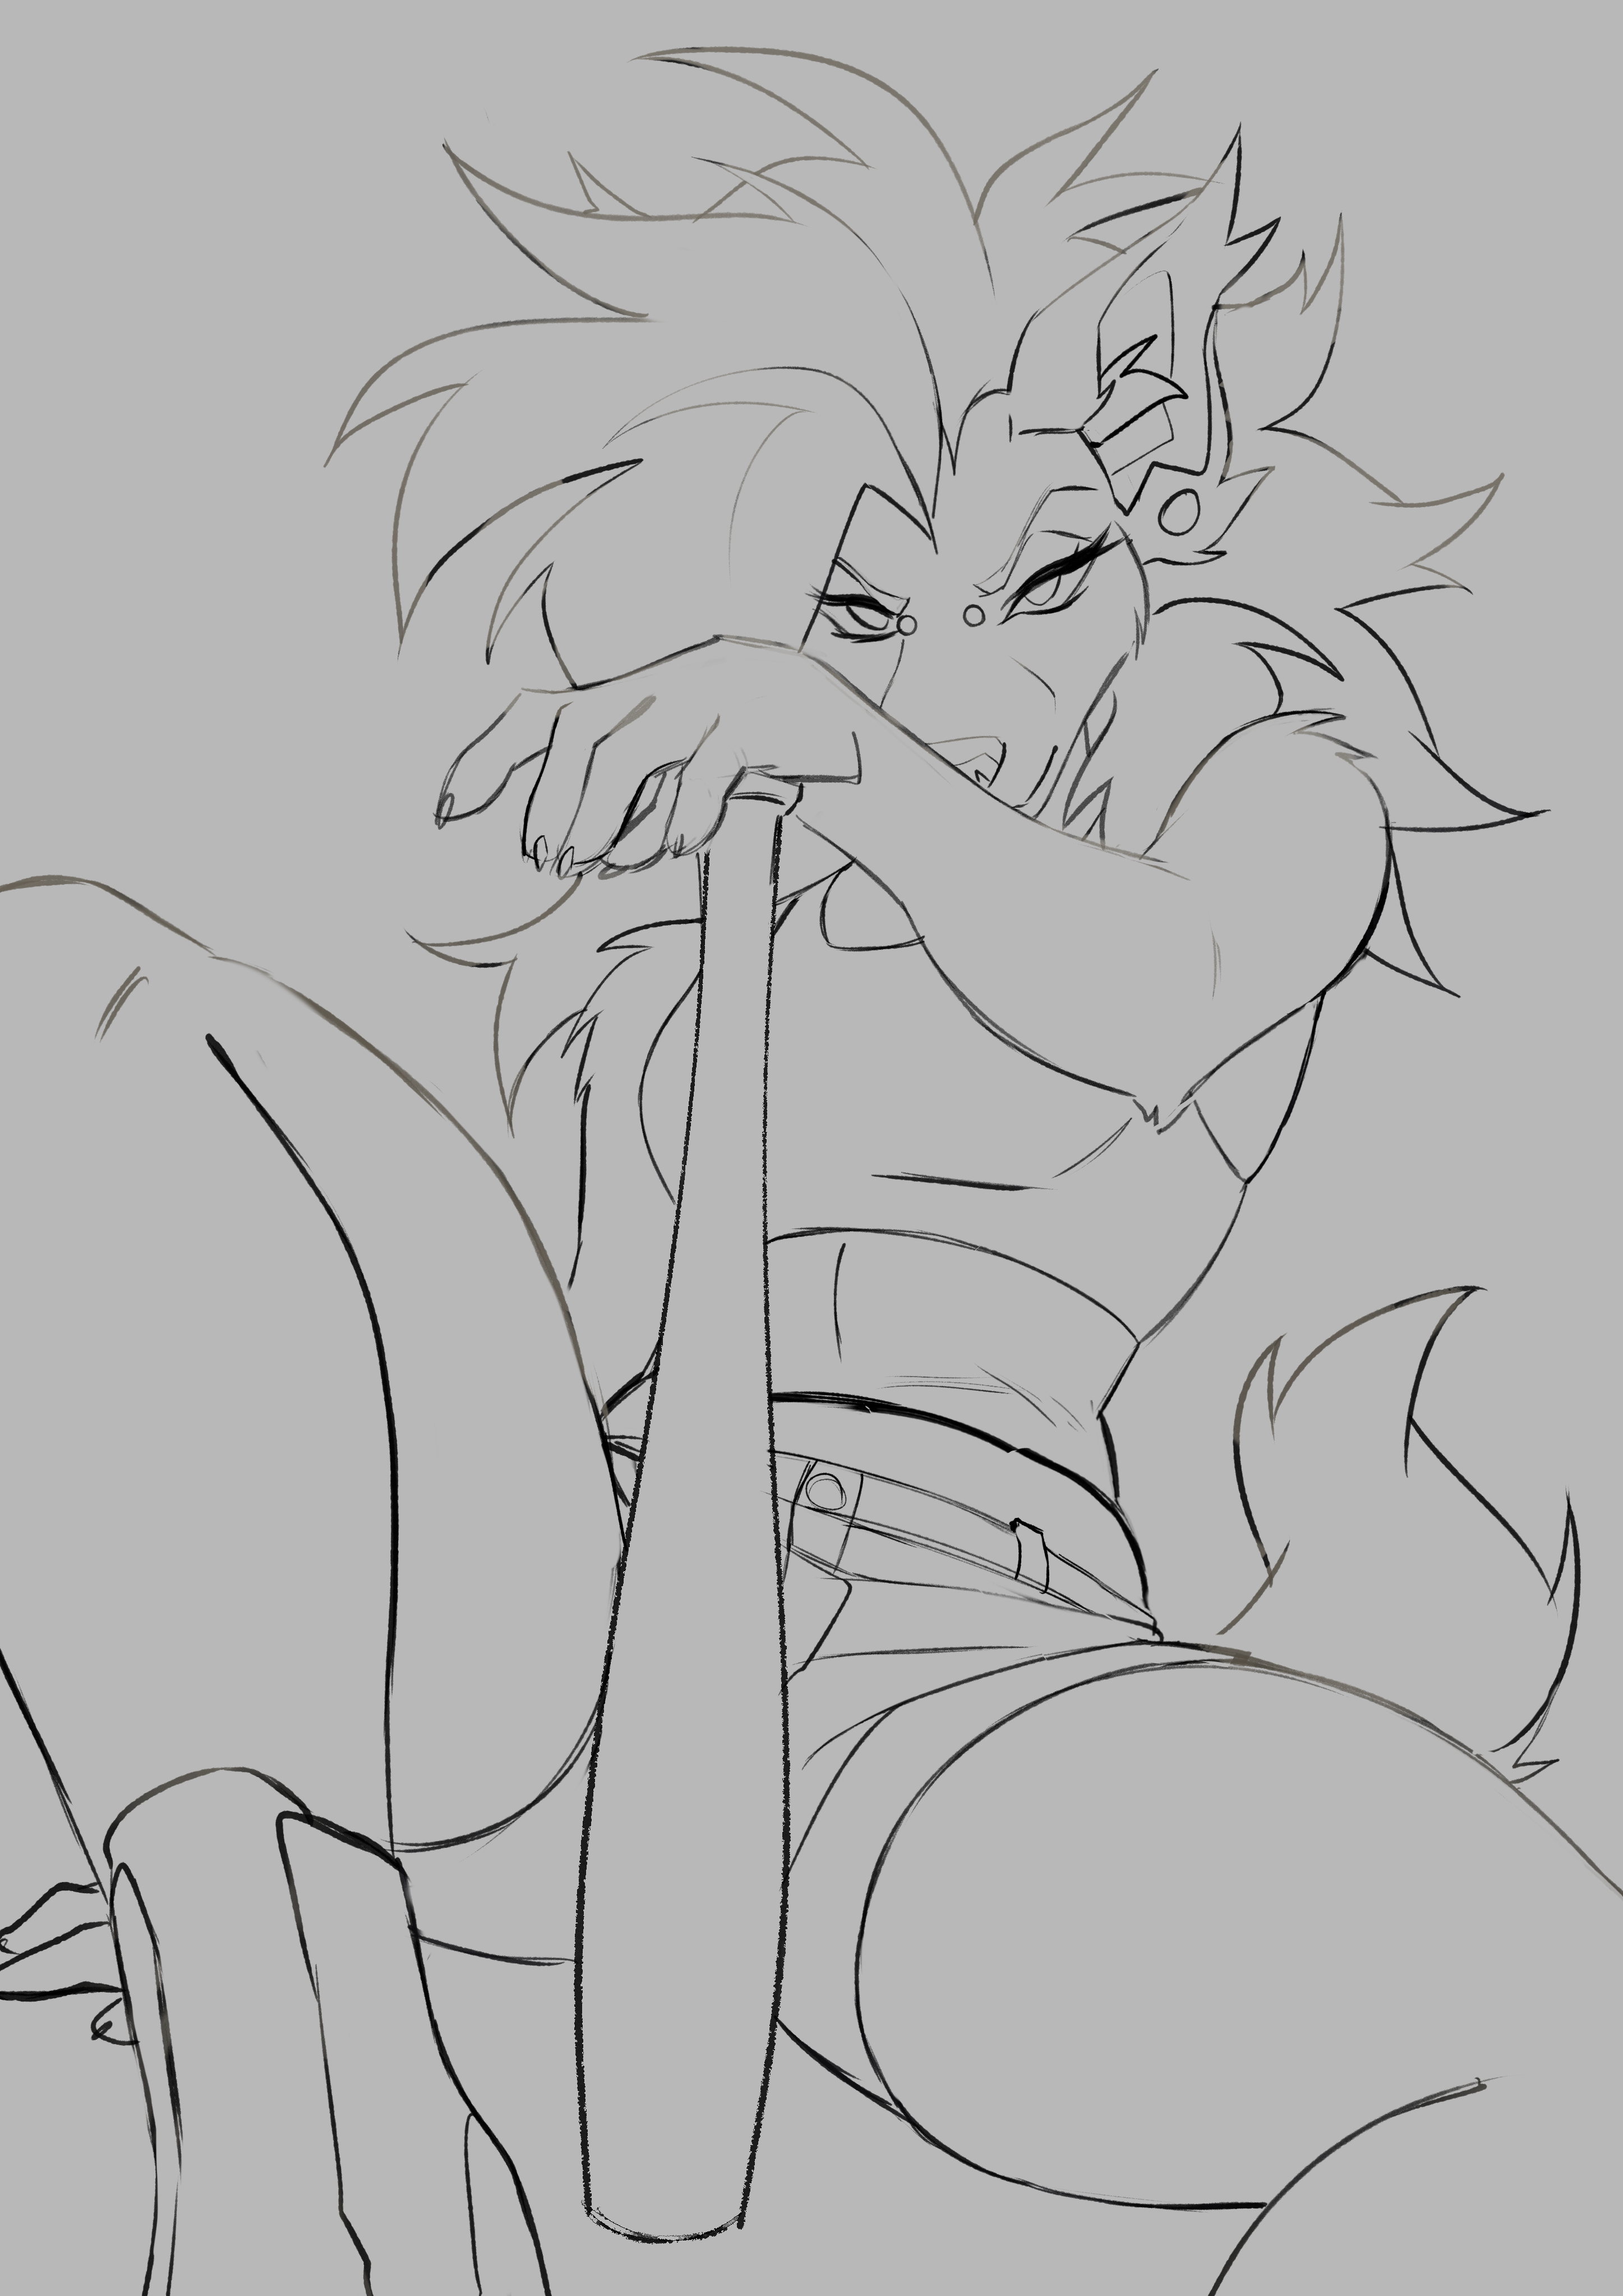
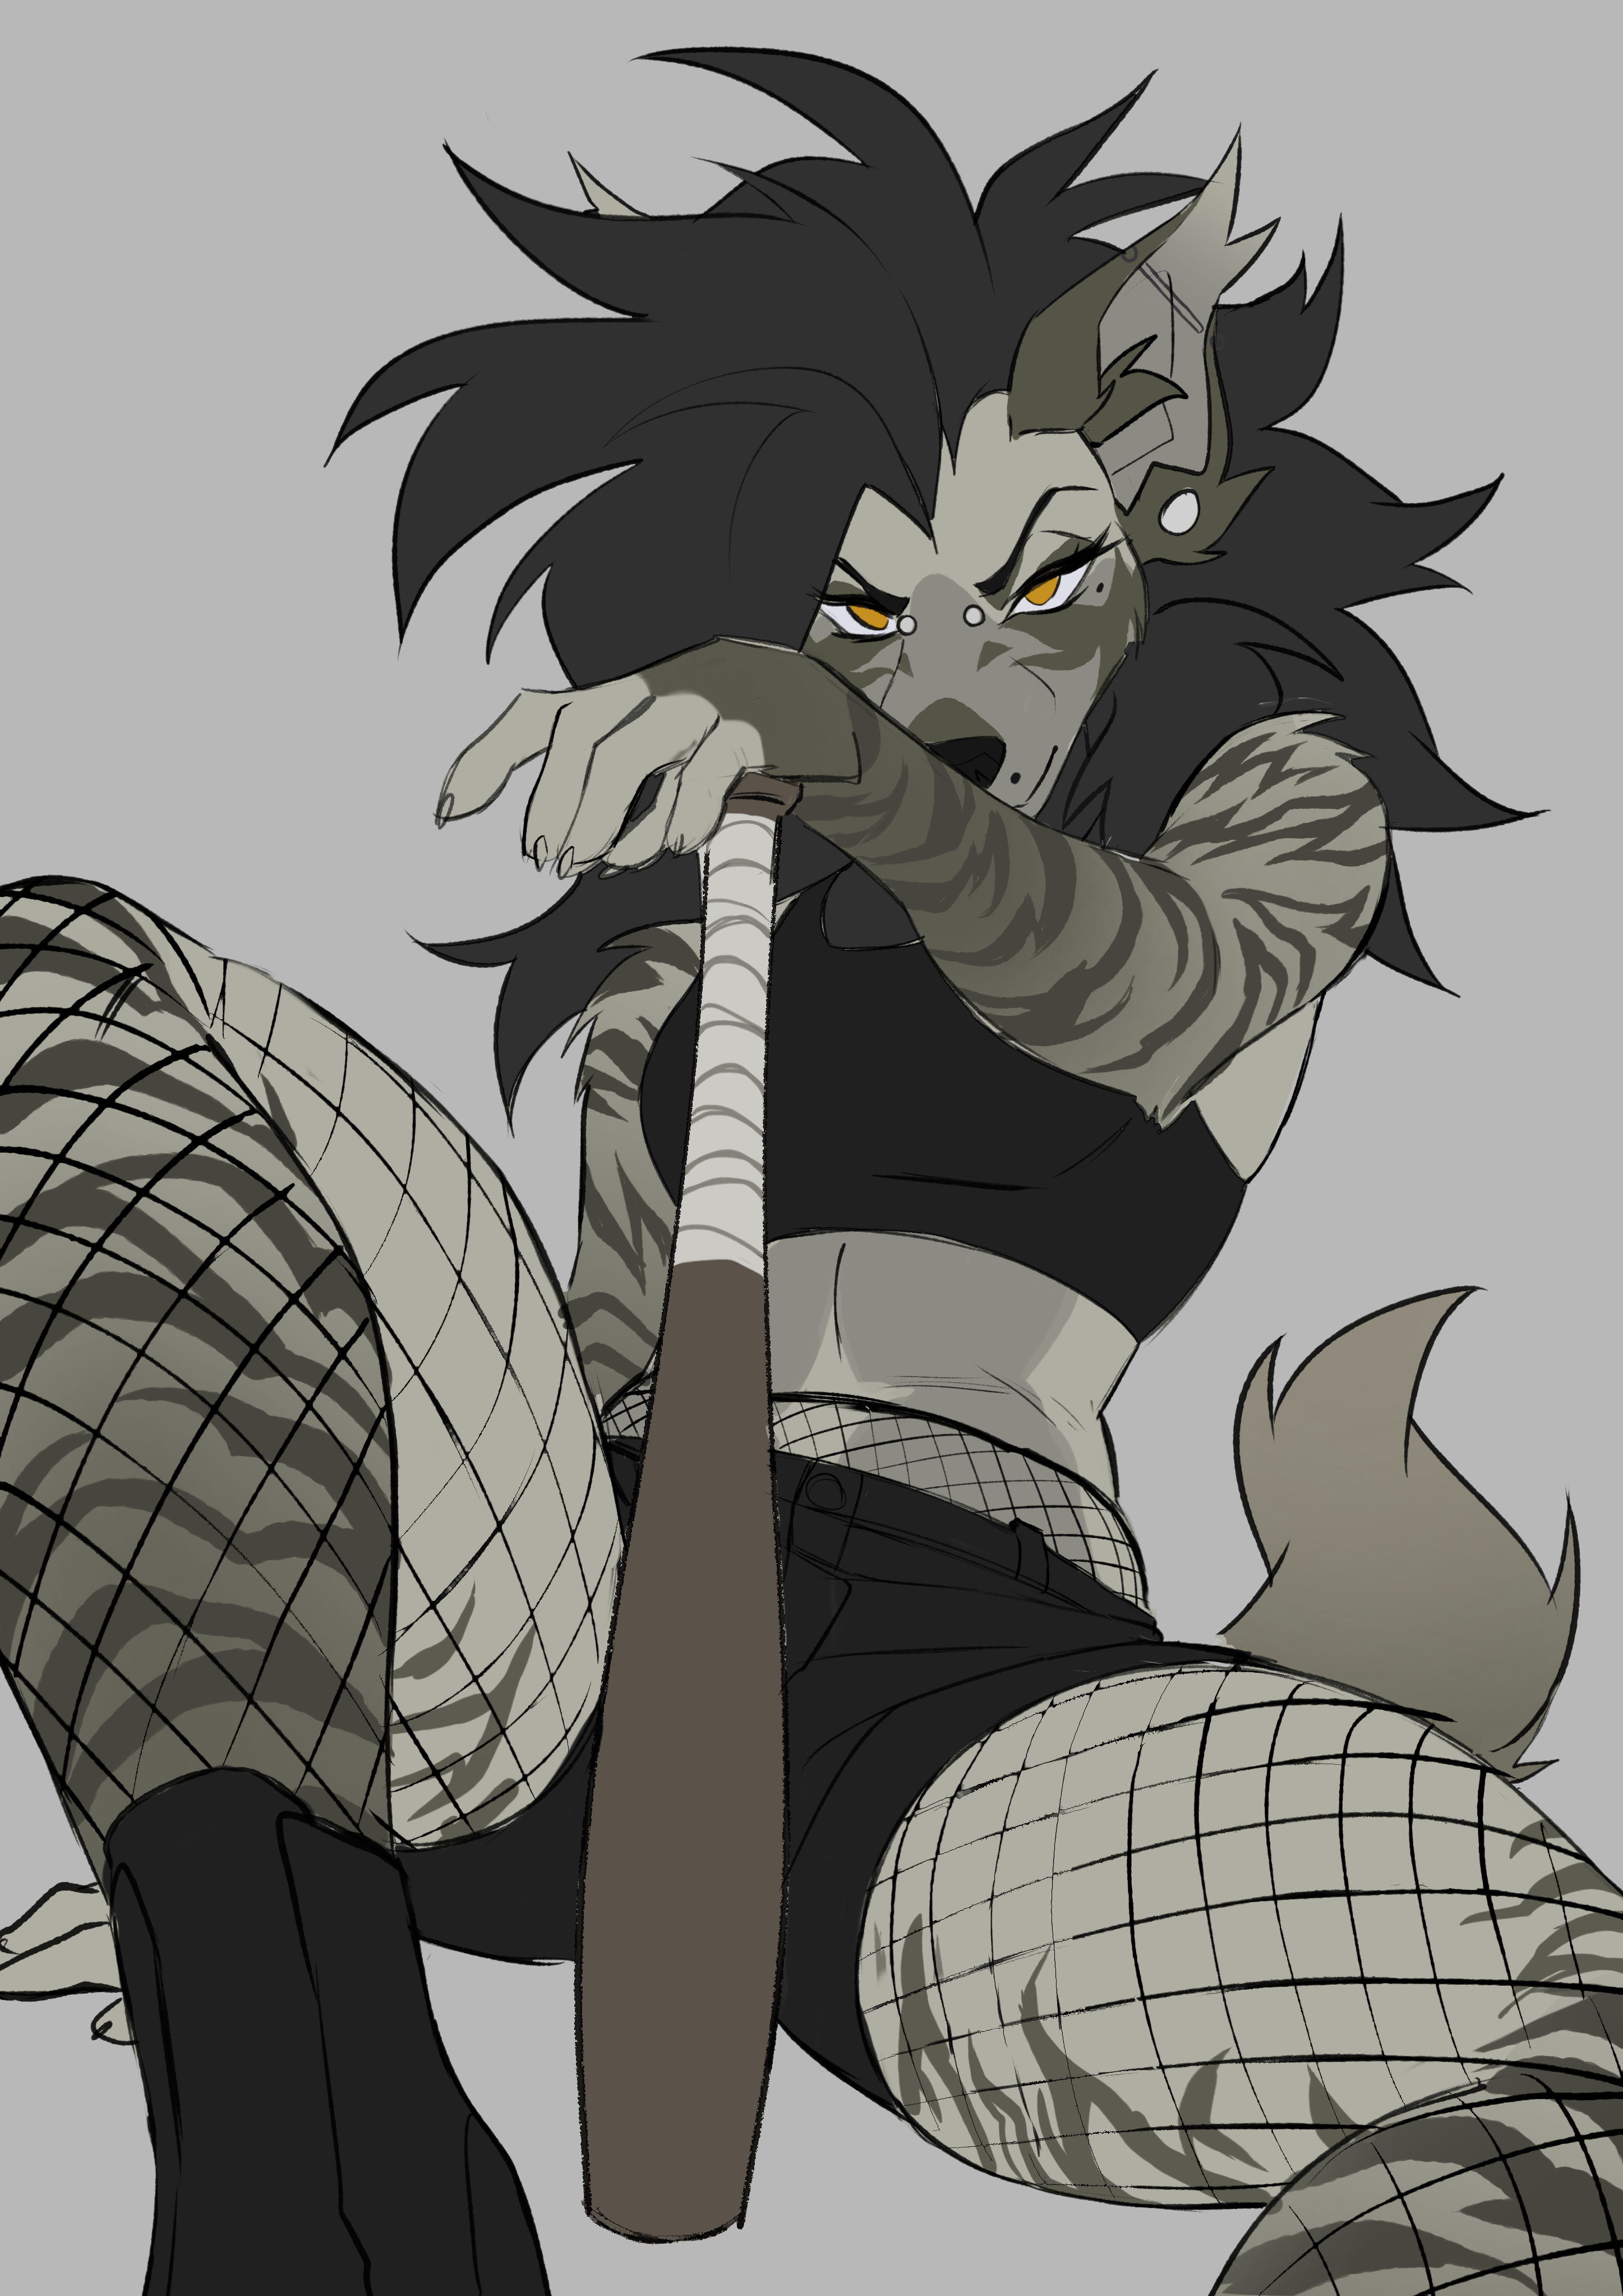
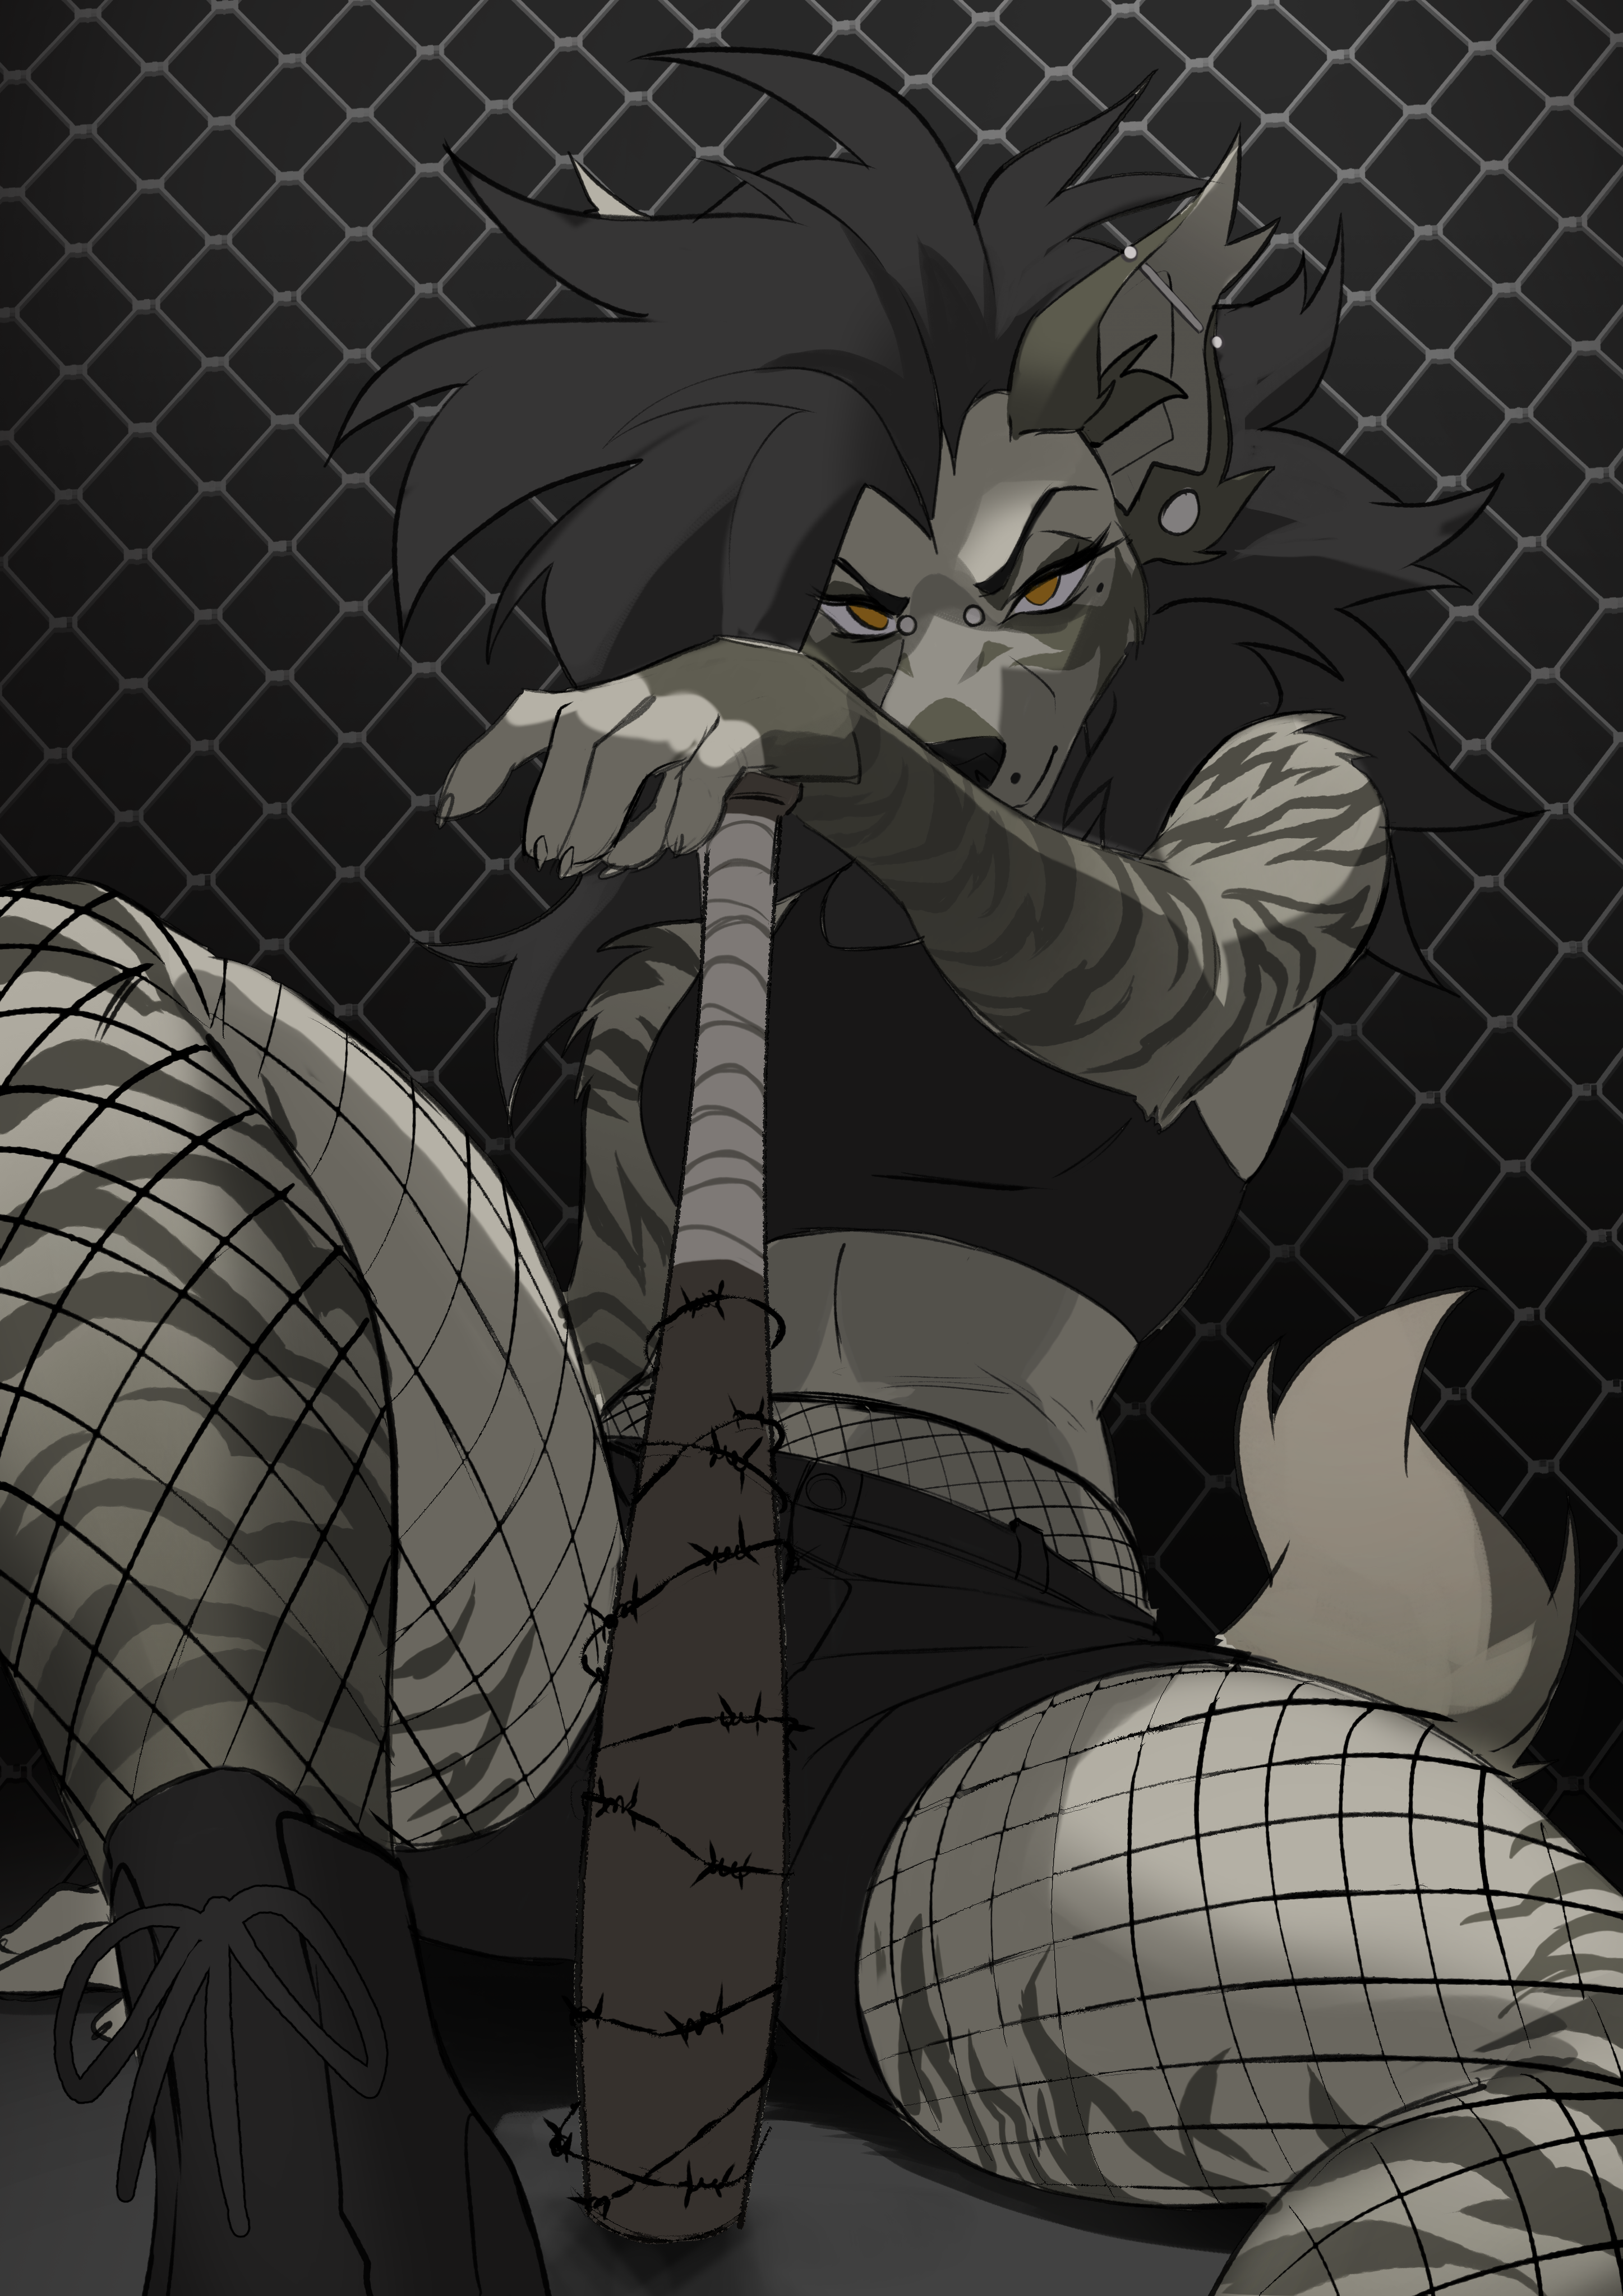
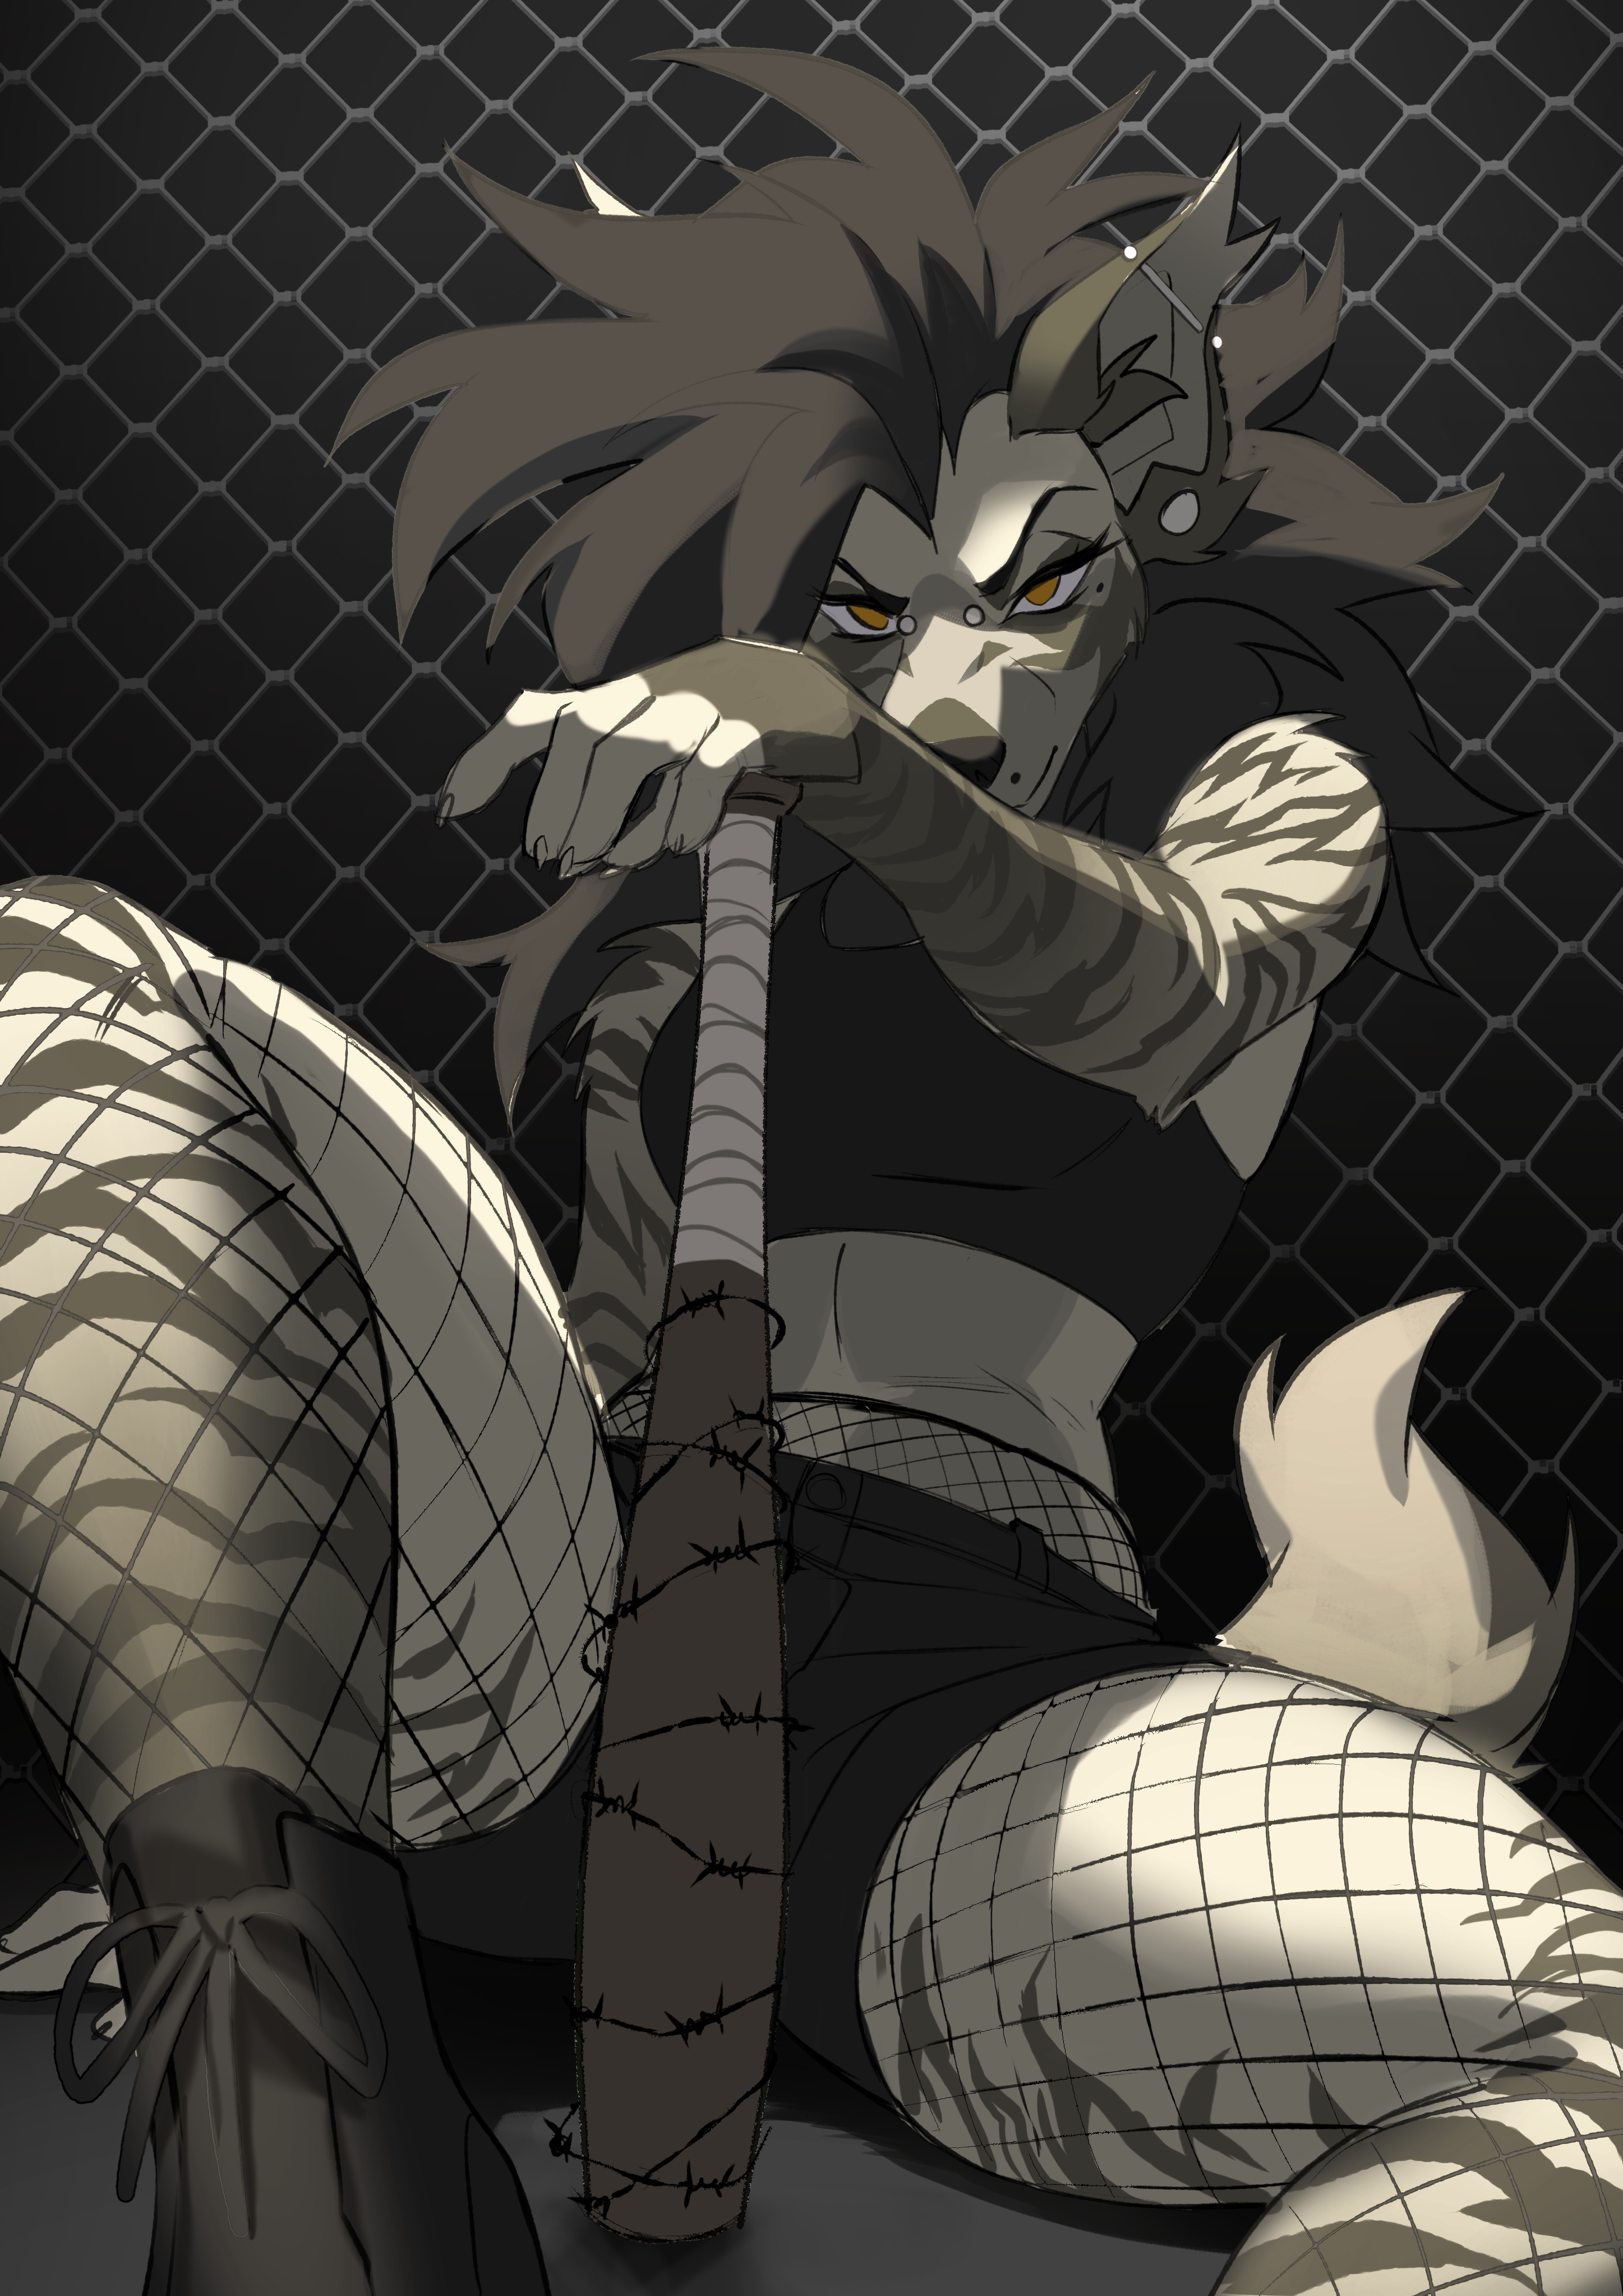
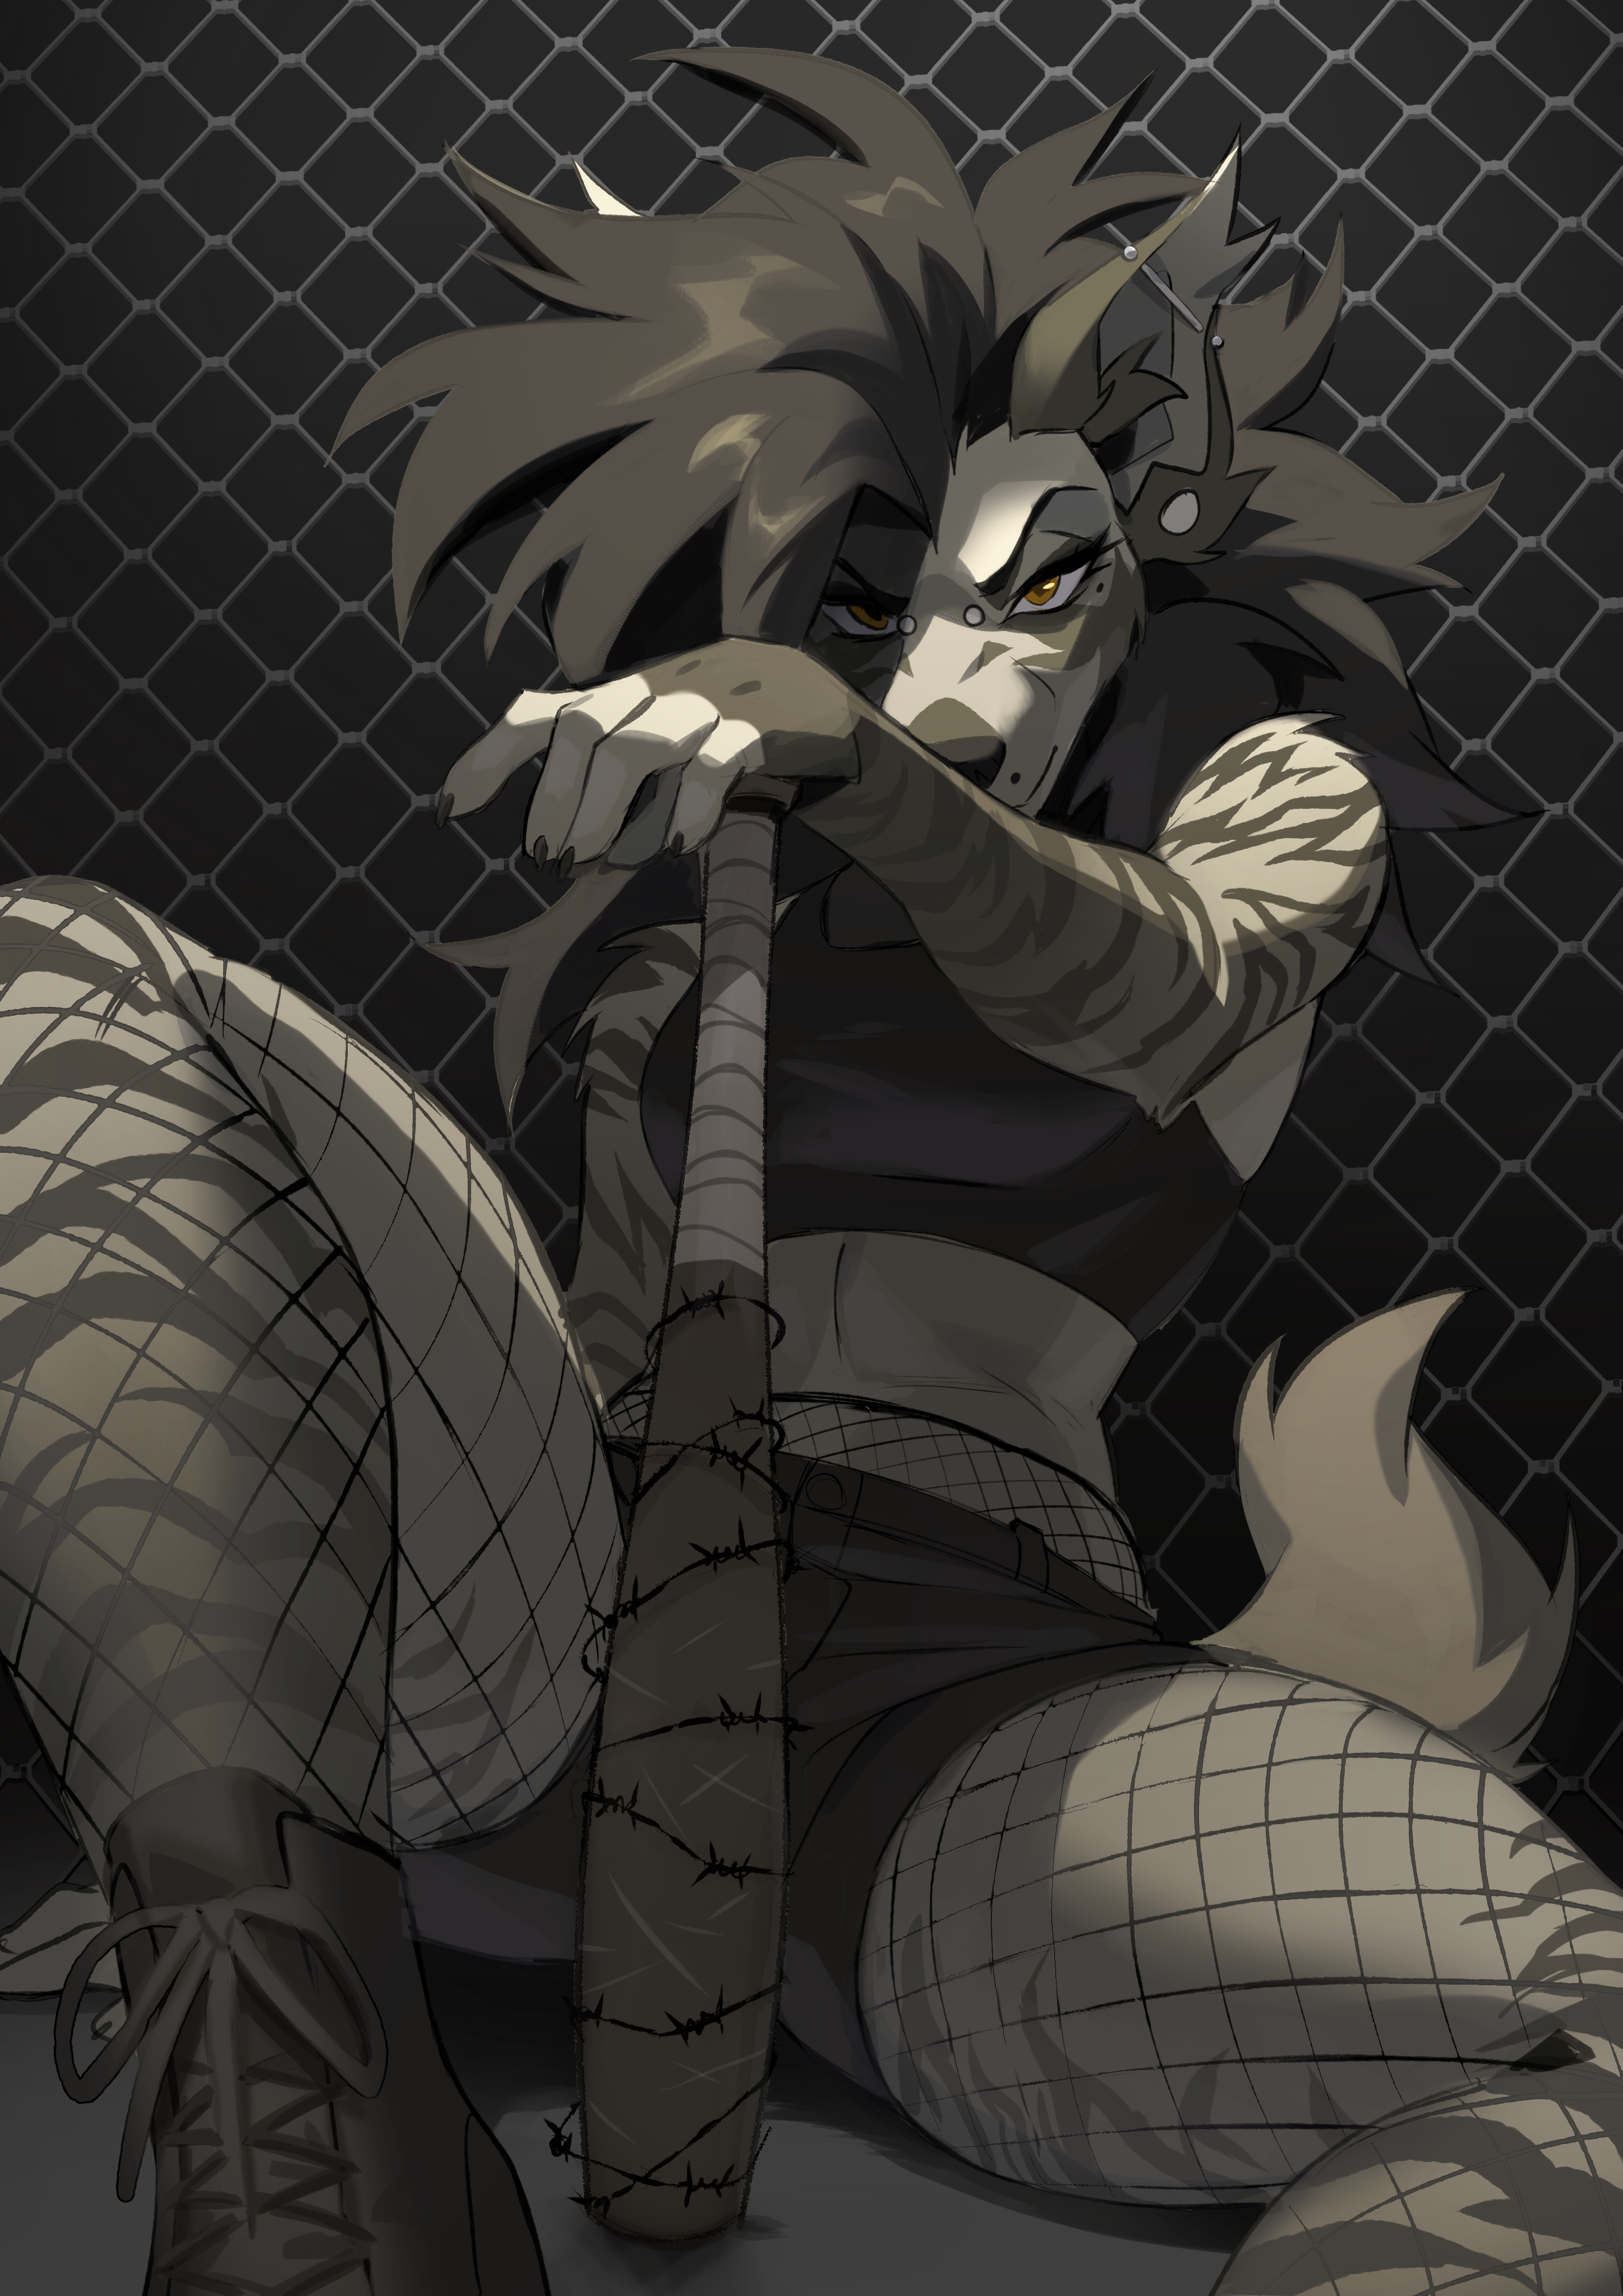
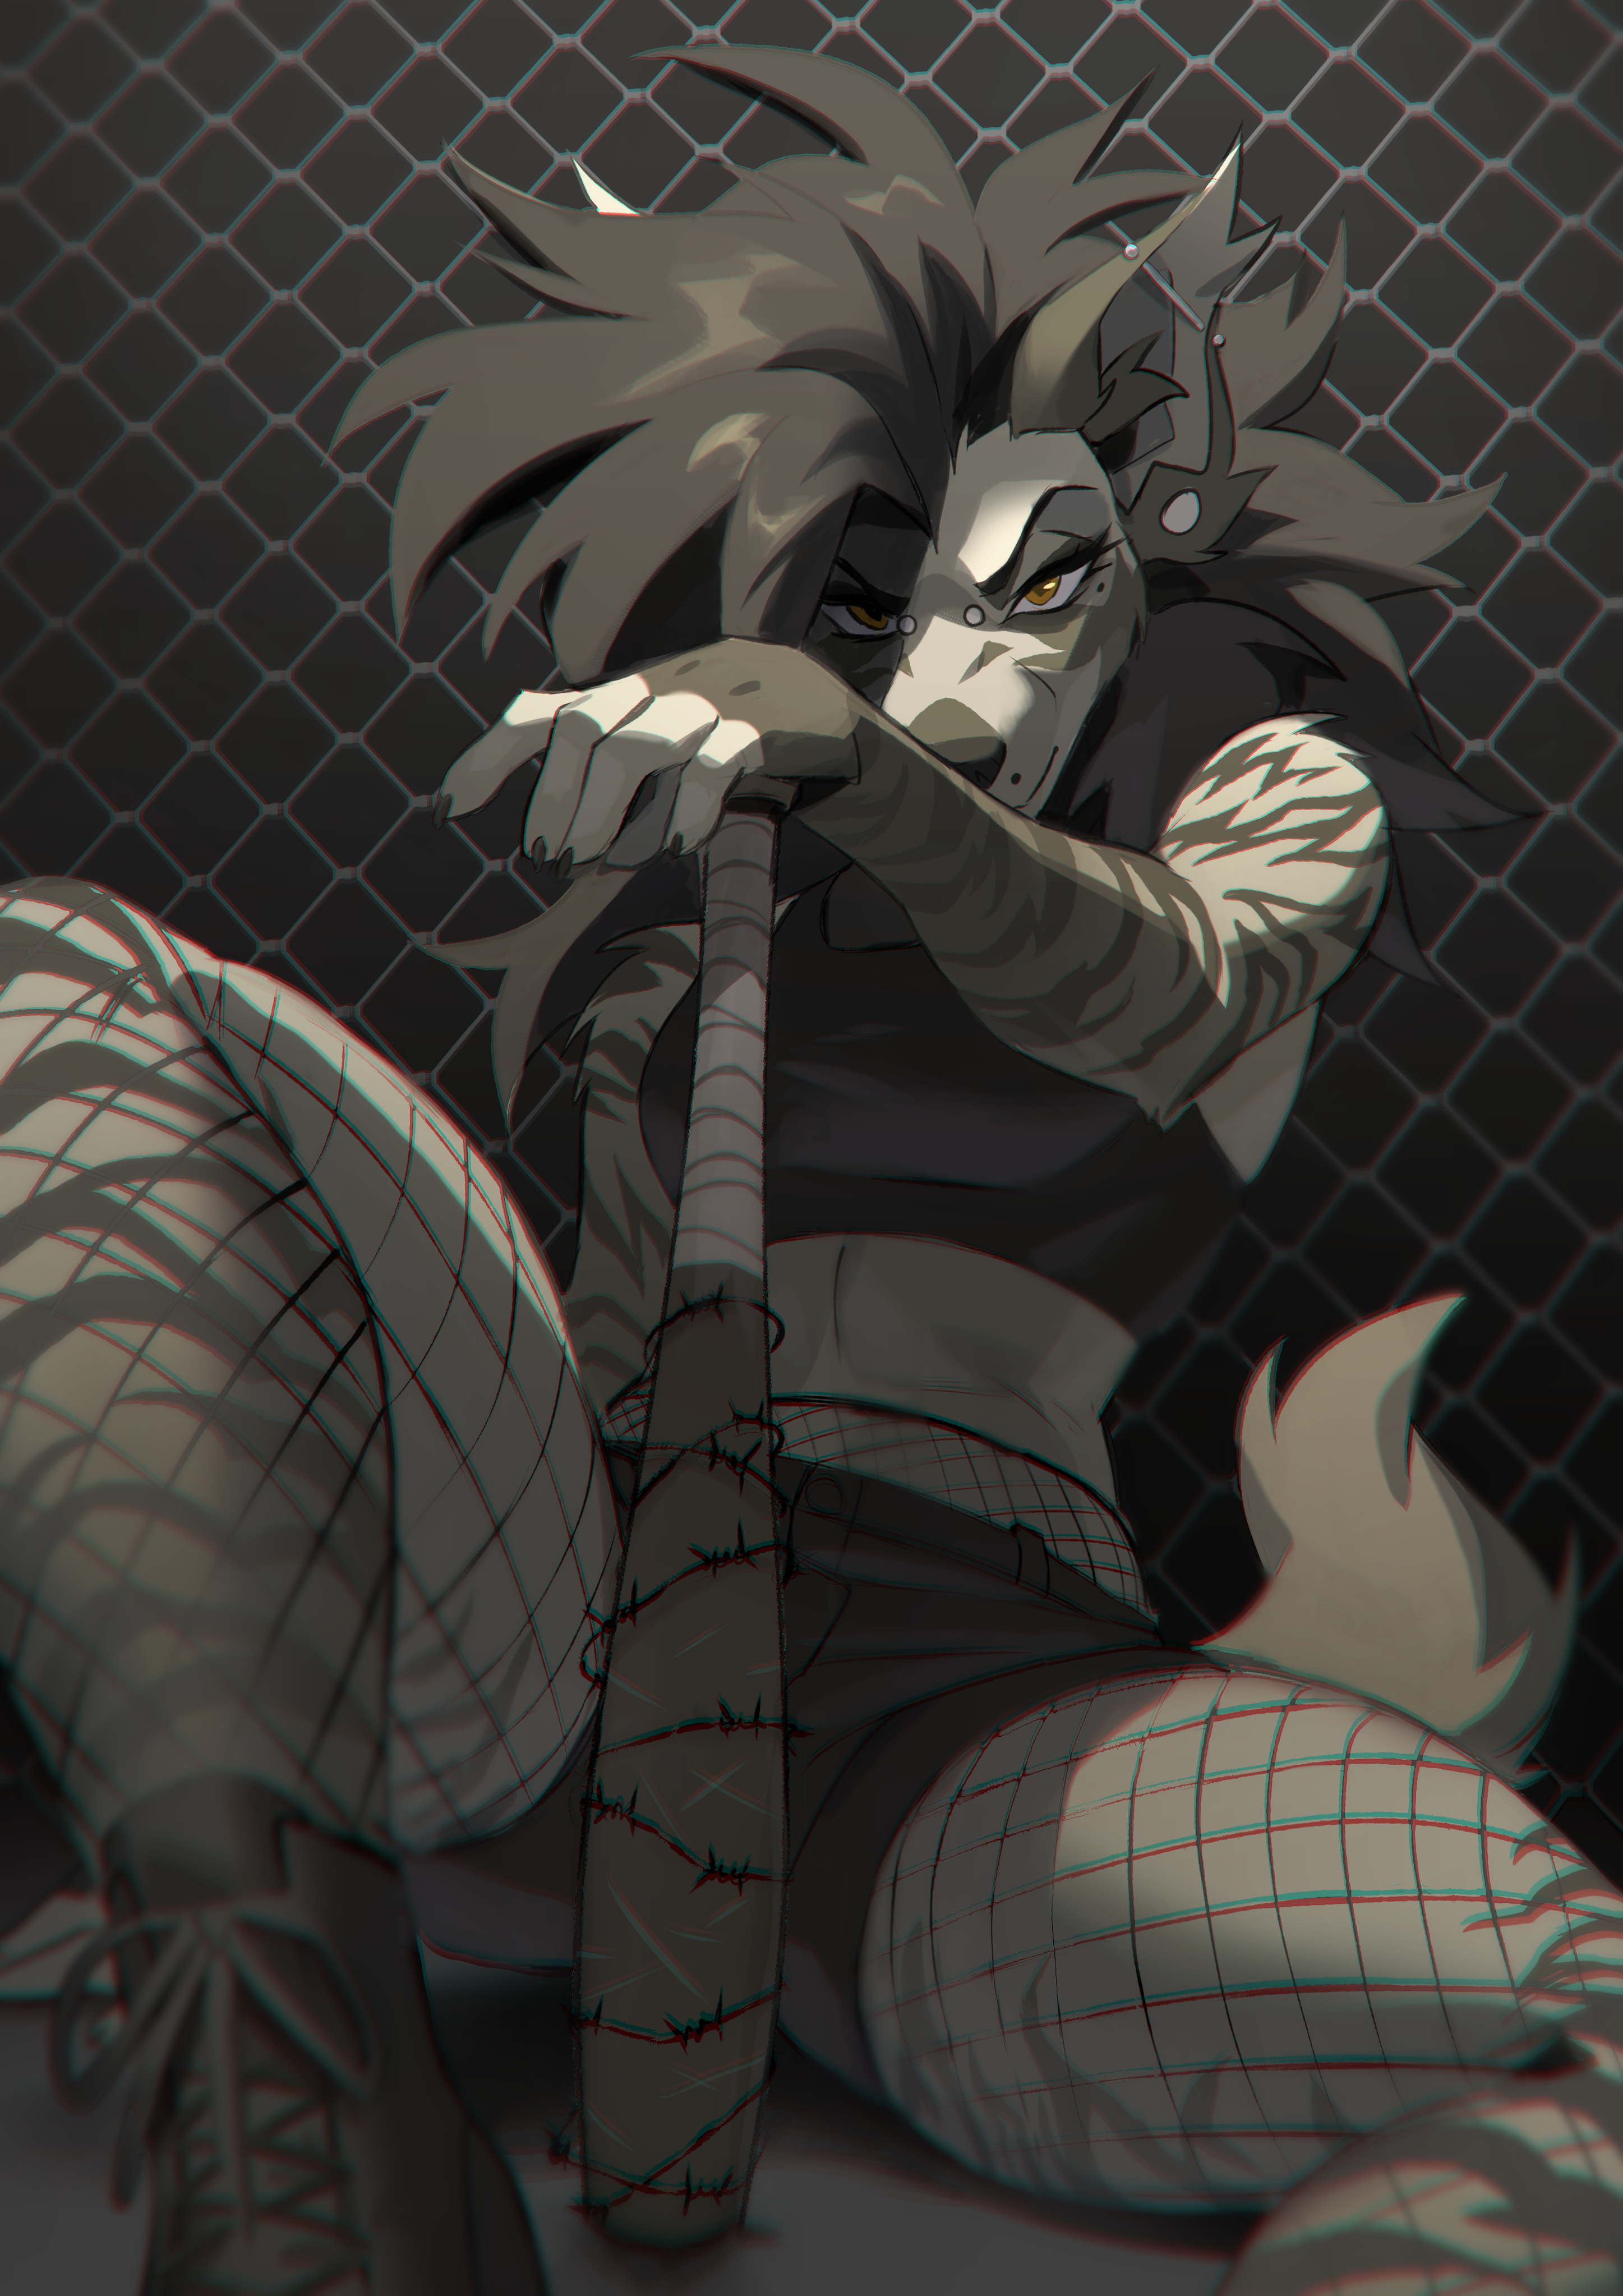
STEP-BY-STEP: Naira (Patreon)
Published:
2023-11-07 18:20:47
Imported:
2023-12
Content
A step-by-step look into the process of how I put together a piece from this year's Artfight event! The character belongs to floidiv who is absolutely killing it with this gorgeous aarwolf x hyena design!
This year's Artfight was much less productive for me than I would have liked so I'm glad I could squeeze in this one. I usually take most of July off to make the most of the event, but this time around I ended up being sick for most of the time as I caught a cold after cold. 😭 Fortunately I did manage to work on some very fun pieces including this one! I'll post a time lapse of the process a bit later, too.
Files