Home
Home

 Artists
 Search
 Recent
 Random
 Posts
Posts
 DMs
DMs
 Tags
Tags
 Random
 Importer
 Import
 FAQ
FAQ
 Account
 Register
 Favorites
 Login
Login

Massive Pipeline Improvements and Eye Shader Logic (Patreon)
Content

1.) Bulk Export script: which will allow me to pass in a list of objects with 3 properties: the filename to be exported as, the face shape key action to use, and the body rig action to use. Image 1. This allows me to now export en masse all my animations to individual .fbx and create animation combinations on the fly super fast. One million headaches saved.
2.) Bulk FCurve Copy script: this will allow me to edit any pose bone in an animation and copy those changes to the rest of the 54 animation actions. This was used for repositioning the old eyeball bones for the new look at method. In conjunction with the bulk export I saved easily 3 days of slave labor and is far less error prone.
Now that I had my animations back to speed, I worked on the new pupil logic. Using a combination of inverse point transforms and value tweaks, Shinobu's eyes essentially flatten the 3D look at quaternion onto the flat 2D eye mesh.
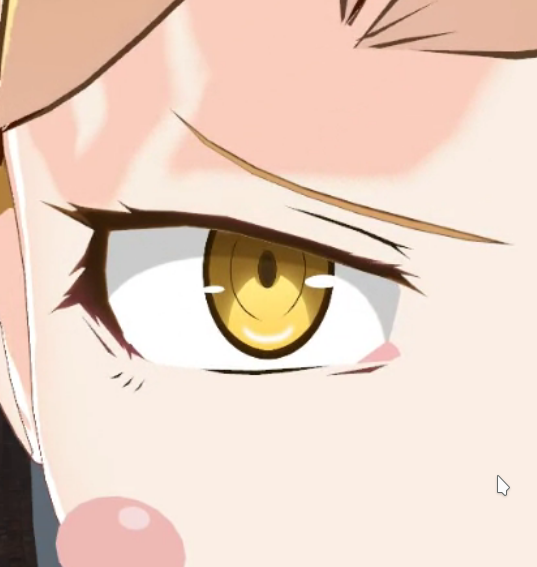
One thing that I noticed is that in most of her art and designs, Shinobu has a sclera shadow casted from her eyelashes:

These shadows can not be easily replaced with the world light shadows because they would not have enough resolution and accuracy. So I wanted to work out a shader based solution. The following image shows in yellow where the eyelash shade should be when her eyes are fully open:

The next one shows in green where it would be when using the full mad shape key:

Therefore I needed to find a way to interpolate this shape:

So I traced the shape in Blender, built a mesh and UV unwrapped each square such that it fit on a yellow-to-green gradient. The result:

After that I made a quick shader with her pupil texture and the gradient texture. With some trickery I was also able to make it interpolate from open->mad->upper eyelid. Video 1 shows the final shader result in action.
The new head mesh Is not quiet ready yet as I need to rework the eyelid clamping logic and hammer out a few small bugs. The hard part from the switch is over and I should have it finished by next devblog entry.
Files