Home
Home

 Artists
 Search
 Recent
 Random
 Posts
Posts
 DMs
DMs
 Tags
Tags
 Random
 Importer
 Import
 FAQ
FAQ
 Account
 Register
 Favorites
 Login
Login

What's Up next? #3 (Pixiv Fanbox)
Content
Hey there! Here we go again!! Hahahaha!
I'm currently working in other two sets (since one of those is pretty small) which features Pan and Android 18, each one with a respective set, of course!
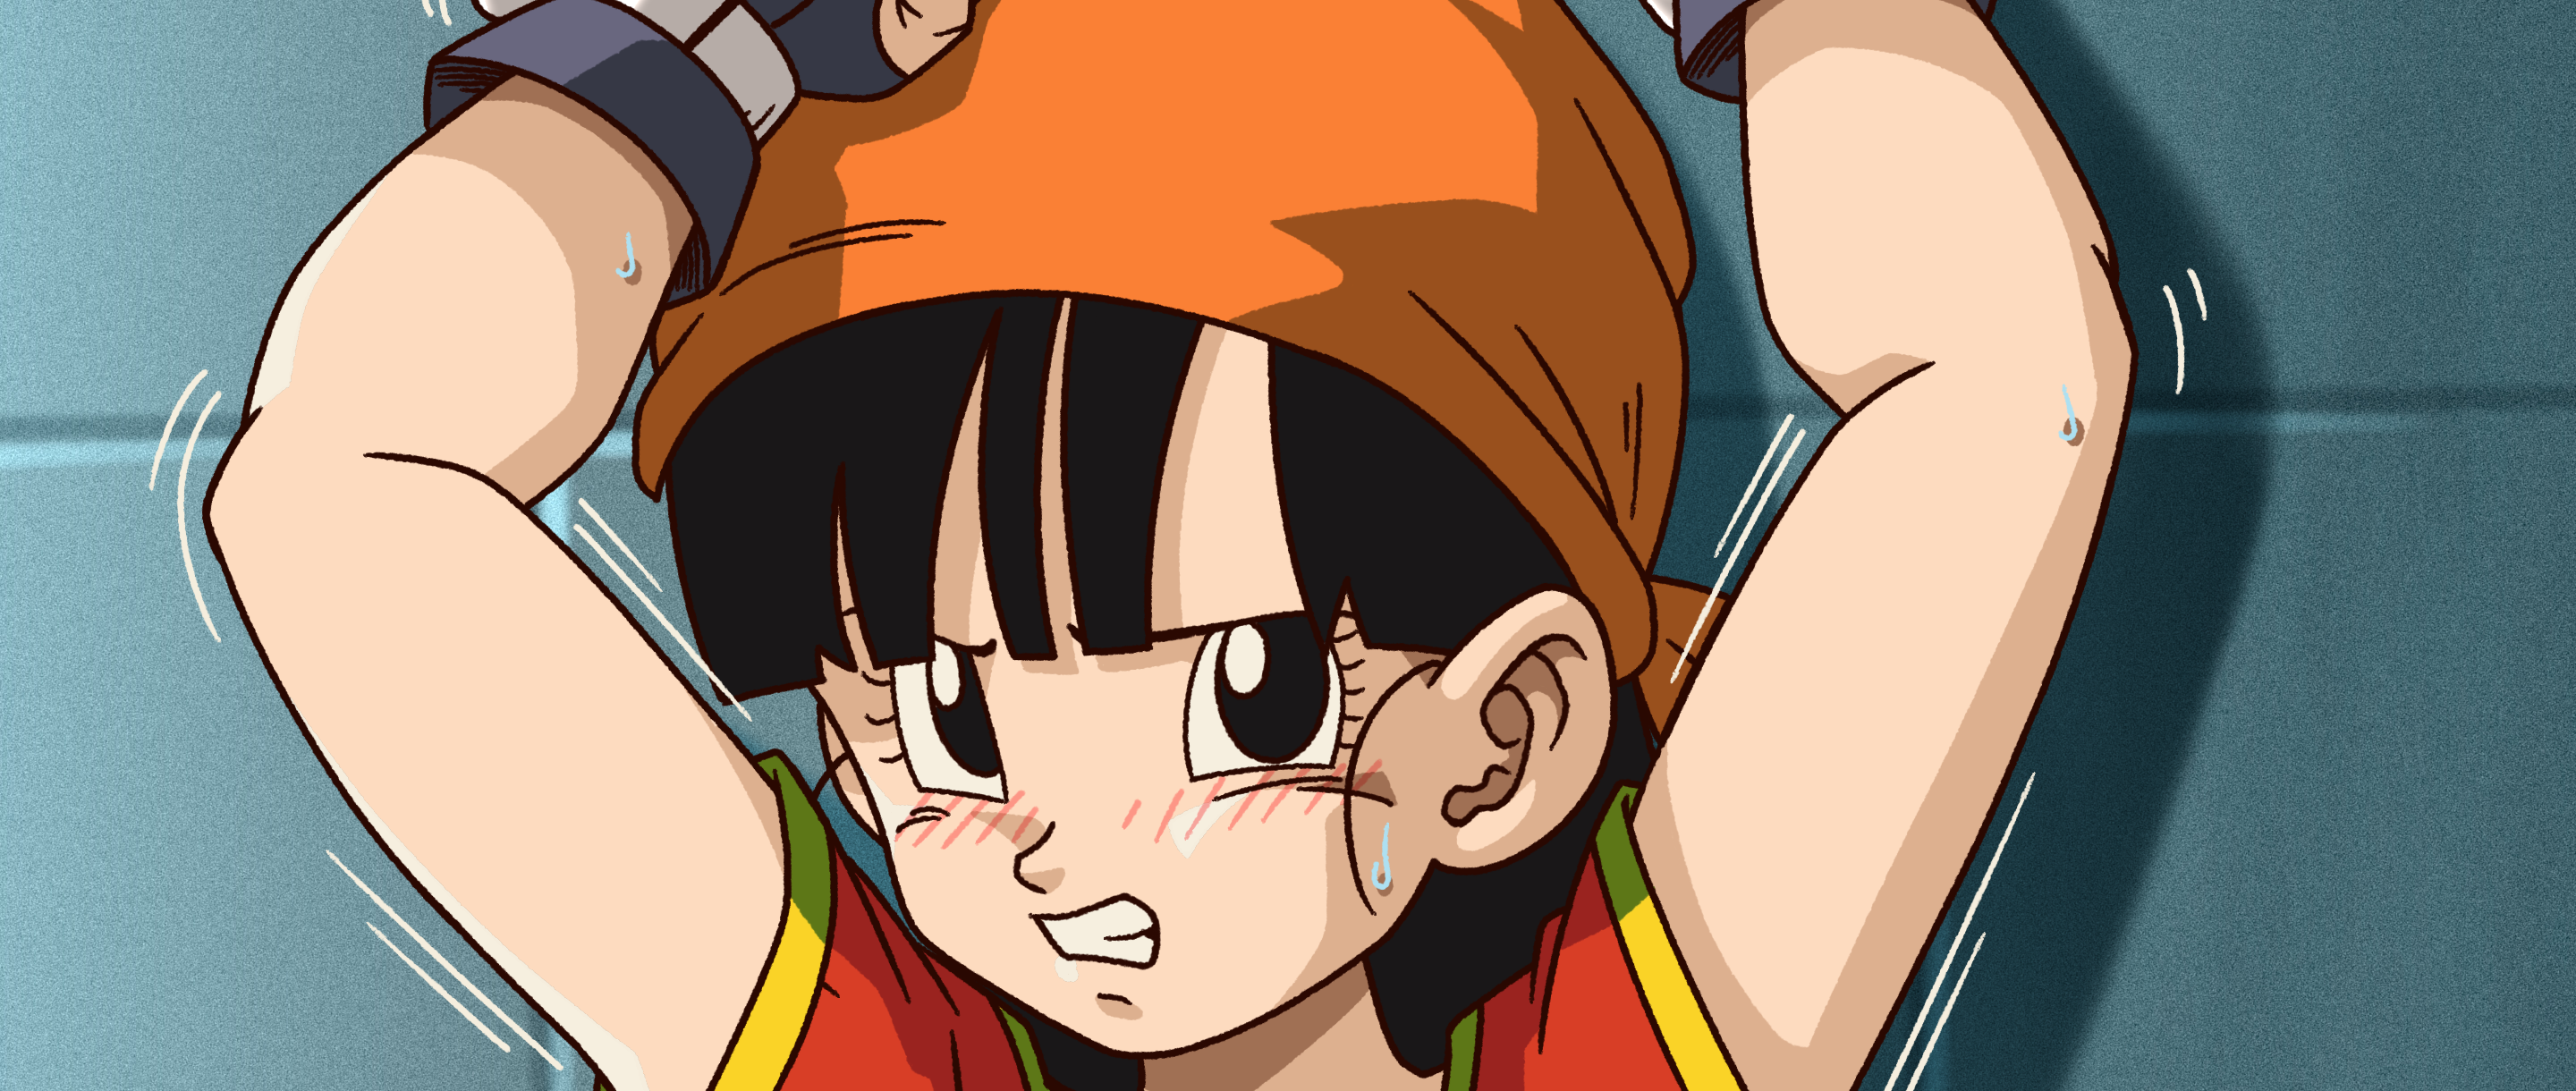
First, let's begin with Pan:
Yeah, I know, it's a small glimpse of the set, but it's because is a tiny one! Like 2 pictures only! I don't want to spoil the whole set in a "sneak peek" post.
(╯ರ ~ ರ)╯︵ ┻━┻
Anyways, let's move forward.
…
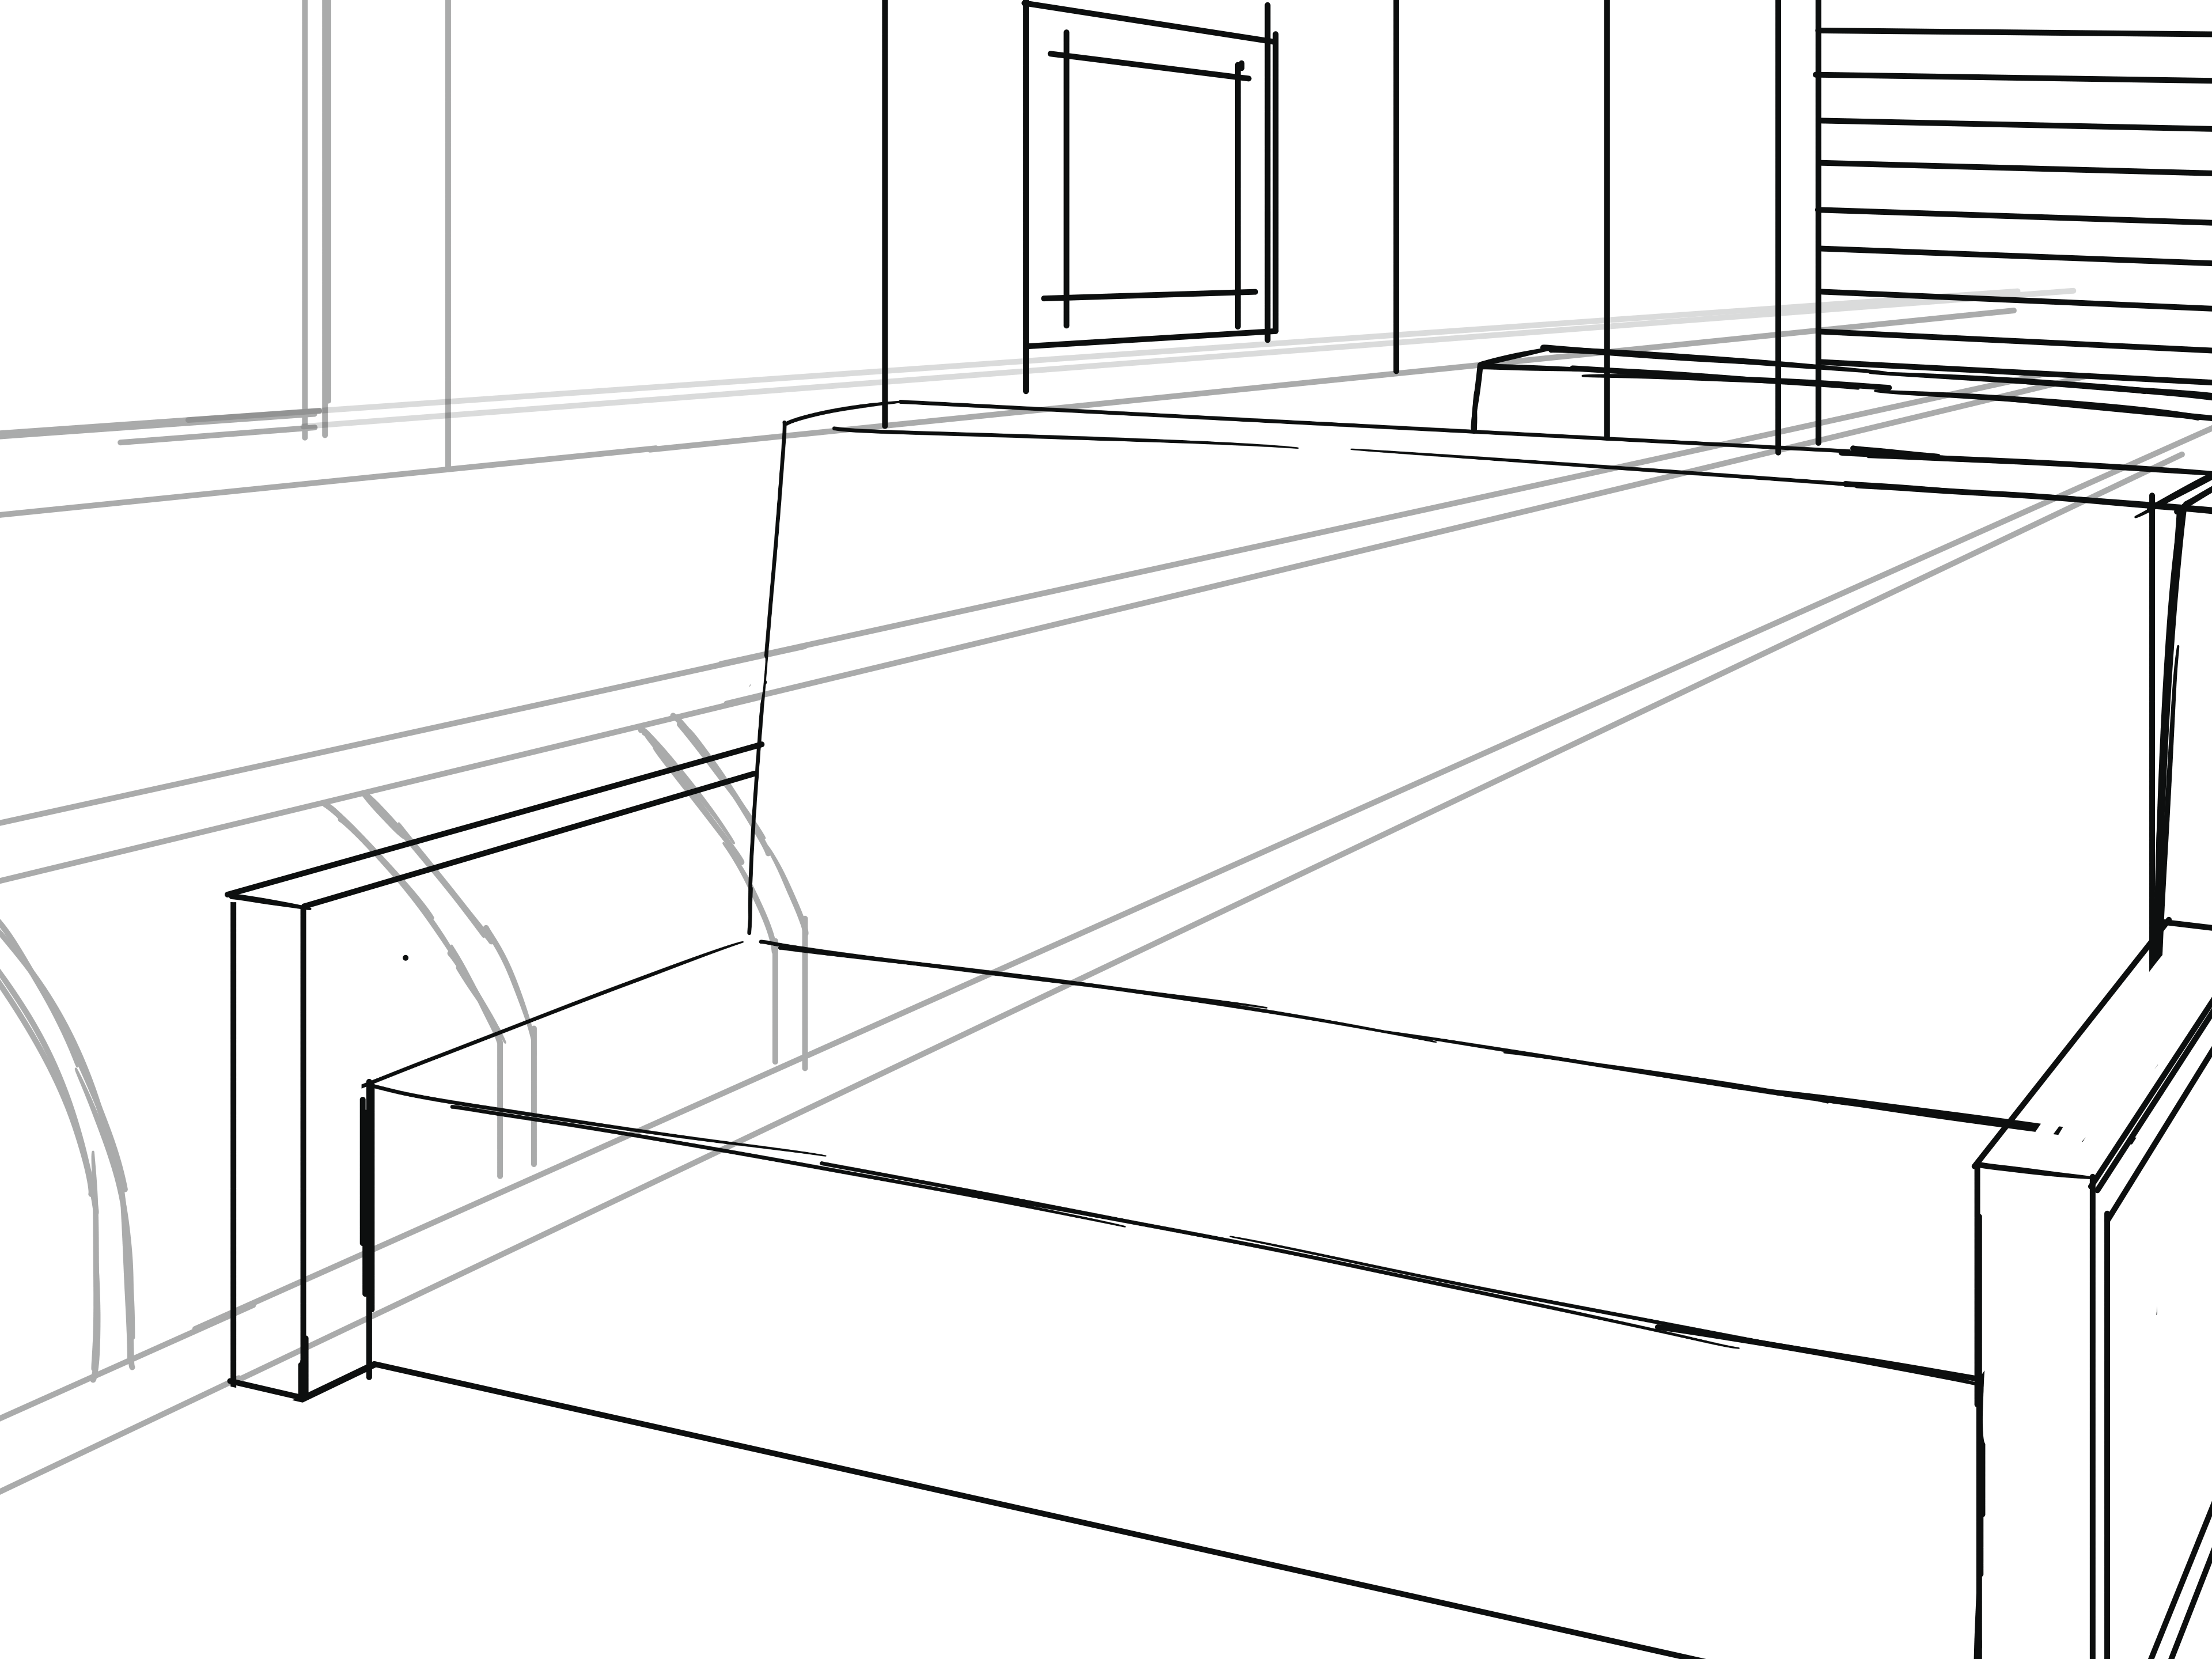
The next one is Android 18. For this set, I had to whip up some fresh angles for the scenes. So, I figured it'd be cool to give you a peek at how I build up a scene as well:
I bet you guys already know where the next set takes place, hahaha.
To kick off each set's process, first, I need to know the scene's angle and the elements within it, so I can start sketching out the characters, trying to make them interact seamlessly with their surroundings.
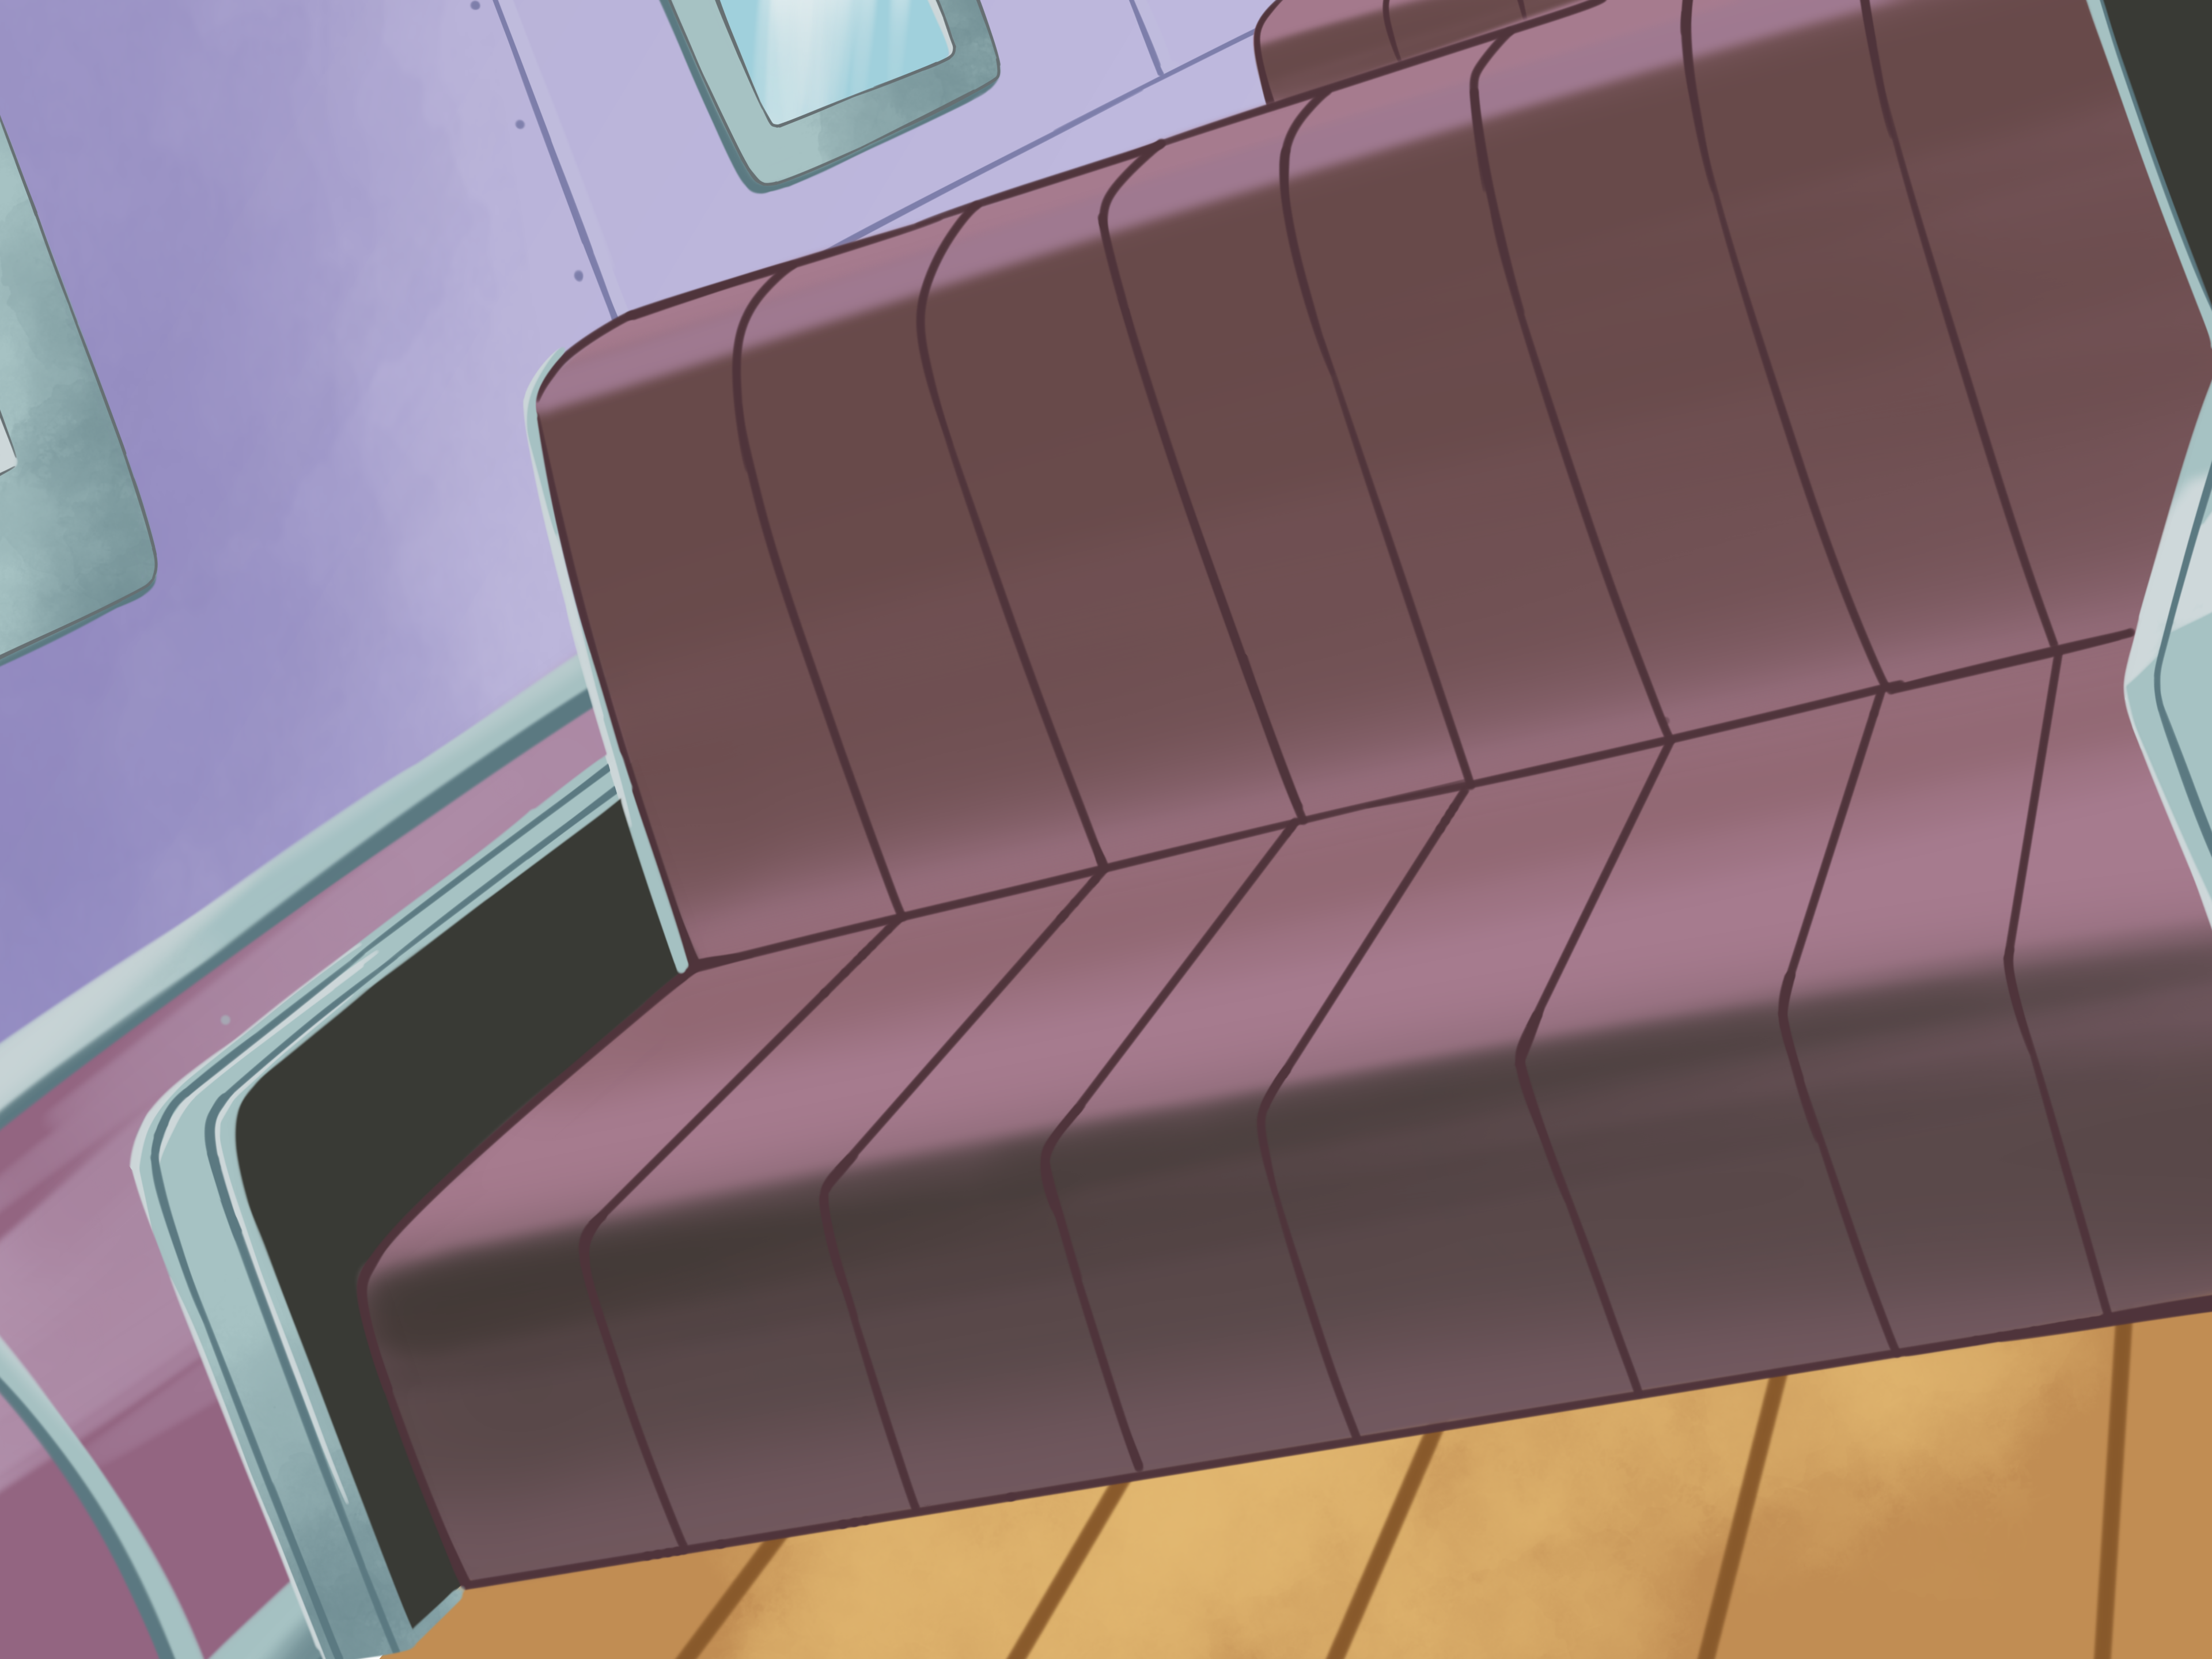
Here's the scenario fully painted:
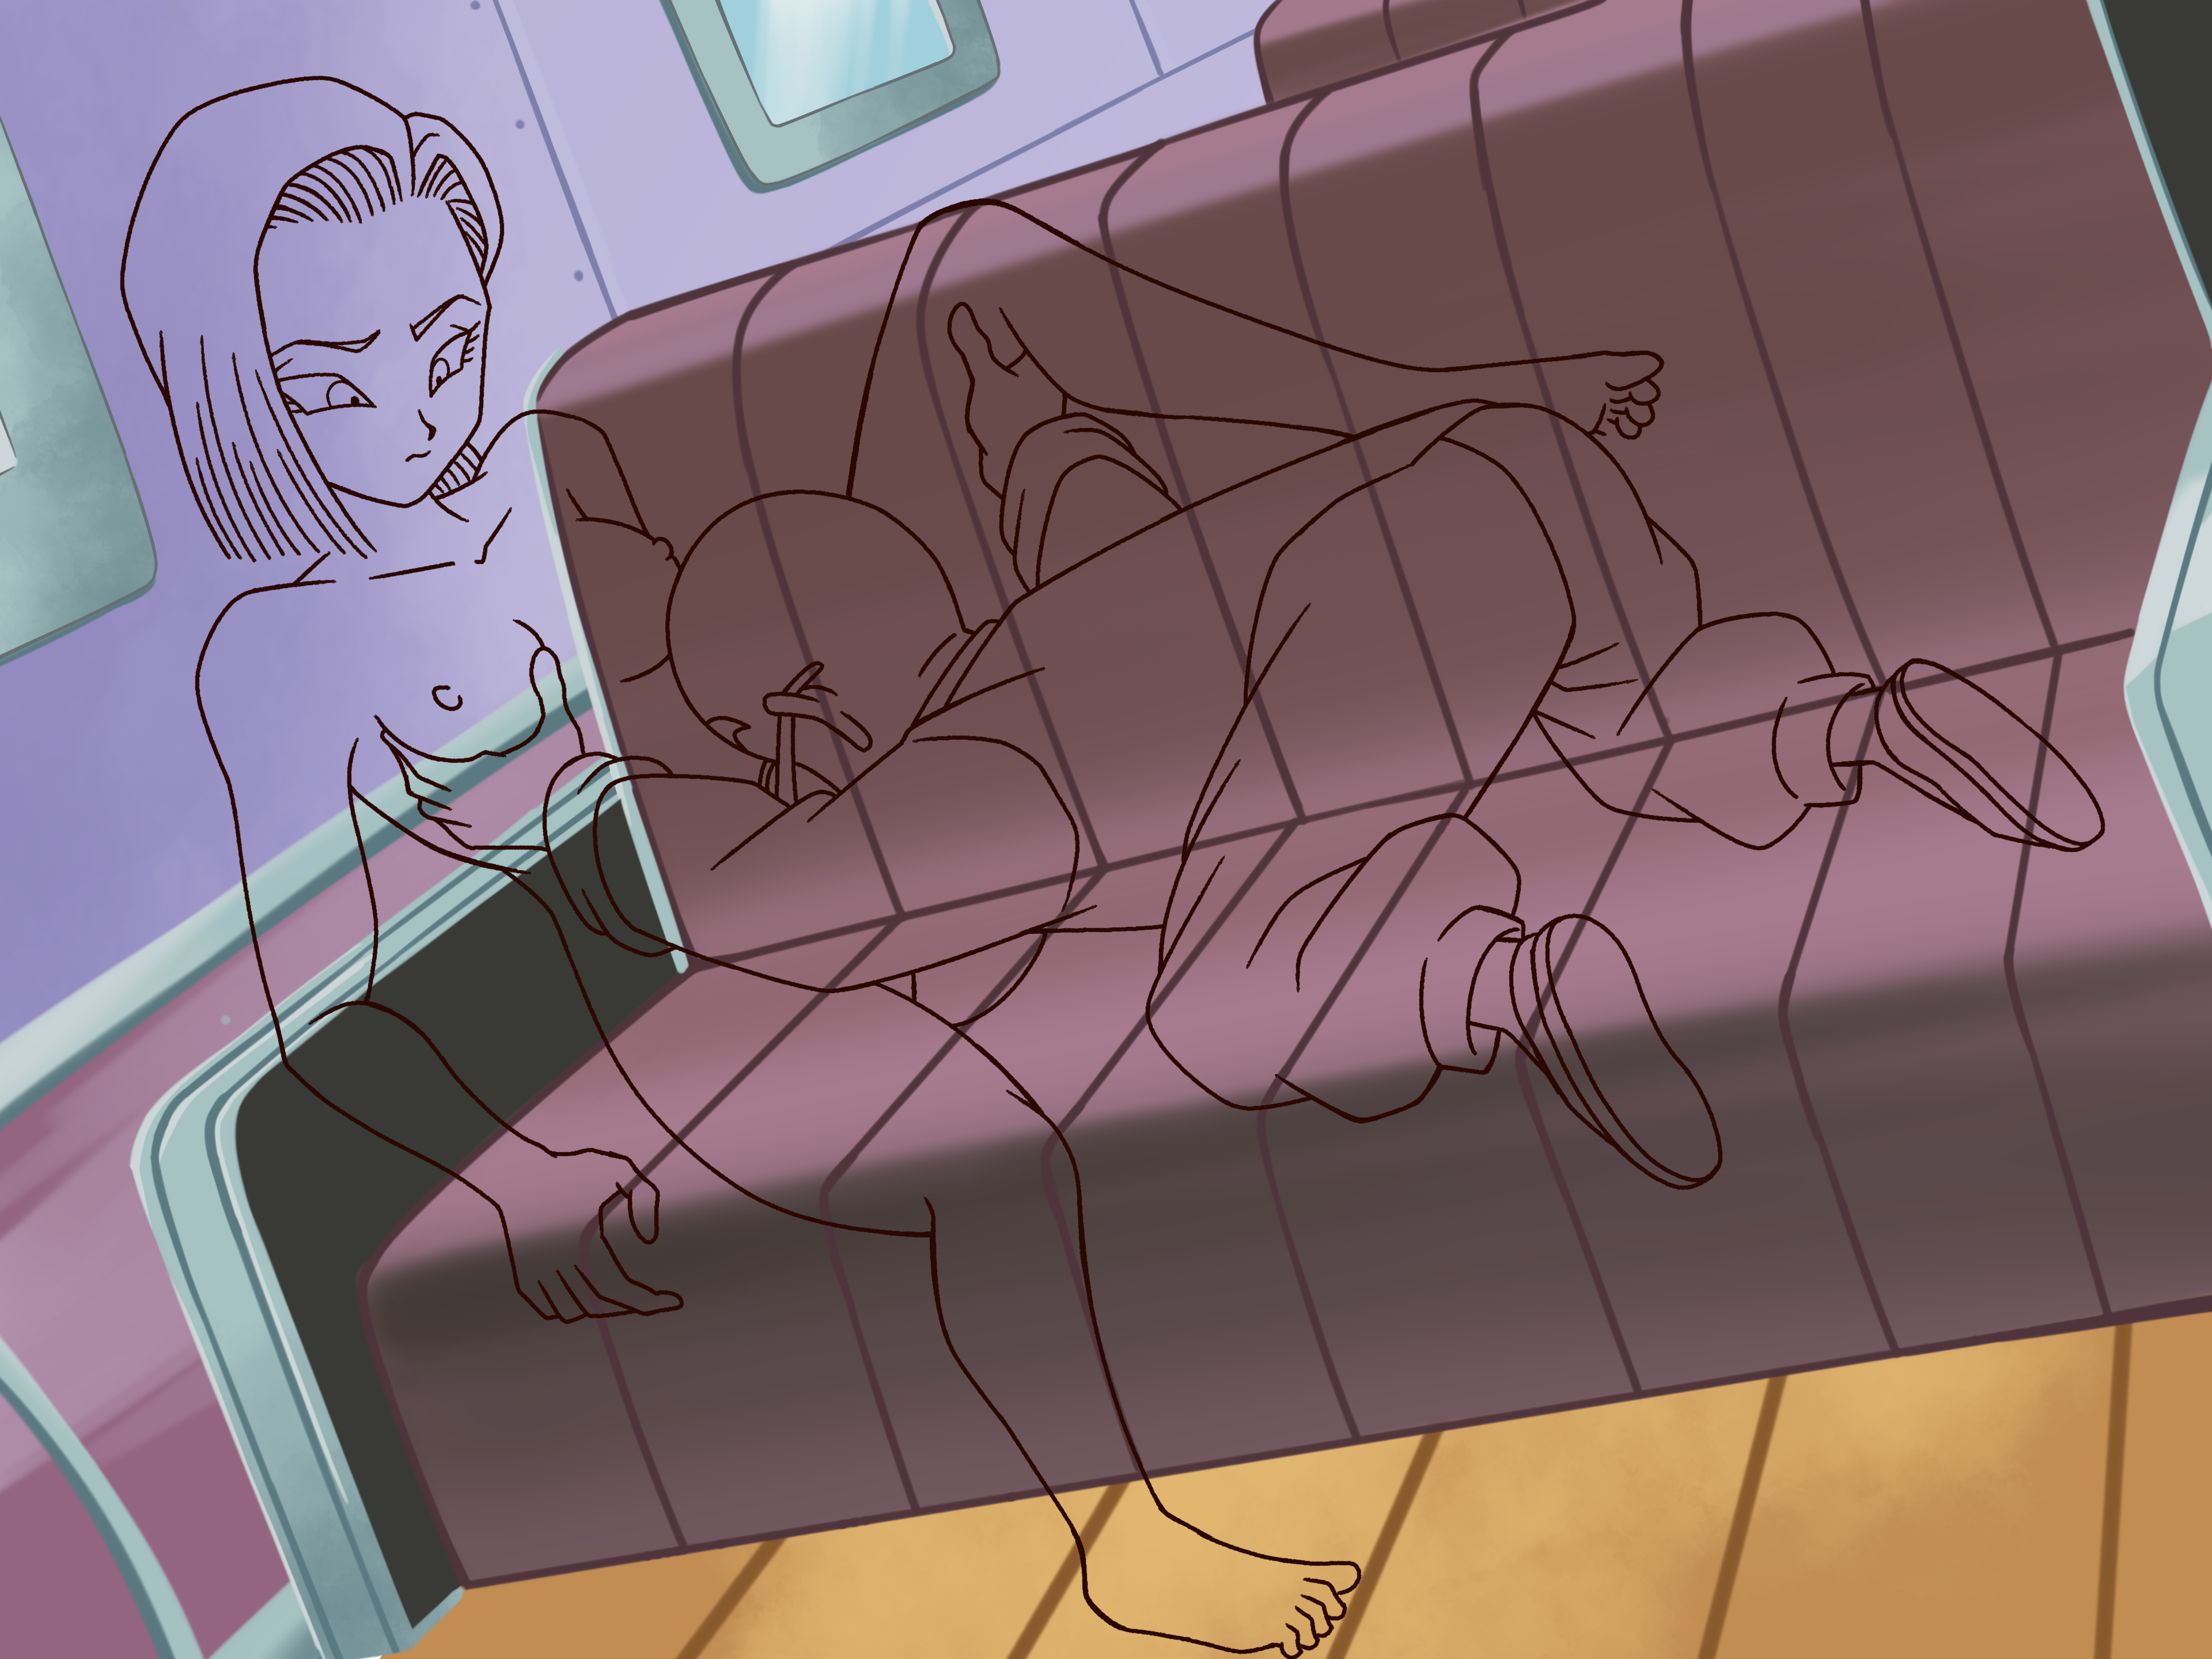
Now the next step is to draw the characters.
Fist, I start perfecting the sketch
Now, if everything is okay, I just continue with the LineArt, otherwise, I have to check the character sheet (settei) to get a better resemblance.
Done!
Now, I have to color the characters. The coloring process is kinda long, but here's a quick summary:
First, I start with a solid color, using the main tone, aka, the base color. To get this tonalities, I usually search if I happen to have an image of a cel scan on my archive, if I do, all good, If I don't, I have to search for one, either on Google or screen shooting a DBZ chapter on Crunchyroll and post processing it to have a better color fidelity with the intended cel colors (I use Lightroom or Photoshop for this step).
Second, I have to trace the shadow's shape, and color them in different layers. I use a 3 tone shading:
1. Main color.
2. Mid shadows.
3. Deep shadows.
I avoid using highlights if it is not necessary at all, otherwise, the characters could have a very waxy look, and I don't like that.
And lastly, I have to reduce the opacity and add a little bit of white on each of the shadow's traces to give them this looks as if they were handmade.
…
I'm not showing you all that (;;;・_・)
So, here's the base:
Then I just add the final touches, make minor changes in some details and render the image out, here's the final result:
And that's it…
Let me know if you have any questions \(・◡・)/
~ B
Files