Home
Home

 Artists
 Search
 Recent
 Random
 Posts
Posts
 DMs
DMs
 Tags
Tags
 Random
 Importer
 Import
 FAQ
FAQ
 Account
 Register
 Favorites
 Login
Login

【ブラシ配布】ブラシについて(About brushes) (Pixiv Fanbox)
Downloads
Content
支援者の方から以下4点のリクエストをいただいたので、今後1つずつ記事にしていこうかと思います。
・ブラシ紹介・配布・使用例
・色についてのtips
・有用な書籍やwebサイト等
・布の陰影付けについて
I have received the following four requests from supporter so I will write about them one by one in the future.
-Brush introduction, distribution, and examples of use
-Tips on color
-Useful books, websites, etc.
-About cloth shading
今回は「ブラシの紹介・配布・使用例」を記事にします。
簡単な絵のメイキングを交えながら使用例を紹介していくので、参考になればと思います。
This time, I will write about "introduction, distribution, and examples of brushes".
I will introduce examples of use with a brief tutorial of a picture, so I hope it will be helpful.
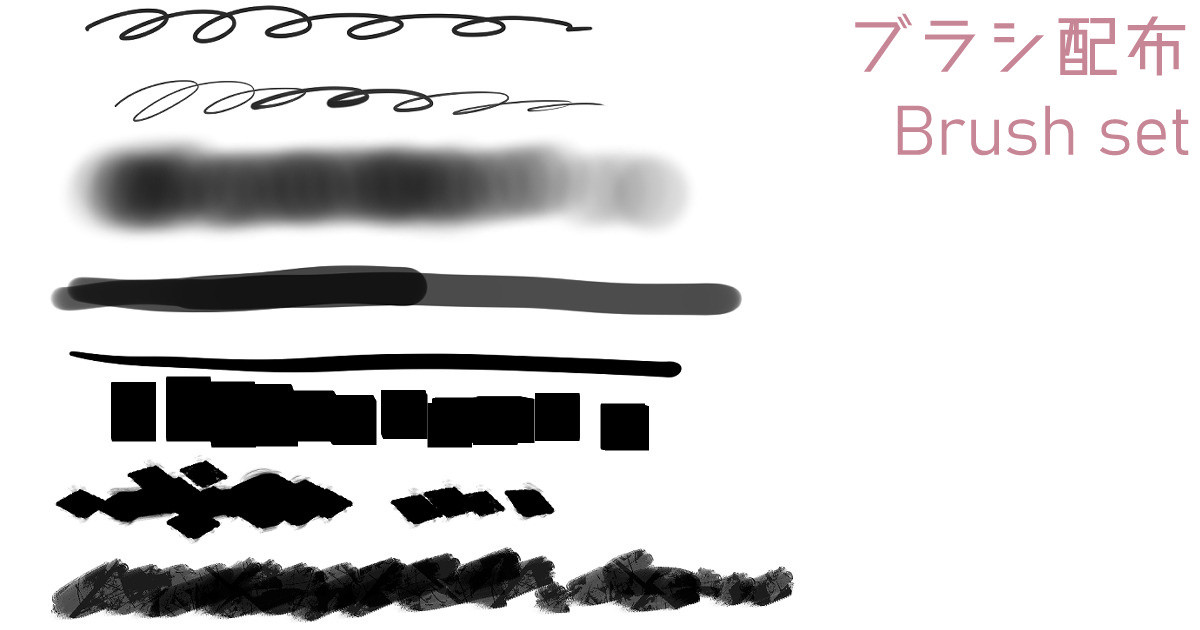
ブラシのダウンロードはこちらからどうぞ↓
※全てクリスタ用ブラシです。
Please click here to download the brushes.
*All brushes are for ClipStudioPaint
・ラフ用ペン(sketch pen)
筆圧感知と入り抜きが弱いペンです。
ラフ用なので素早く描けるように描き心地の軽さを重視しています。
This pen has weak pressure sensitivity and brush size strength.
It is designed for sketch use, so it is light enough to draw quickly.
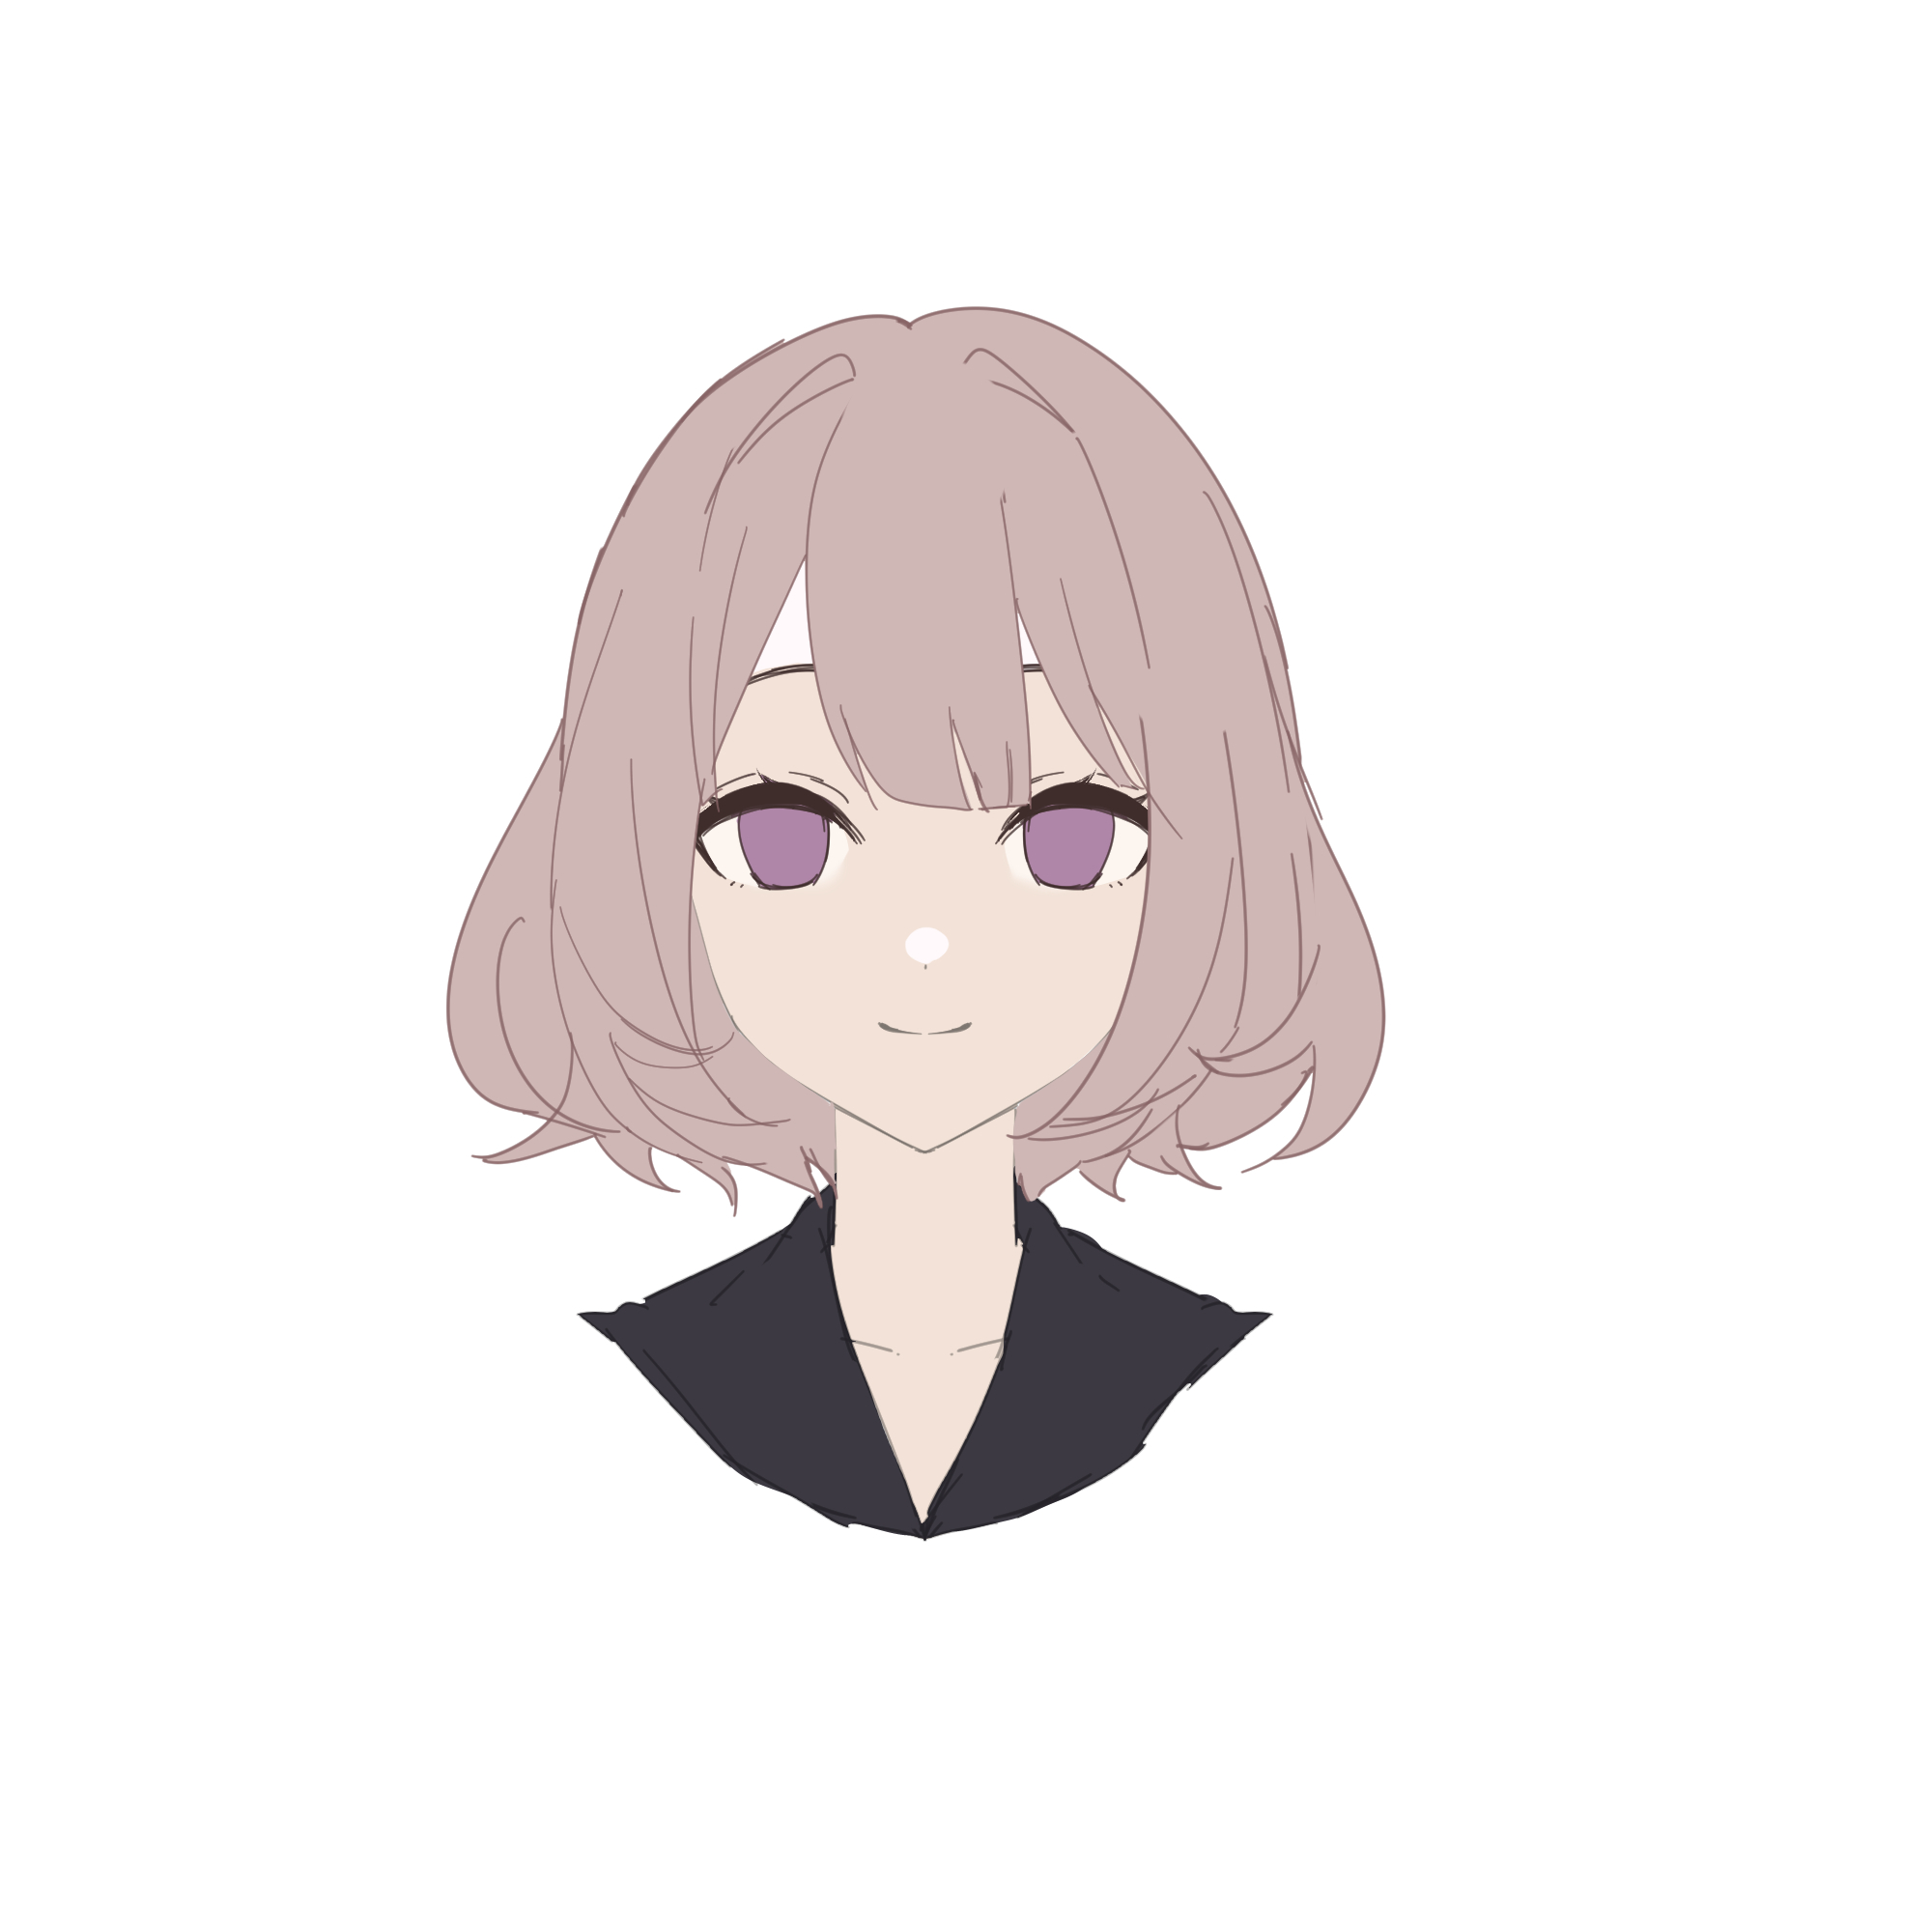
・ラフ整え
ラフ用ペンで再度描き直して線をある程度整えます。
この後線画を描くのもありですが、今回は厚塗りでいきたいのでこのまま着彩へ進みます。
Re-draw with a pen for sketching and adjust the lines to a certain extent.
I can draw line drawings after this, but I want to paint thickly this time, so I will go on to coloring.
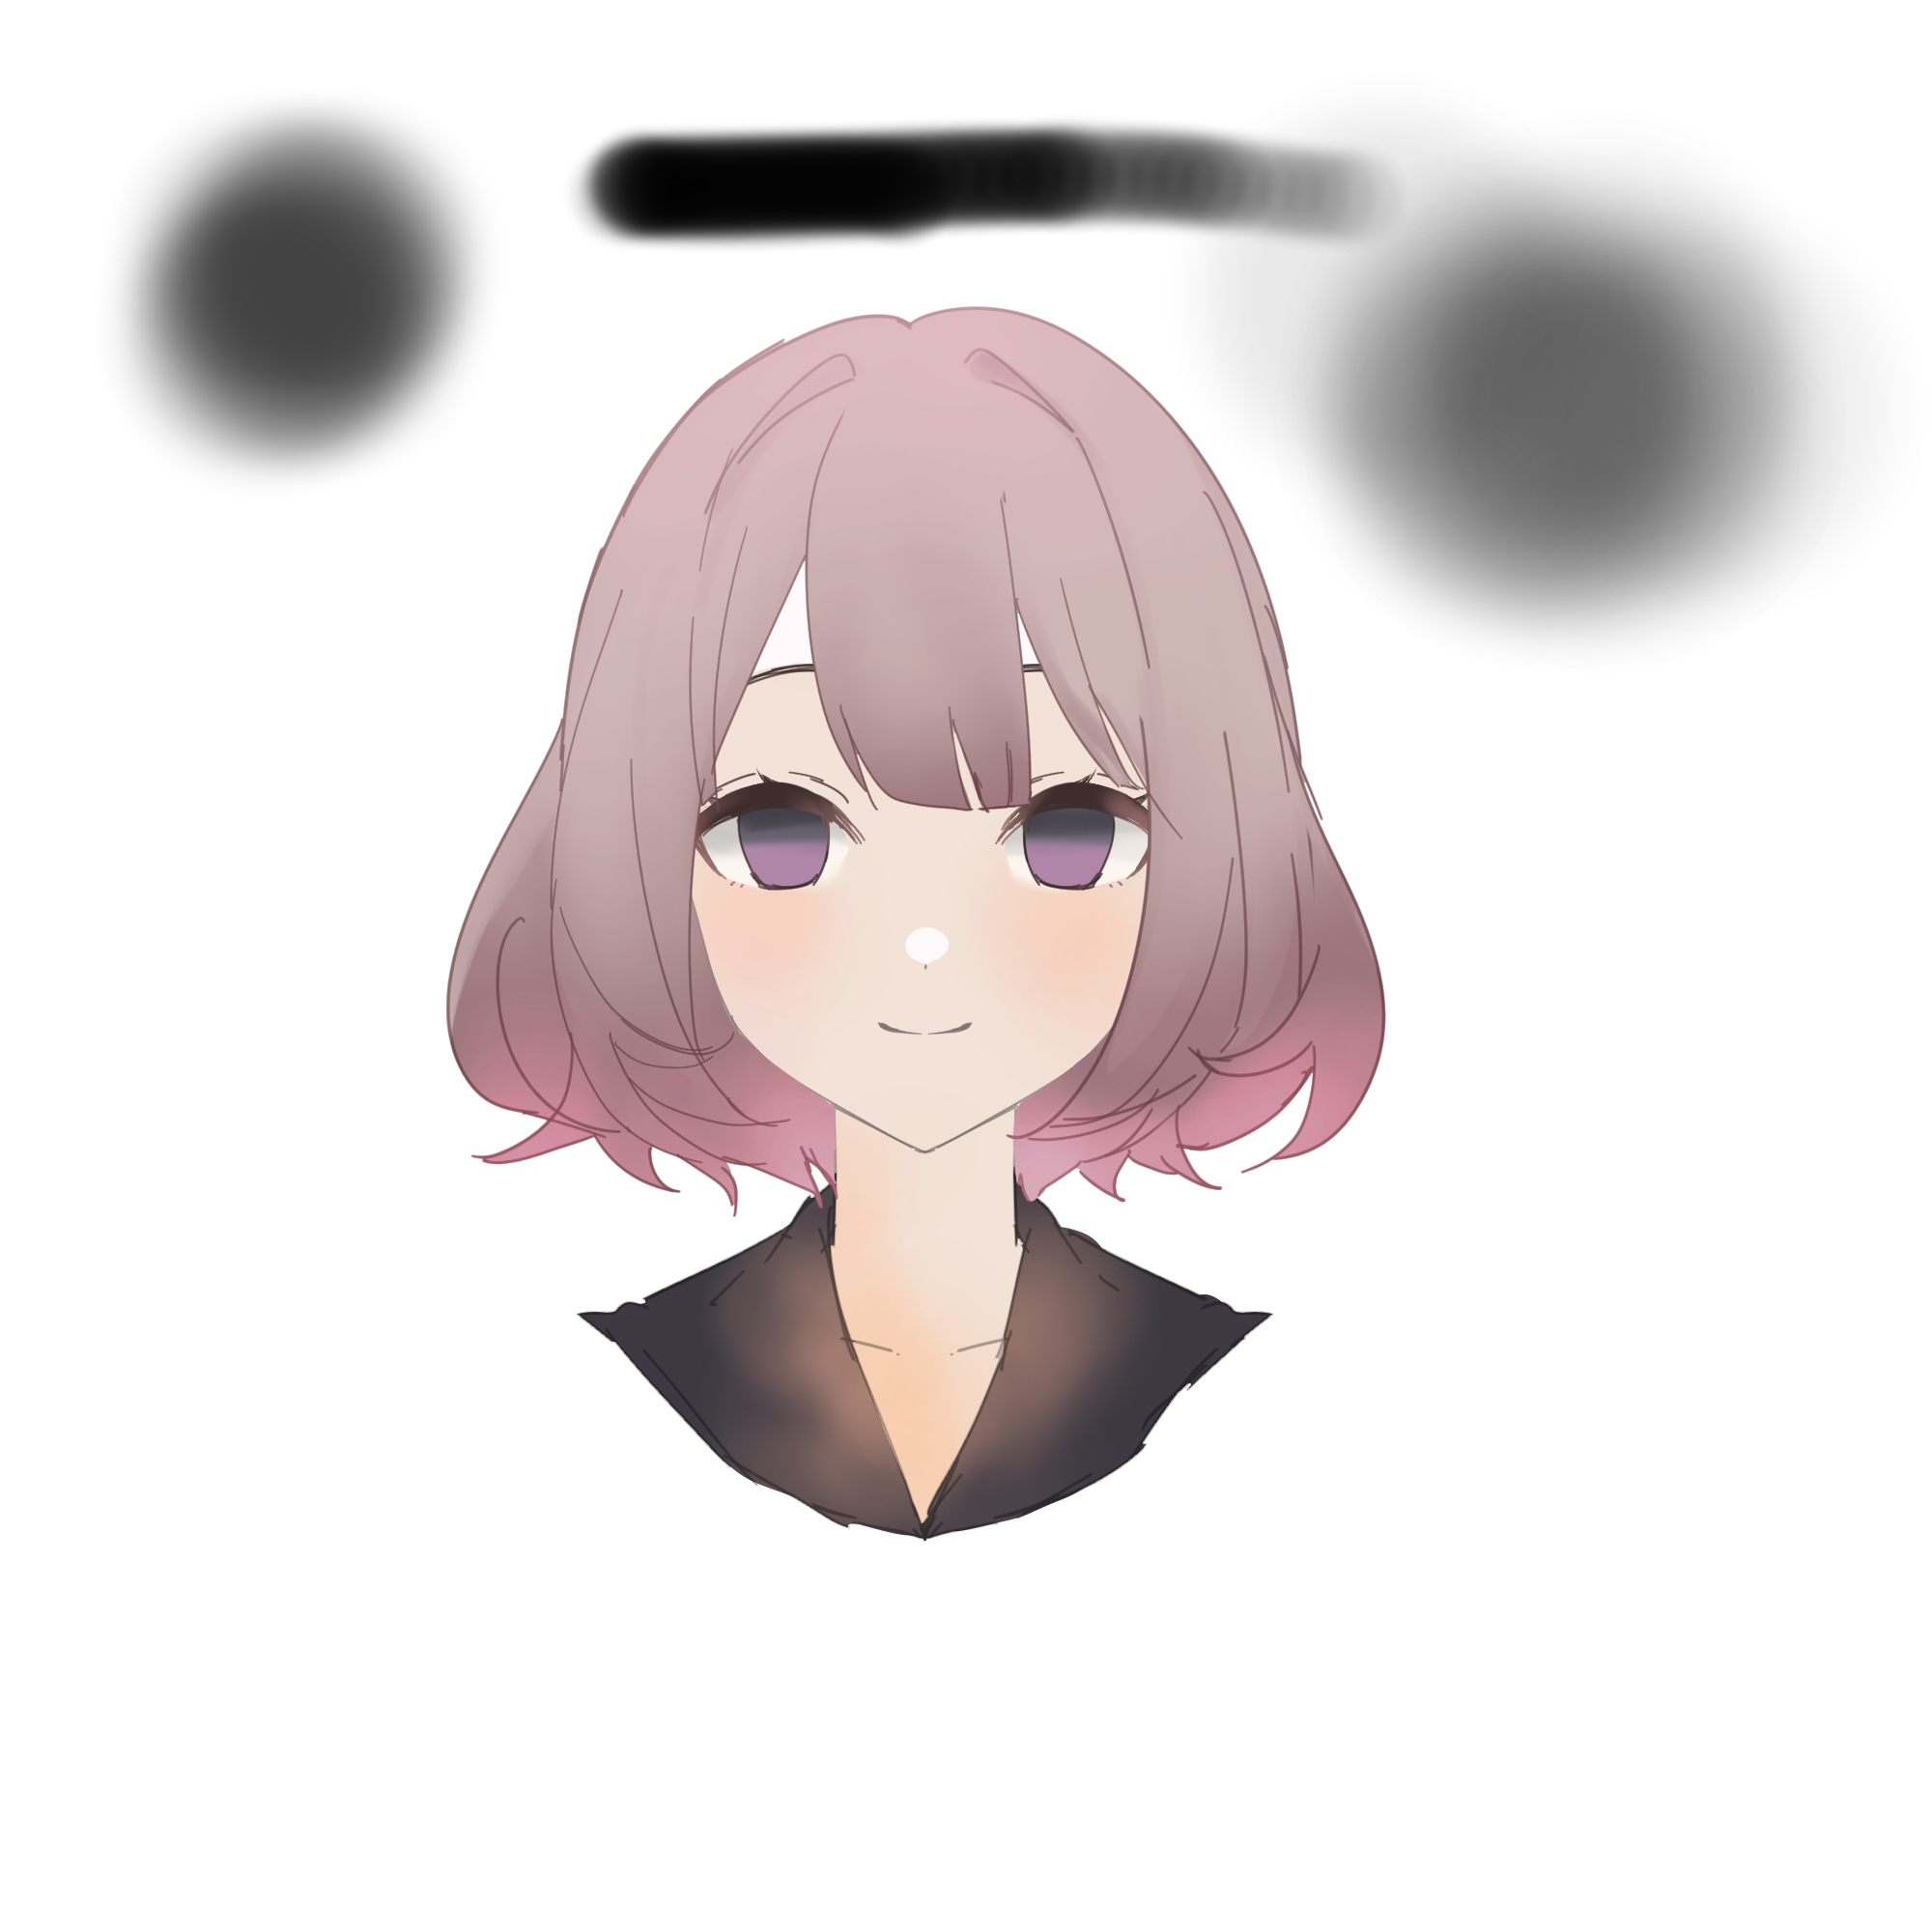
・下塗り
パーツごとにベース色を塗りつぶしていきます。
塗りつぶしにはこのツールをよく使っています。↓
Fill in the base color for each part.
I often use this tool for filling. ↓
https://assets.clip-studio.com/ja-jp/detail?id=1759448
・なじませ用ブラシ(blending brush)
色を馴染ませたい時や、下地の色を混ぜていく時に使います。
It is used to blend colors.
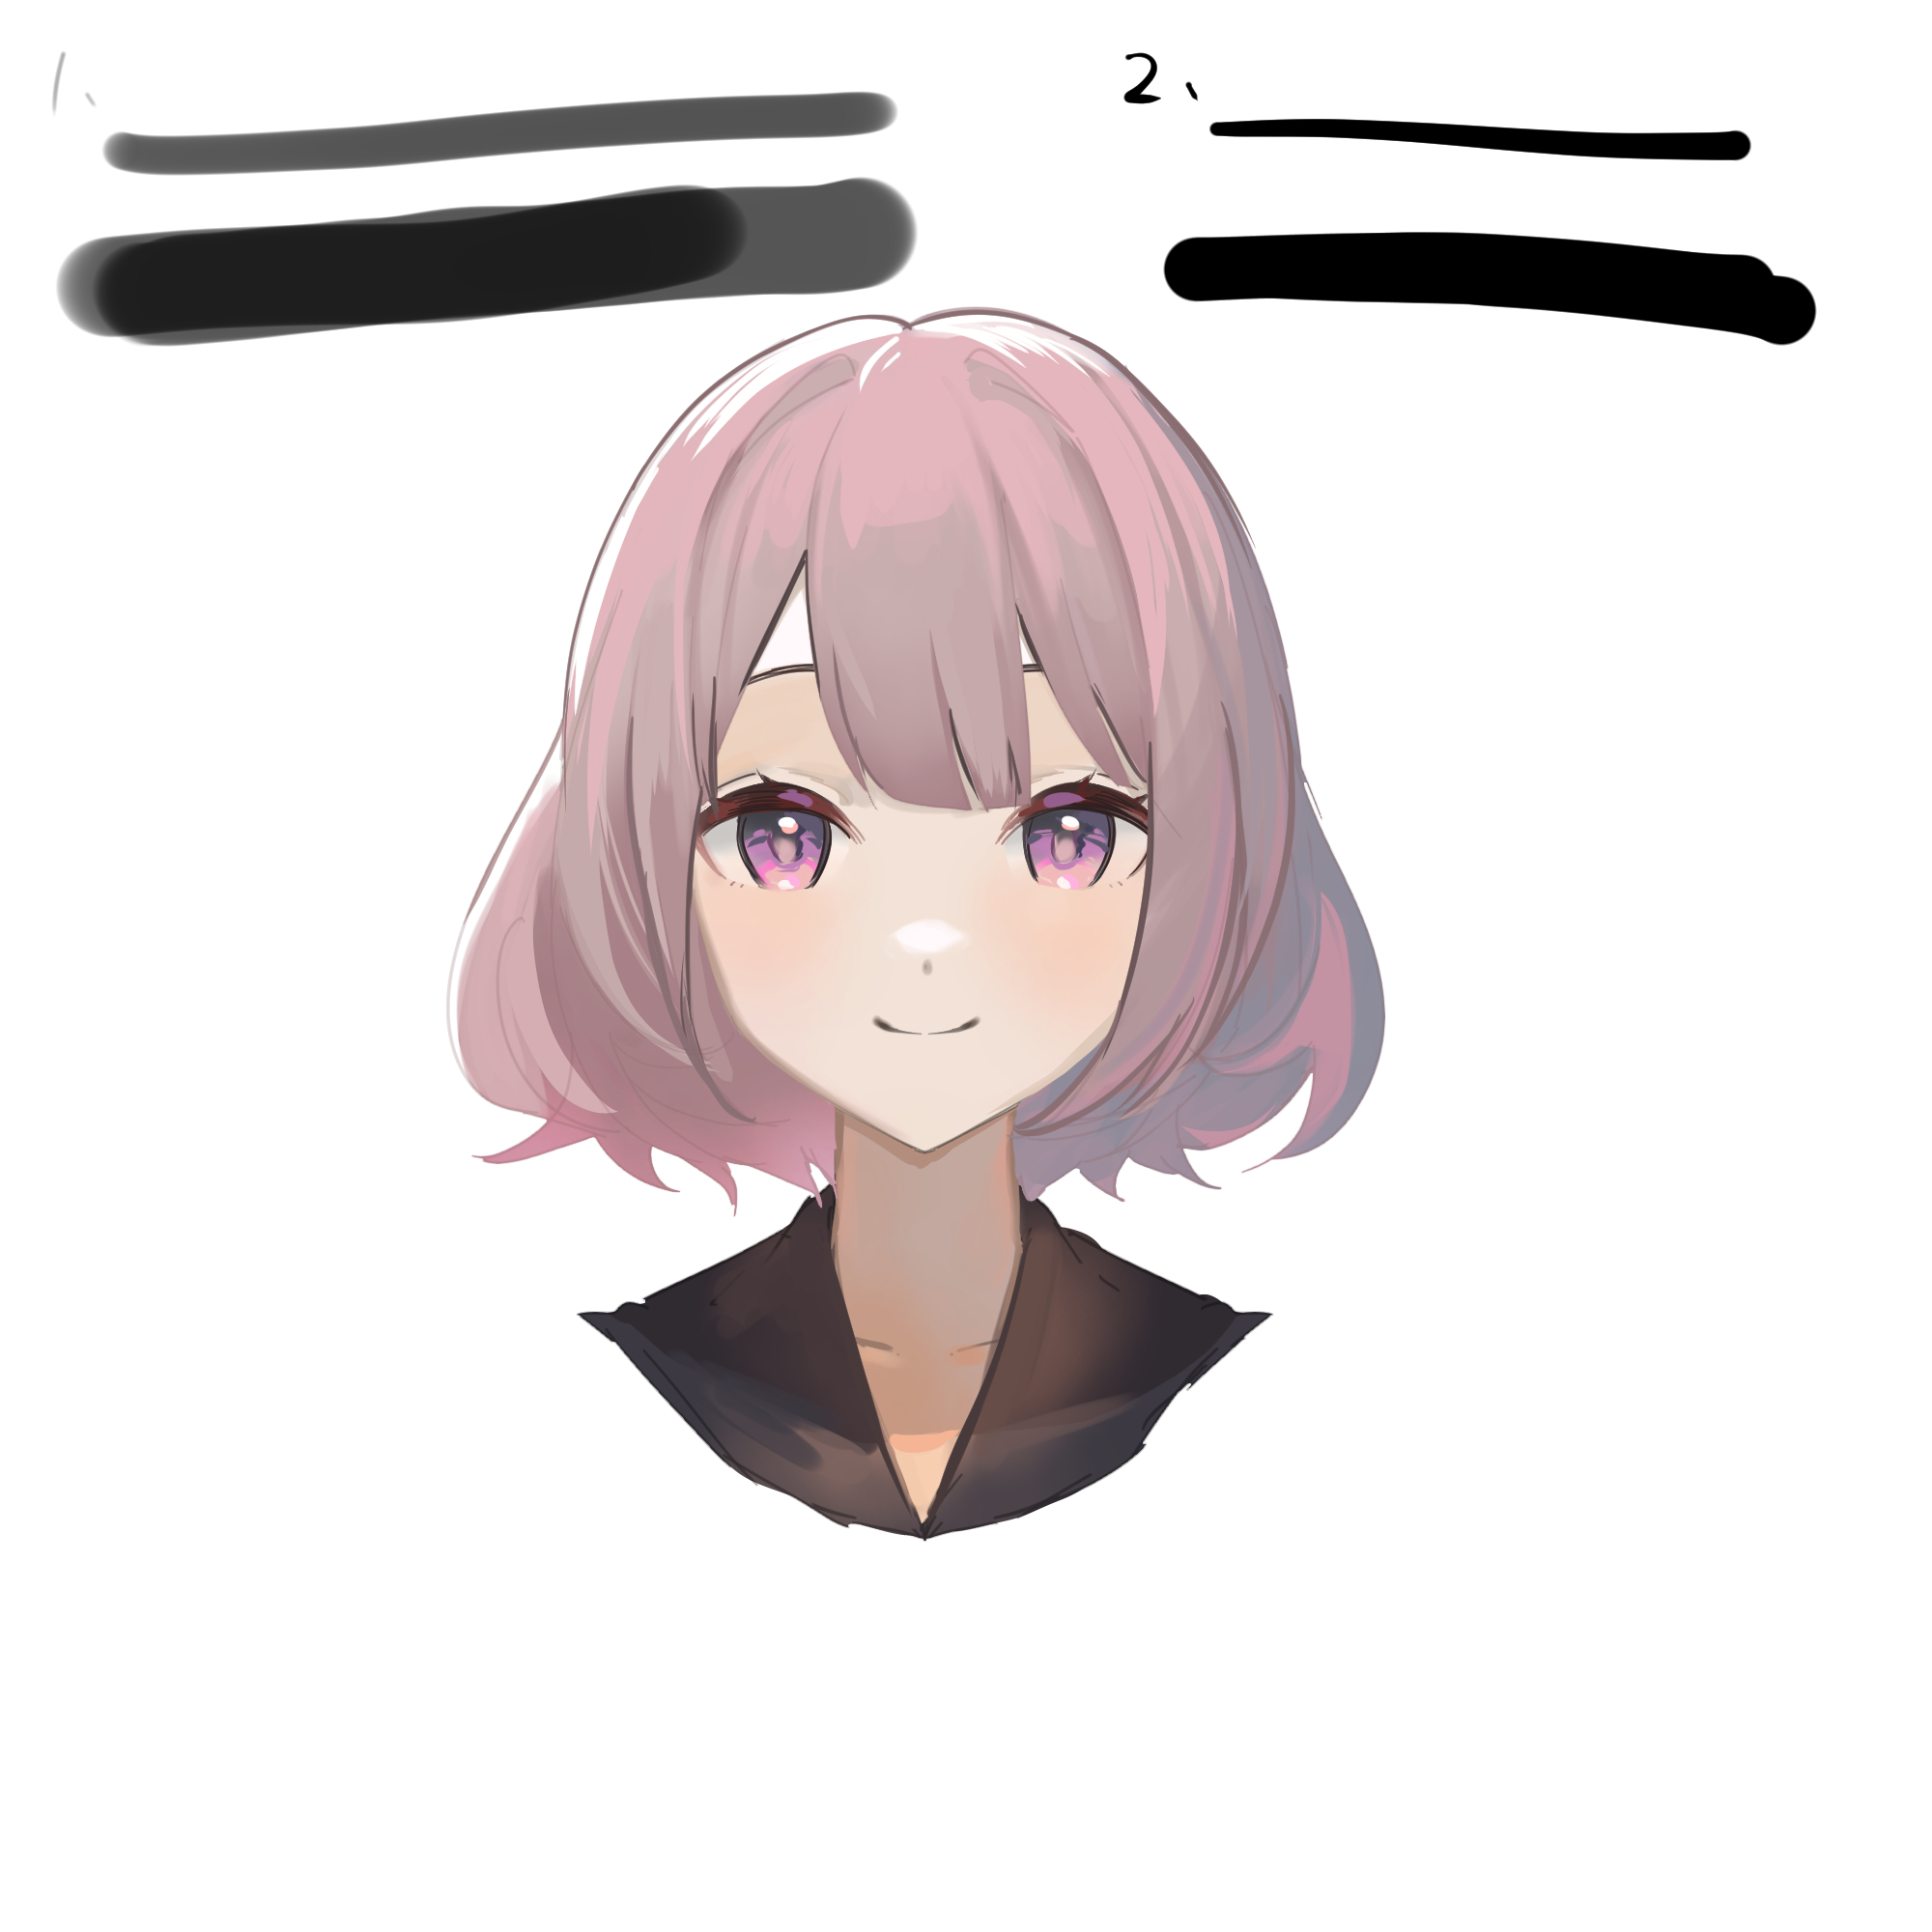
1、着彩用ブラシ(coloring brush)
不透明度を下げたブラシです。
着彩時、メインで使っています。
1、大きめのブラシサイズで大胆に影を塗る
2、ブラシサイズを小さくして、より暗くなる部分に重ね塗りする
3、下地の色をスポイトして、色を整えたり色味を増やす
という手順で塗っています。
This is a brush with reduced opacity.
I use this brush mainly for coloring.
1, Boldly apply shadows with a larger brush size.
2, Smaller brush size and paint over the darker areas.
3, Use the eyedropper tool to pick the surrounding color to adjust the color by painting over it, or add more color.
The following steps are used to apply the paint.
2、塗りつぶしブラシ(coloring brush2)
不透明度100の硬いブラシです。
着彩用ブラシを使った際にできるムラを塗りつぶしたり、輪郭線を入れる時に使います。
This is a hard brush with an opacity of 100.
This brush is used to fill in uneven areas created when using a coloring brush, or to add outlines.
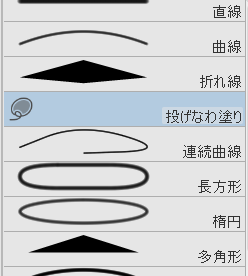
広範囲を塗りつぶす時はクリスタデフォルトツールの「投げなわ塗り」を使うこともあります。↓
効率的に早く塗りつぶすことができるので便利です。
When filling in a large area, you may use the "lasso fill tool" of ClipStudioPaint default tool↓
It is useful for efficient and fast filling.
・線画用ブラシ(line-drawing pen)
線画用と書いていますが、仕上げの加筆時にもよく使います。
ハイライトなど細かい部分に使っています。
一応これで着彩は終了となります。
Although it is written for line-drawing pen, I often use it when adding finishing touches.
I use it for highlighting and other details.
This is the end of the coloring process.
残りのブラシの紹介をしていきます。
上のブラシよりも使用頻度は高くありませんが、背景や小物等に時々使います。
Here are the rest of the brushes.
These brushes are used less frequently than the brushes above, but are used occasionally for backgrounds, small objects, etc.
・四角ブラシ(square brush)
・質感ブラシ(texture brush)
・ひし形ブラシ(rhombus brush)
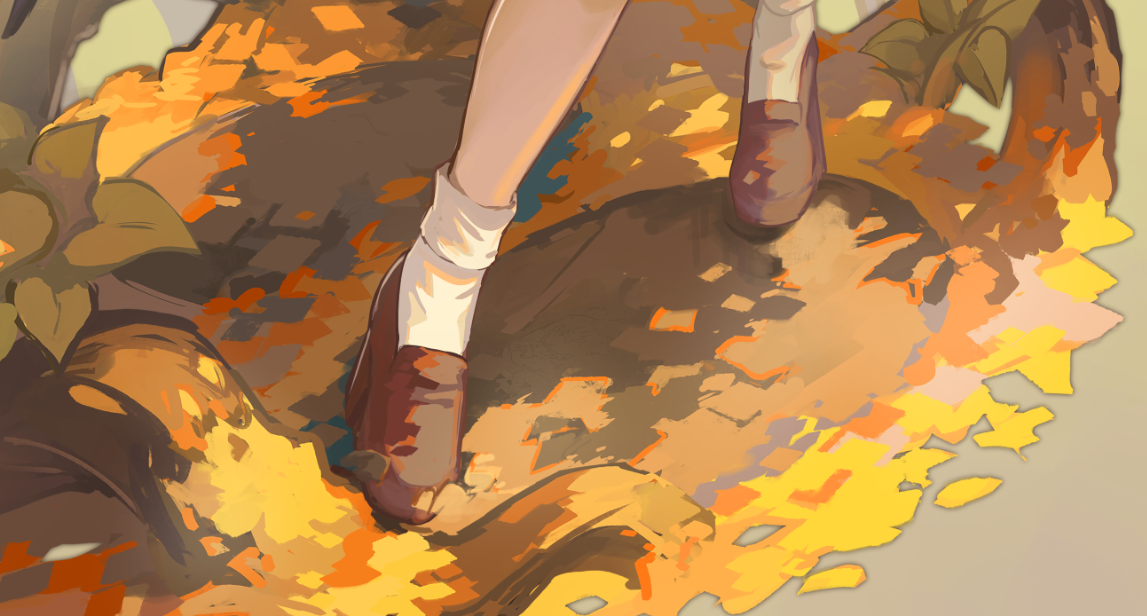
最近のイラストでの使用例↓
Examples of recent use in illustrations↓
・四角ブラシ(square brush)
ビルの形を描くのに便利です。
It is useful for drawing building shapes.
・質感ブラシ(texture brush)/ひし形ブラシ(rhombus brush)
落ち葉がいっぱいの地面や土っぽい地面など、ガサガサしている箇所に使います。
Use on uneven surfaces, such as ground full of fallen leaves or earthy ground.
今回は使用しませんでしたが、最後におすすめのASSETS素材も紹介します↓
どちらも質感に一味加えたい時によく使います。
Finally, I would like to introduce ASSETS brushes that I recommend, although I didn't use them in this tutorial↓
Both are often used when I want to add a touch of texture.
「平筆・繊細塗り伸ばし」
https://assets.clip-studio.com/ja-jp/detail?id=1742303
「朽ちるペン」
https://assets.clip-studio.com/ja-jp/detail?id=1840666
今後も新しいブラシを作ったら配布していく予定です!
何か至らない点があればコメントにてお伝えください。
その他要望や感想、質問等もお気軽にコメントへどうぞ!
I will continue to distribute new brushes as I create them!
If you have any requests, impressions, or questions, please feel free to comment!
Files