Home
Home

 Artists
 Search
 Recent
 Random
 Posts
Posts
 DMs
DMs
 Tags
Tags
 Random
 Importer
 Import
 FAQ
FAQ
 Account
 Register
 Favorites
 Login
Login

BTR – A t-shirt? (Pixiv Fanbox)
Downloads
Content
Behind the Render will be a new series which will describe my process behind some of the renders or sets, I've done. My main aim is to show you some peek from the kitchen, maybe giving you some ideas how you can do things, maybe open a discussion about it.
Recently, I've been upping my skills with modelling, scultping and texturing. Using as little of the stock models or textures as I can, to give my images very unique feel. And looking at those images I think it's doing good job at that. Behind the Render won't be a tutorial series, rather a summary, not going too much into detail, making it (I hope) easier to digest. Although you can always ask questions about it and I will try my best to answer them.
So let's start, shall we?
This time we will be focusing on
fanbox post: creator/16218616/post/2343401
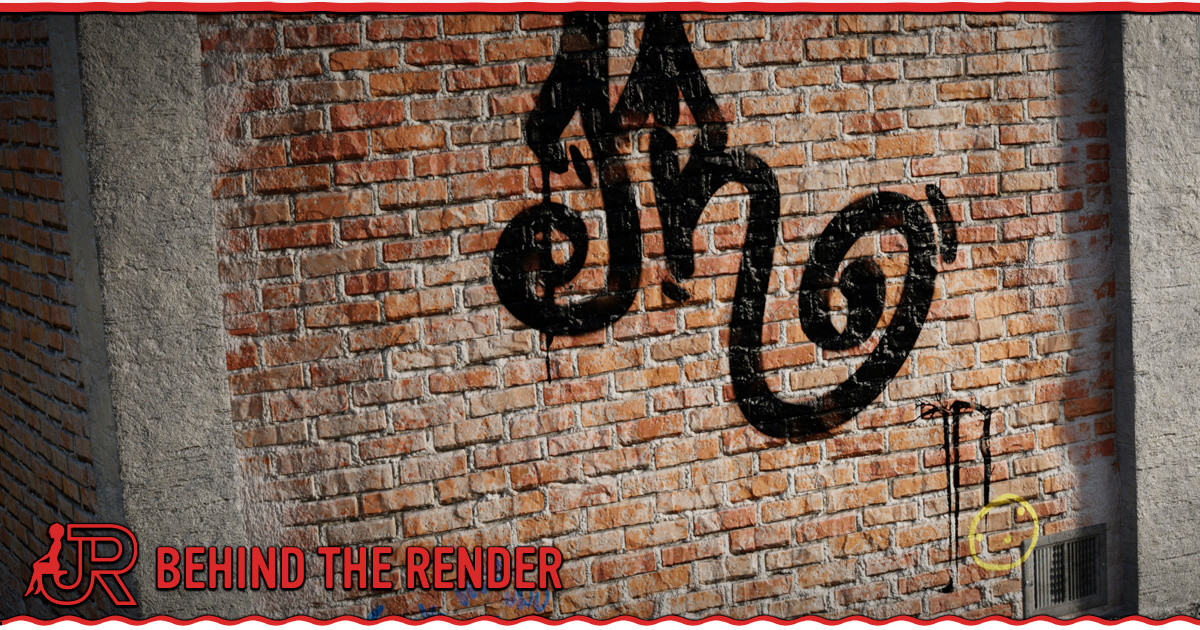
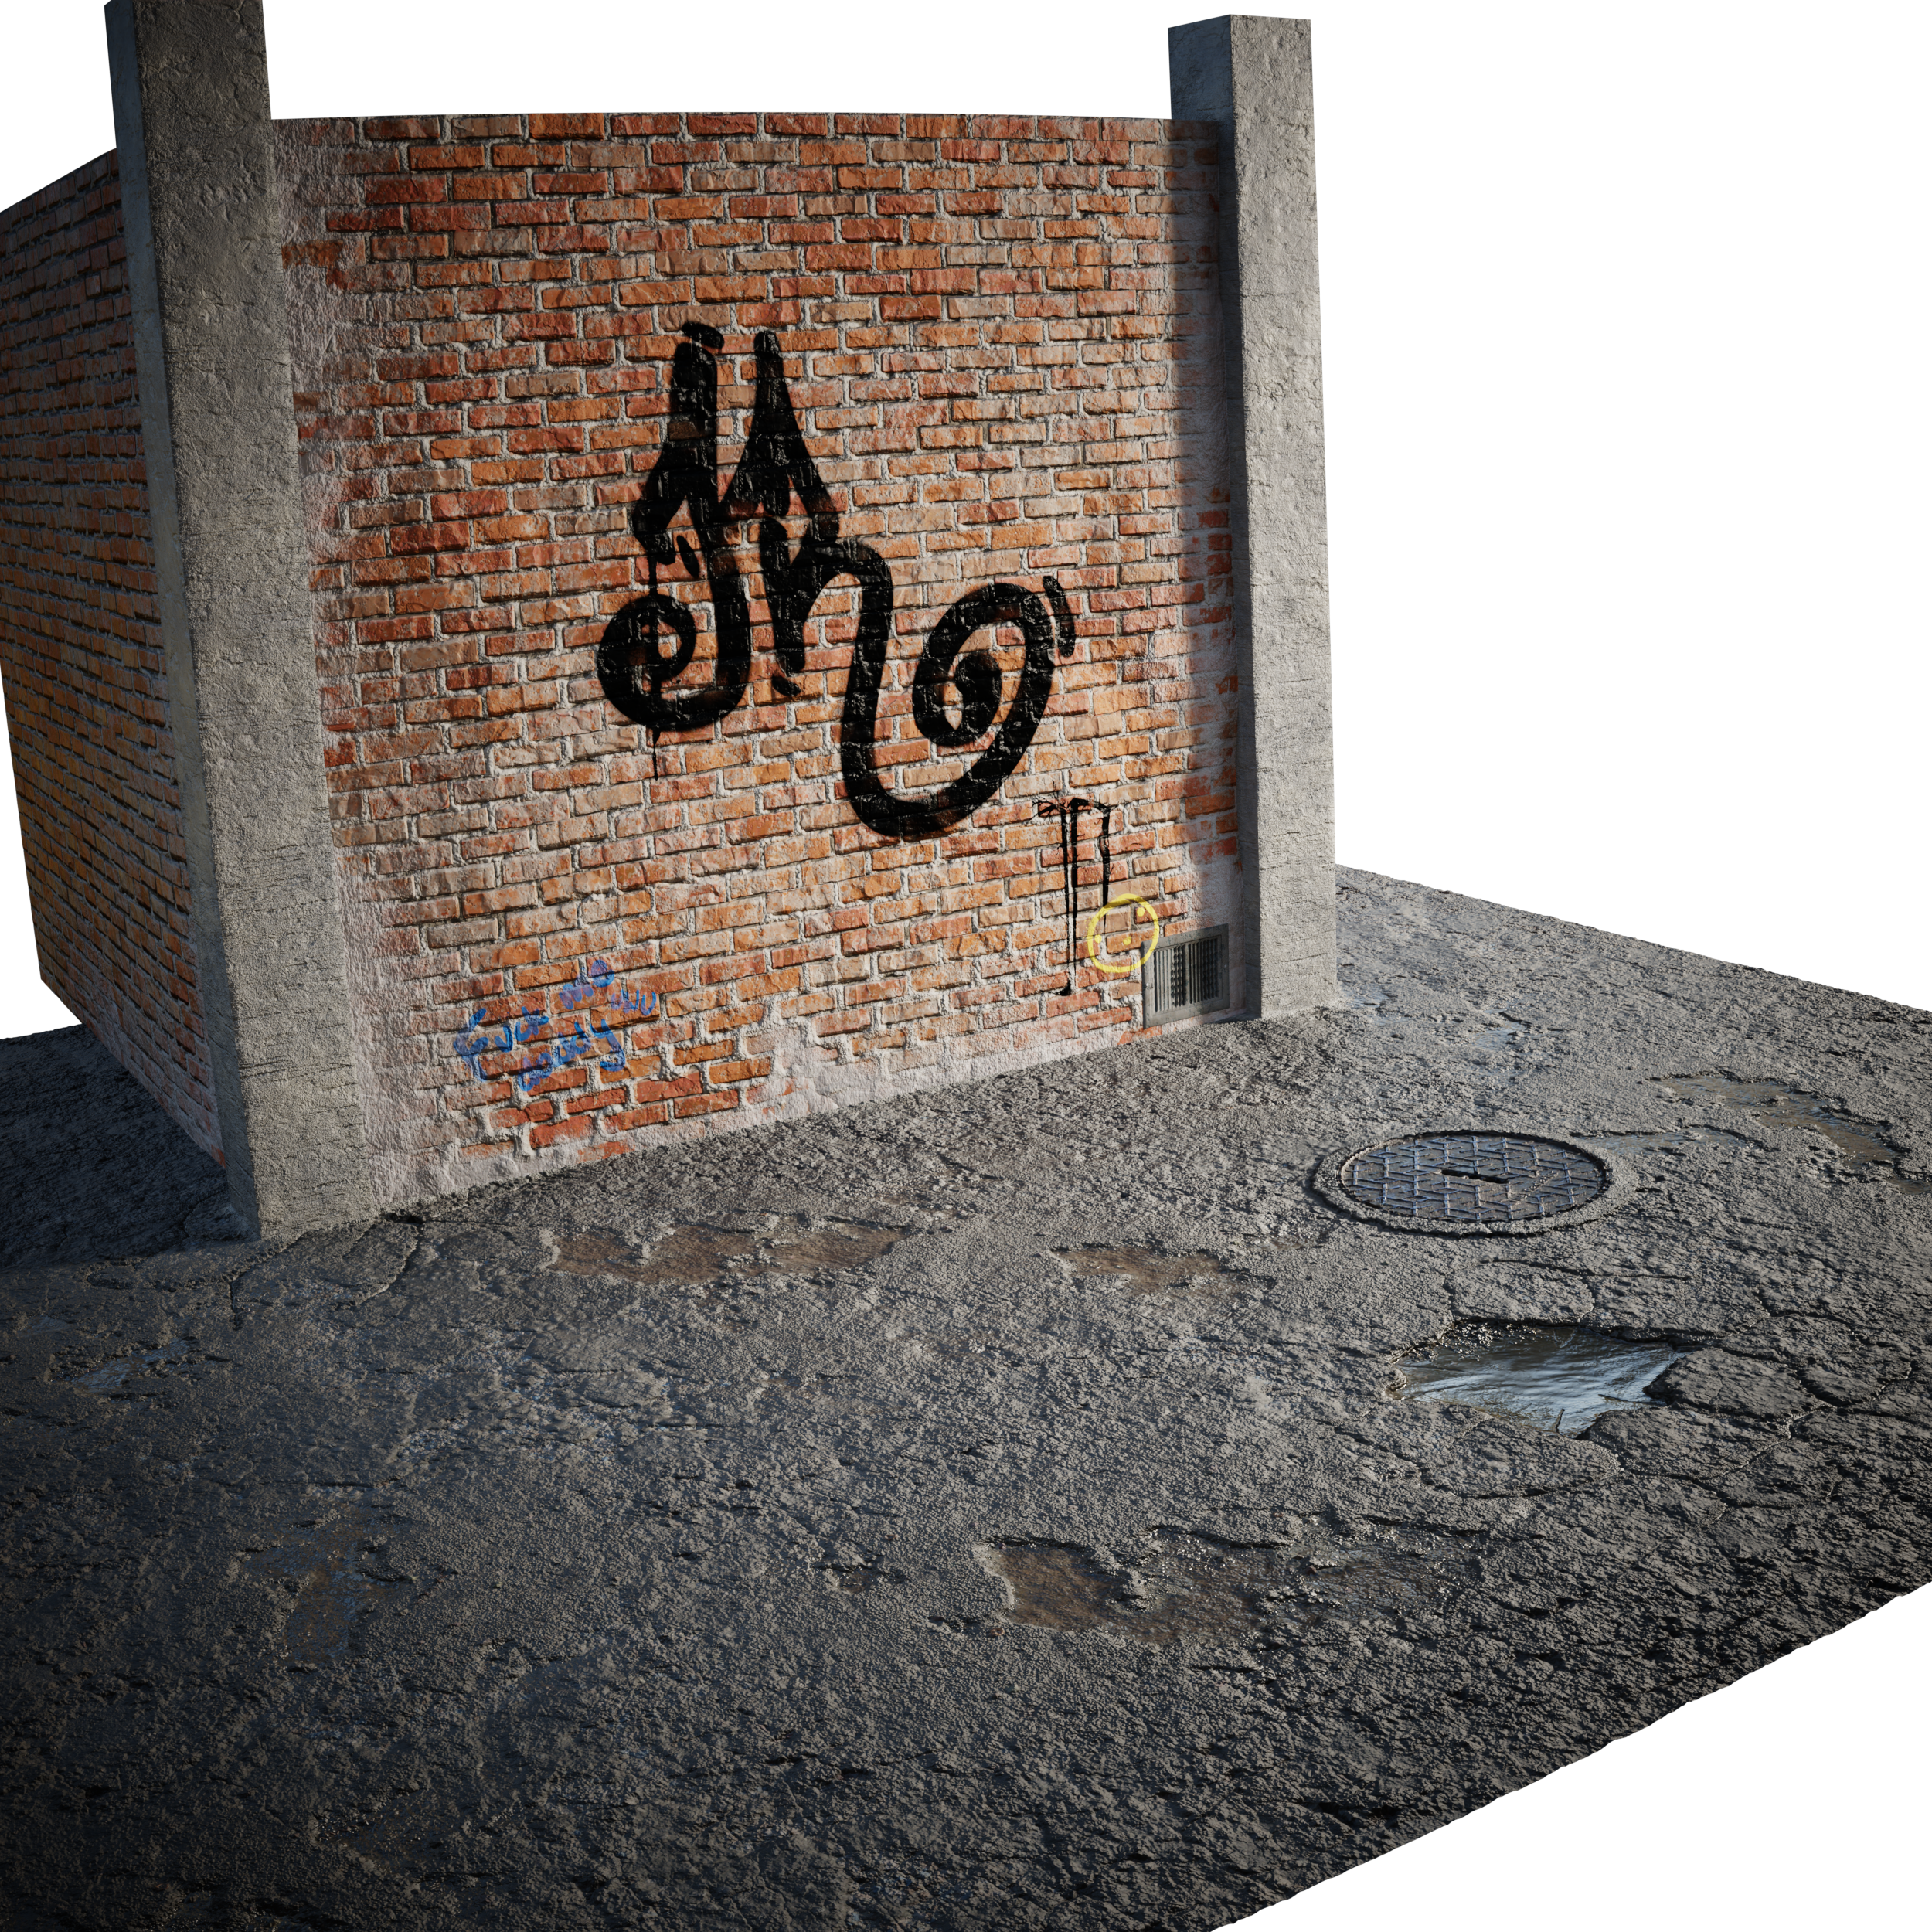
this simple image. At first it's just a simple pose on simple background. So let's have a look at first, how this background has been made.
The Wall
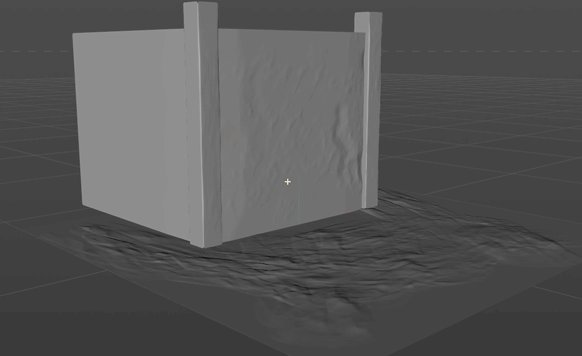
Model of the wall isn't anything spectacular:
I intended to use displacement on it, so I kept quite a polygon density, so I didn't need to go into much subdivision with it. After setting up UV's (making the front part of the wall much bigger on the UV map than sides), I made higher resolution sculpt in zBrush:
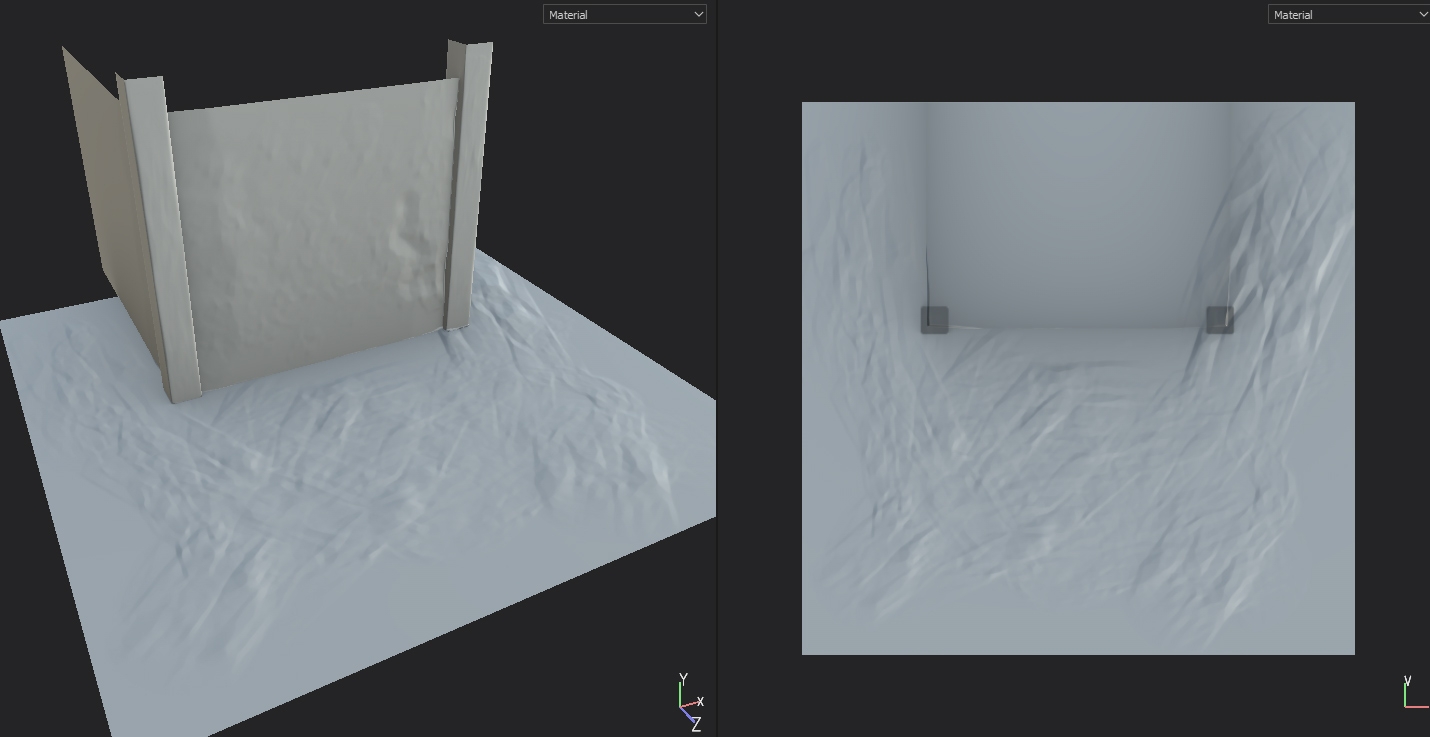
Which at the end was baked over the regular mesh in Substance Painter. Process of baking is quite simple but it helps with initial setup and a lot of mask generators works on those baked maps:
This is just base mesh with projected higher resolution one as a Normal Map and others like Ambient Occlusion. It helps with the materials added to it afterwards to have more detailed "geometry" as a base.
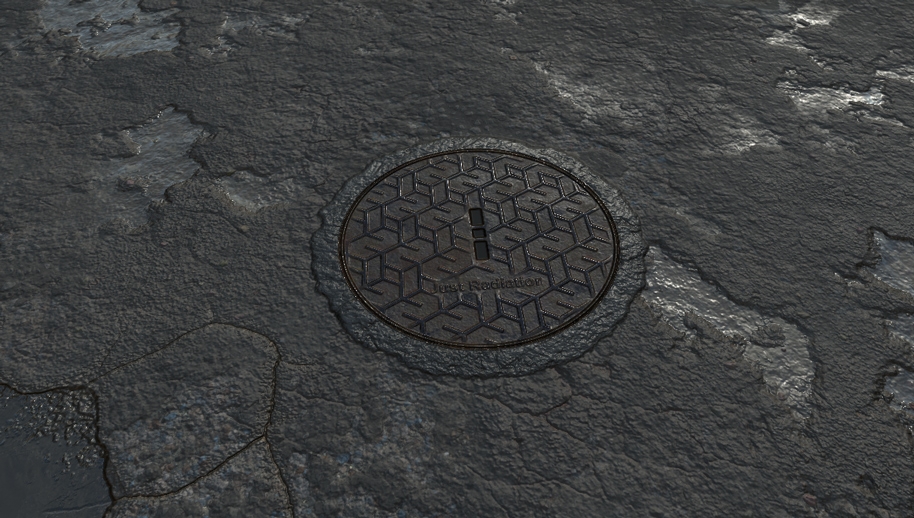
I started with the ground. Idea behind the wall was to make a factory-like brick wall on used and cracked asphalt. The process of adding details looked like that:
At firs basic material, repeated a lot so it can add very nice small ddetails. But one material looks too clean and regular, so I started adding puddles and cracks to it. Then it was that sewer grate:
And at the end I finished it with adding concrete in places where concrete pillars and the wall will meet - that way the ending result won't be as blocky.
Let's skip concrete pillars, since they are very basic combination of 3 concrete materials, nothing to it really. Wall was more of a challenge:
As you can see I started with basic uneven brick wall material. On top of it I've added 2 variations of it - one with cement being convex - that was added mostly to the bottom - gravity and such. Second one was with cement covering the bricks more - that was added mostly to the sides, where wall meets concrete pillars. All that makes it not looking like just repeated texture, but something more organic.
Next thing was adding little vent on the bottom to break basic symmetry of the wall. And after that I've added graffitti to it. Making paint bit different roughness made the tags pop more in the final render. And that's how the wall with ground looks after all this process:
Proper combination of displacement, bump, normal and toughness maps will always make the material more interesting to look at and the background, even when blurred with depth of field, will have enough variety to it to catch your eye.
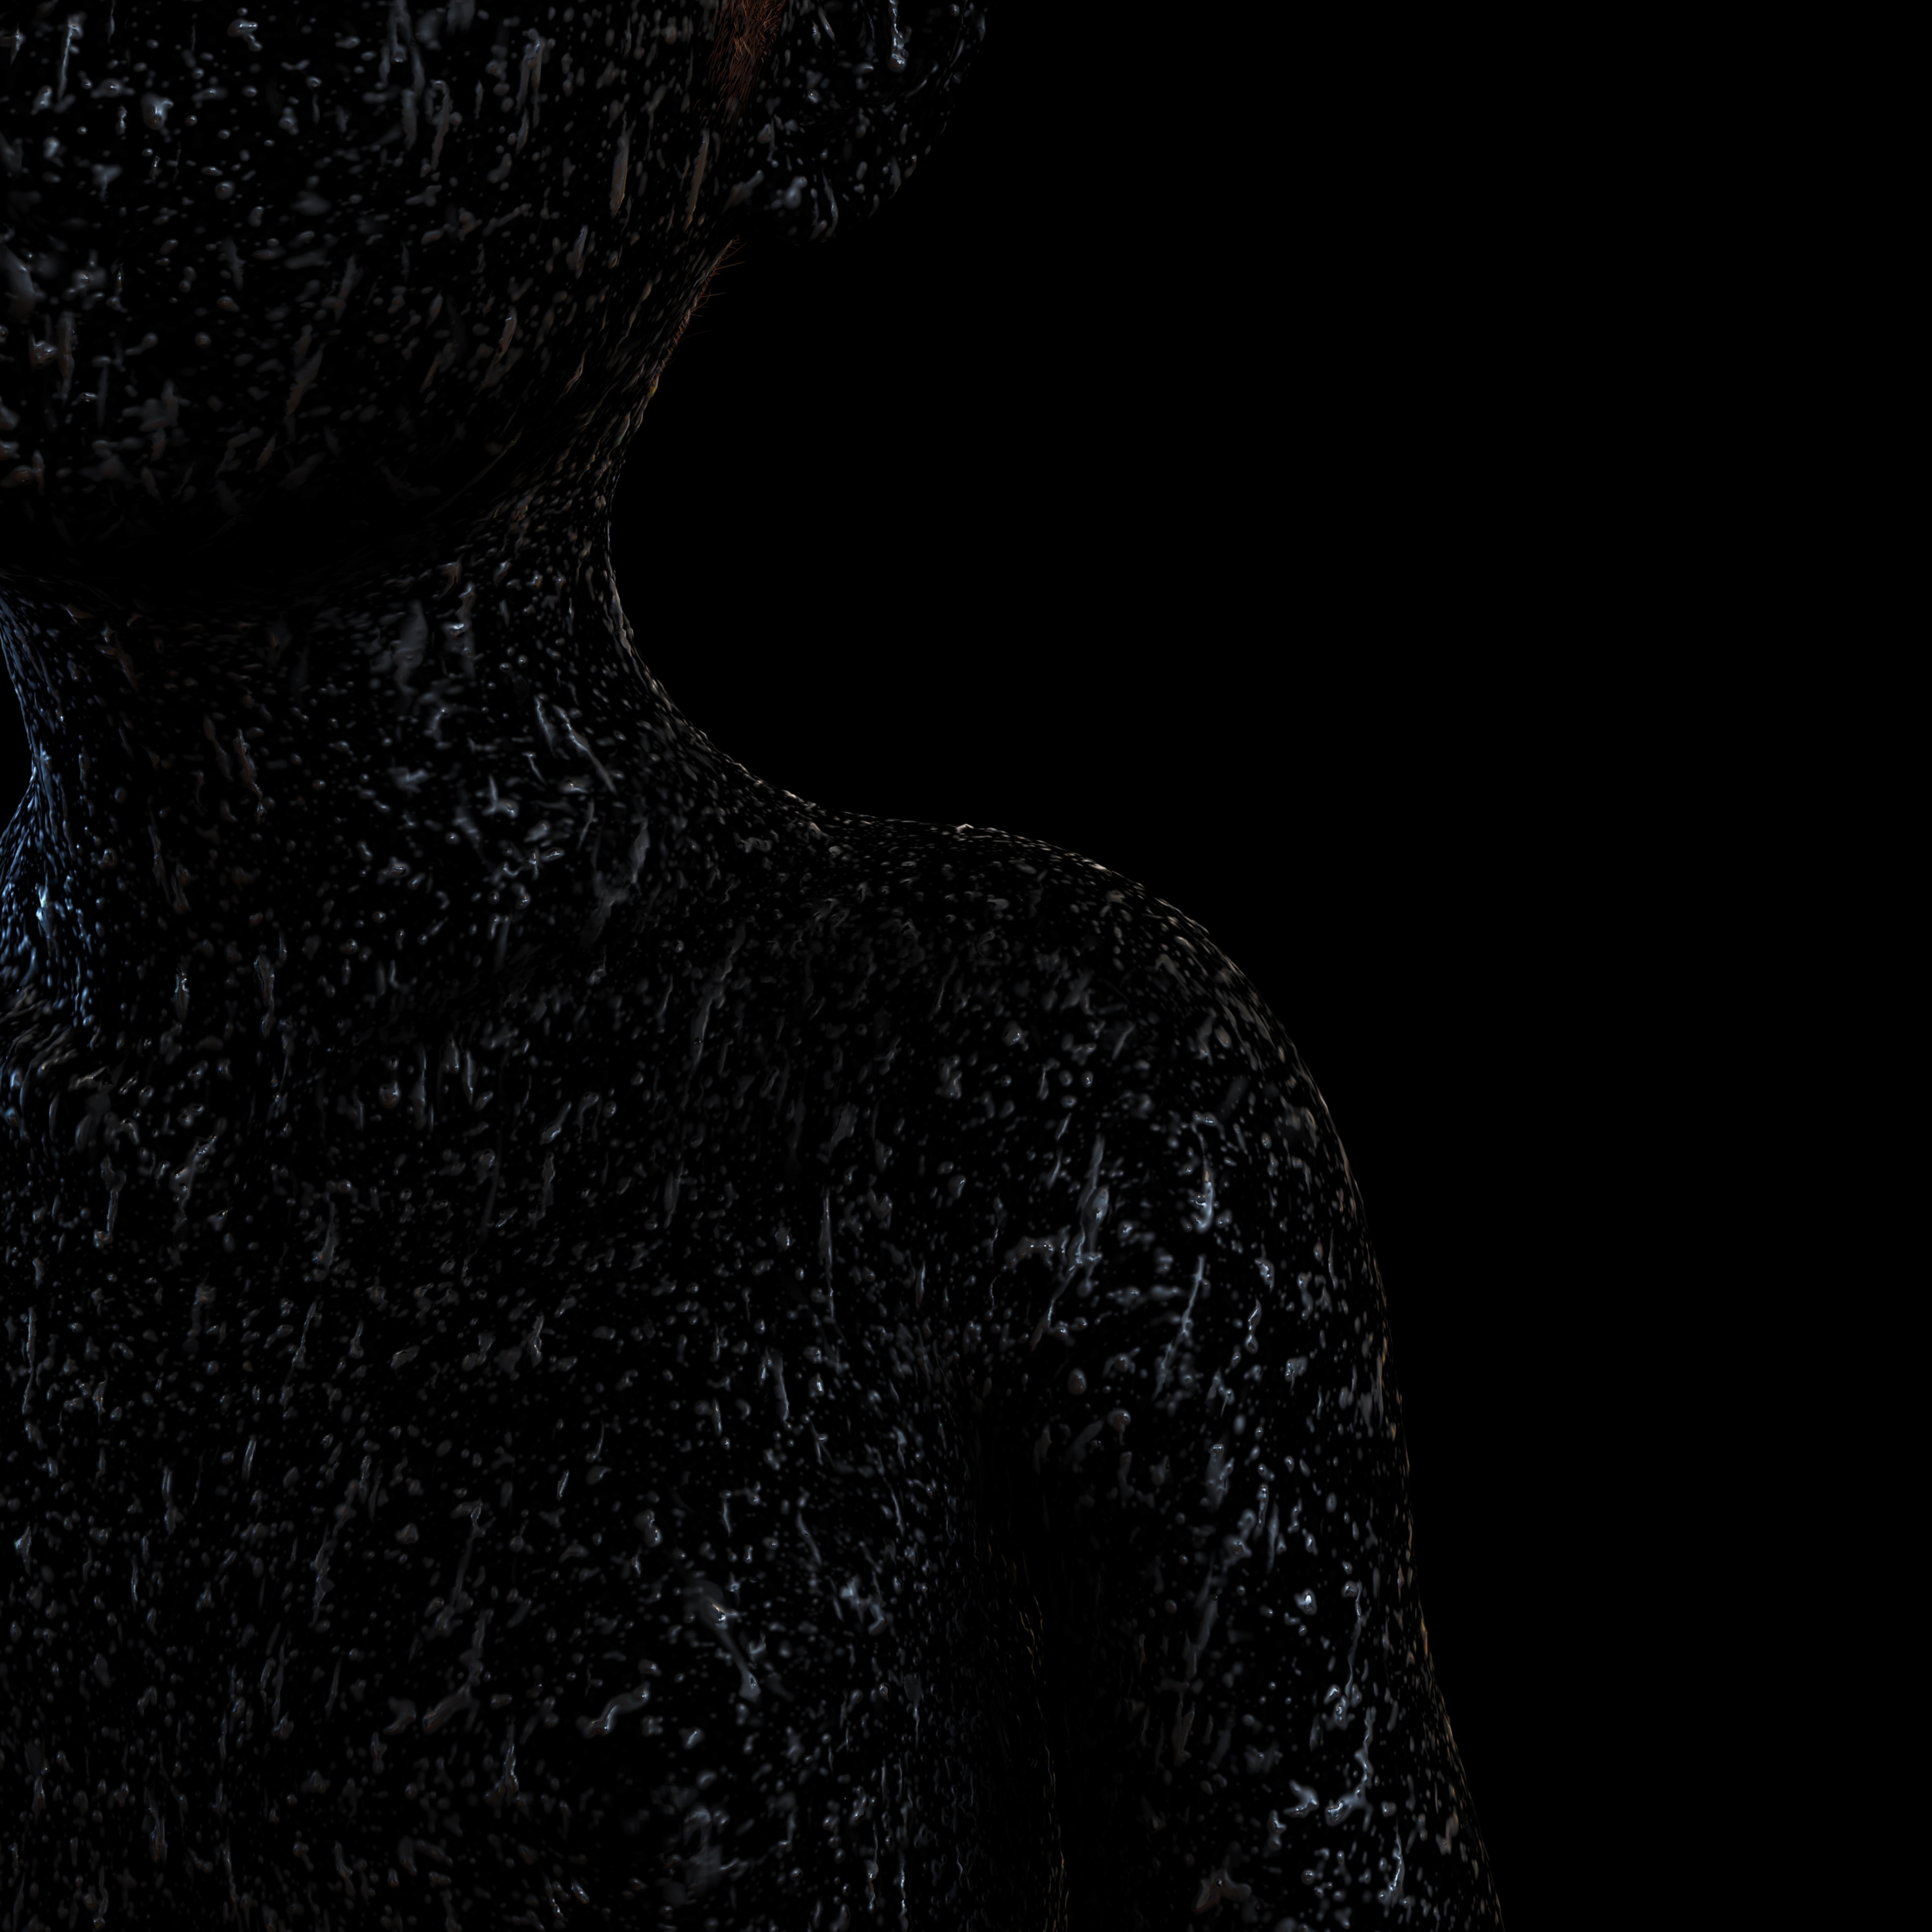
Droplets
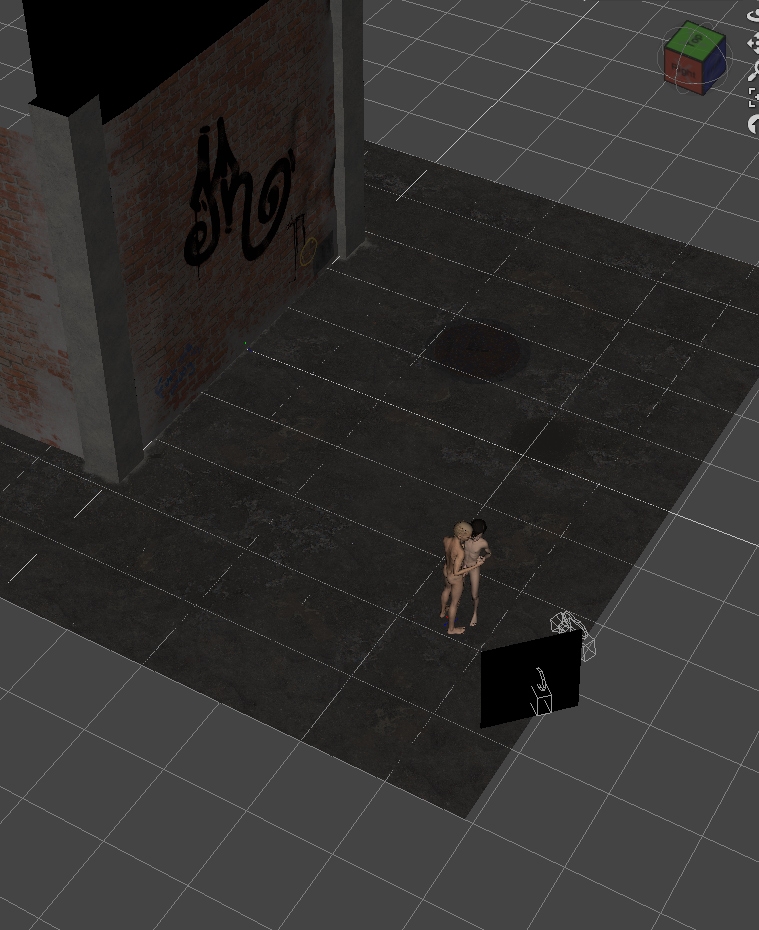
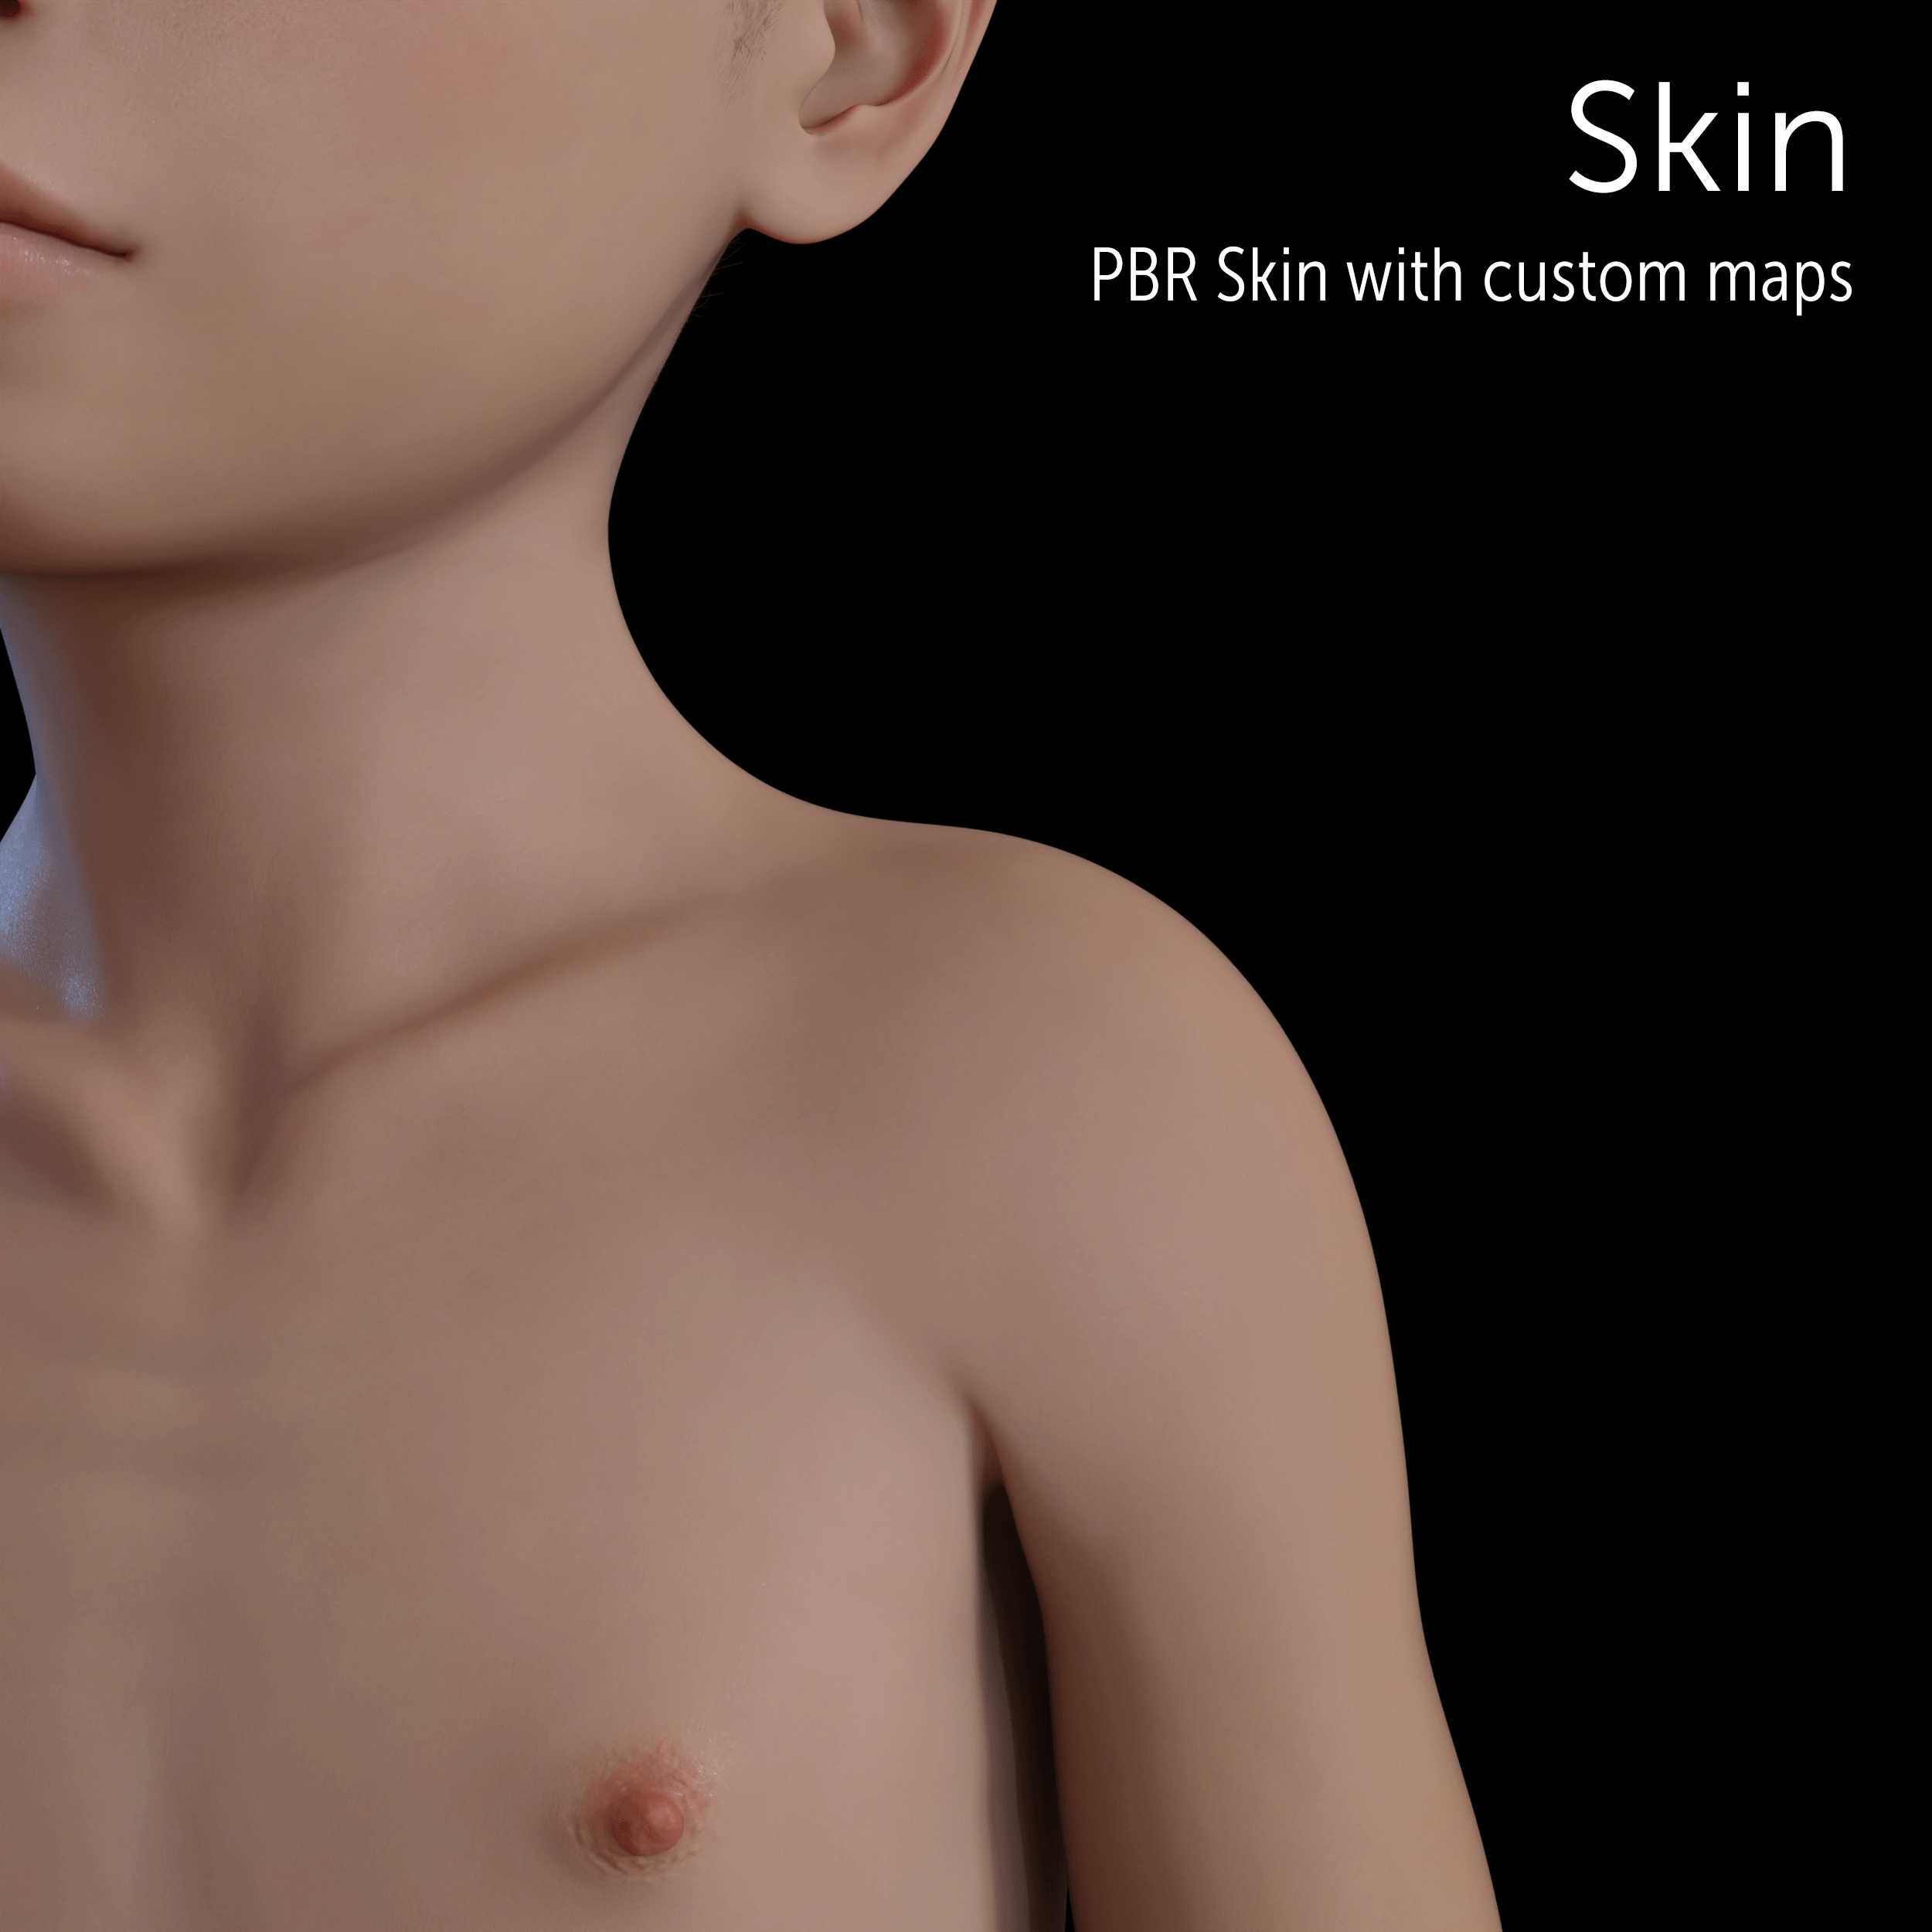
My idea was to have two boys holding each other, teasing. I wanted them to *pop* in front of that detailed wall though. So I decided to make them both oily and wet looking. Very glamour haha.
Wall itself and amount of terrain was big enough to play with depth a little more than usual. Additionally to HDRI the scene had a nice grid softbox in front of the boys, so they didn't have to be dependent on "how shadows would work best with wall itself". Also to make them lighter than the background
Next thing to be done was a new geometry shell for them - for those small droplets themselves. I used for that again, Substance Painter, because I could generate regular size of droplets and add some streaking for it with generators there.
(it's quite a big gif, so you can zoom in on the details)
And this is how specularity works on the Geometry Shell itself:
Actually I am very happy with what this custom material does to the edges of the model, displacement adding definition to those droplets. Actually I can share the Geometry Shell preset and textures. So let's do that :)
It's very simple to use actually. Installation aside (you should know how to install content to DAZ by now), it will show up under:
People\Genesis 8 Male\Materials\Just Radiation\WetShell SmallDrops
All you need to do is select your character. Then Add new Geometry Shell to it under:
Create/New Geometry Shell
then apply main preset. it should do all the job. Additional mats are made for uses with Genesis 3 and when you unparent your genital and want texture back at some point. You get the gist.
And basically that's all what I wanted to share about this particular render. If you like the series and want to know more about how my works come to be, what techniques I use - comment or leave a like under this post. Understandable though if you would want to skip this series to not spoil yourself the "magic" of it. That's why all BTR posts will be marked as such.
Cheers! :3
(Fanbox)
Files