Home
Home

 Artists
 Search
 Recent
 Random
 Posts
Posts
 DMs
DMs
 Tags
Tags
 Random
 Importer
 Import
 FAQ
FAQ
 Account
 Register
 Favorites
 Login
Login

[Gochiusa] Happy Birthday Mocha 2021 | Progress GIF + Commentary (Pixiv Fanbox)
Content
これからは、イラストの進捗状況のGIFを再び投稿するようにします。今回だけは、プロセス中の主要なステップごとに、短い解説をするつもりです。
翻訳機を使っているので、日本語が下手ですみません。
通常のプロセスは次のようなものです。
1. ラフスケッチ
2. 2.ラフスケッチのリファイン→スケッチ
2.5 色付けスケッチ(普段は面倒くさがりなのでしません
3. 線画
4. カラーリング
5. 背景
6. 後処理
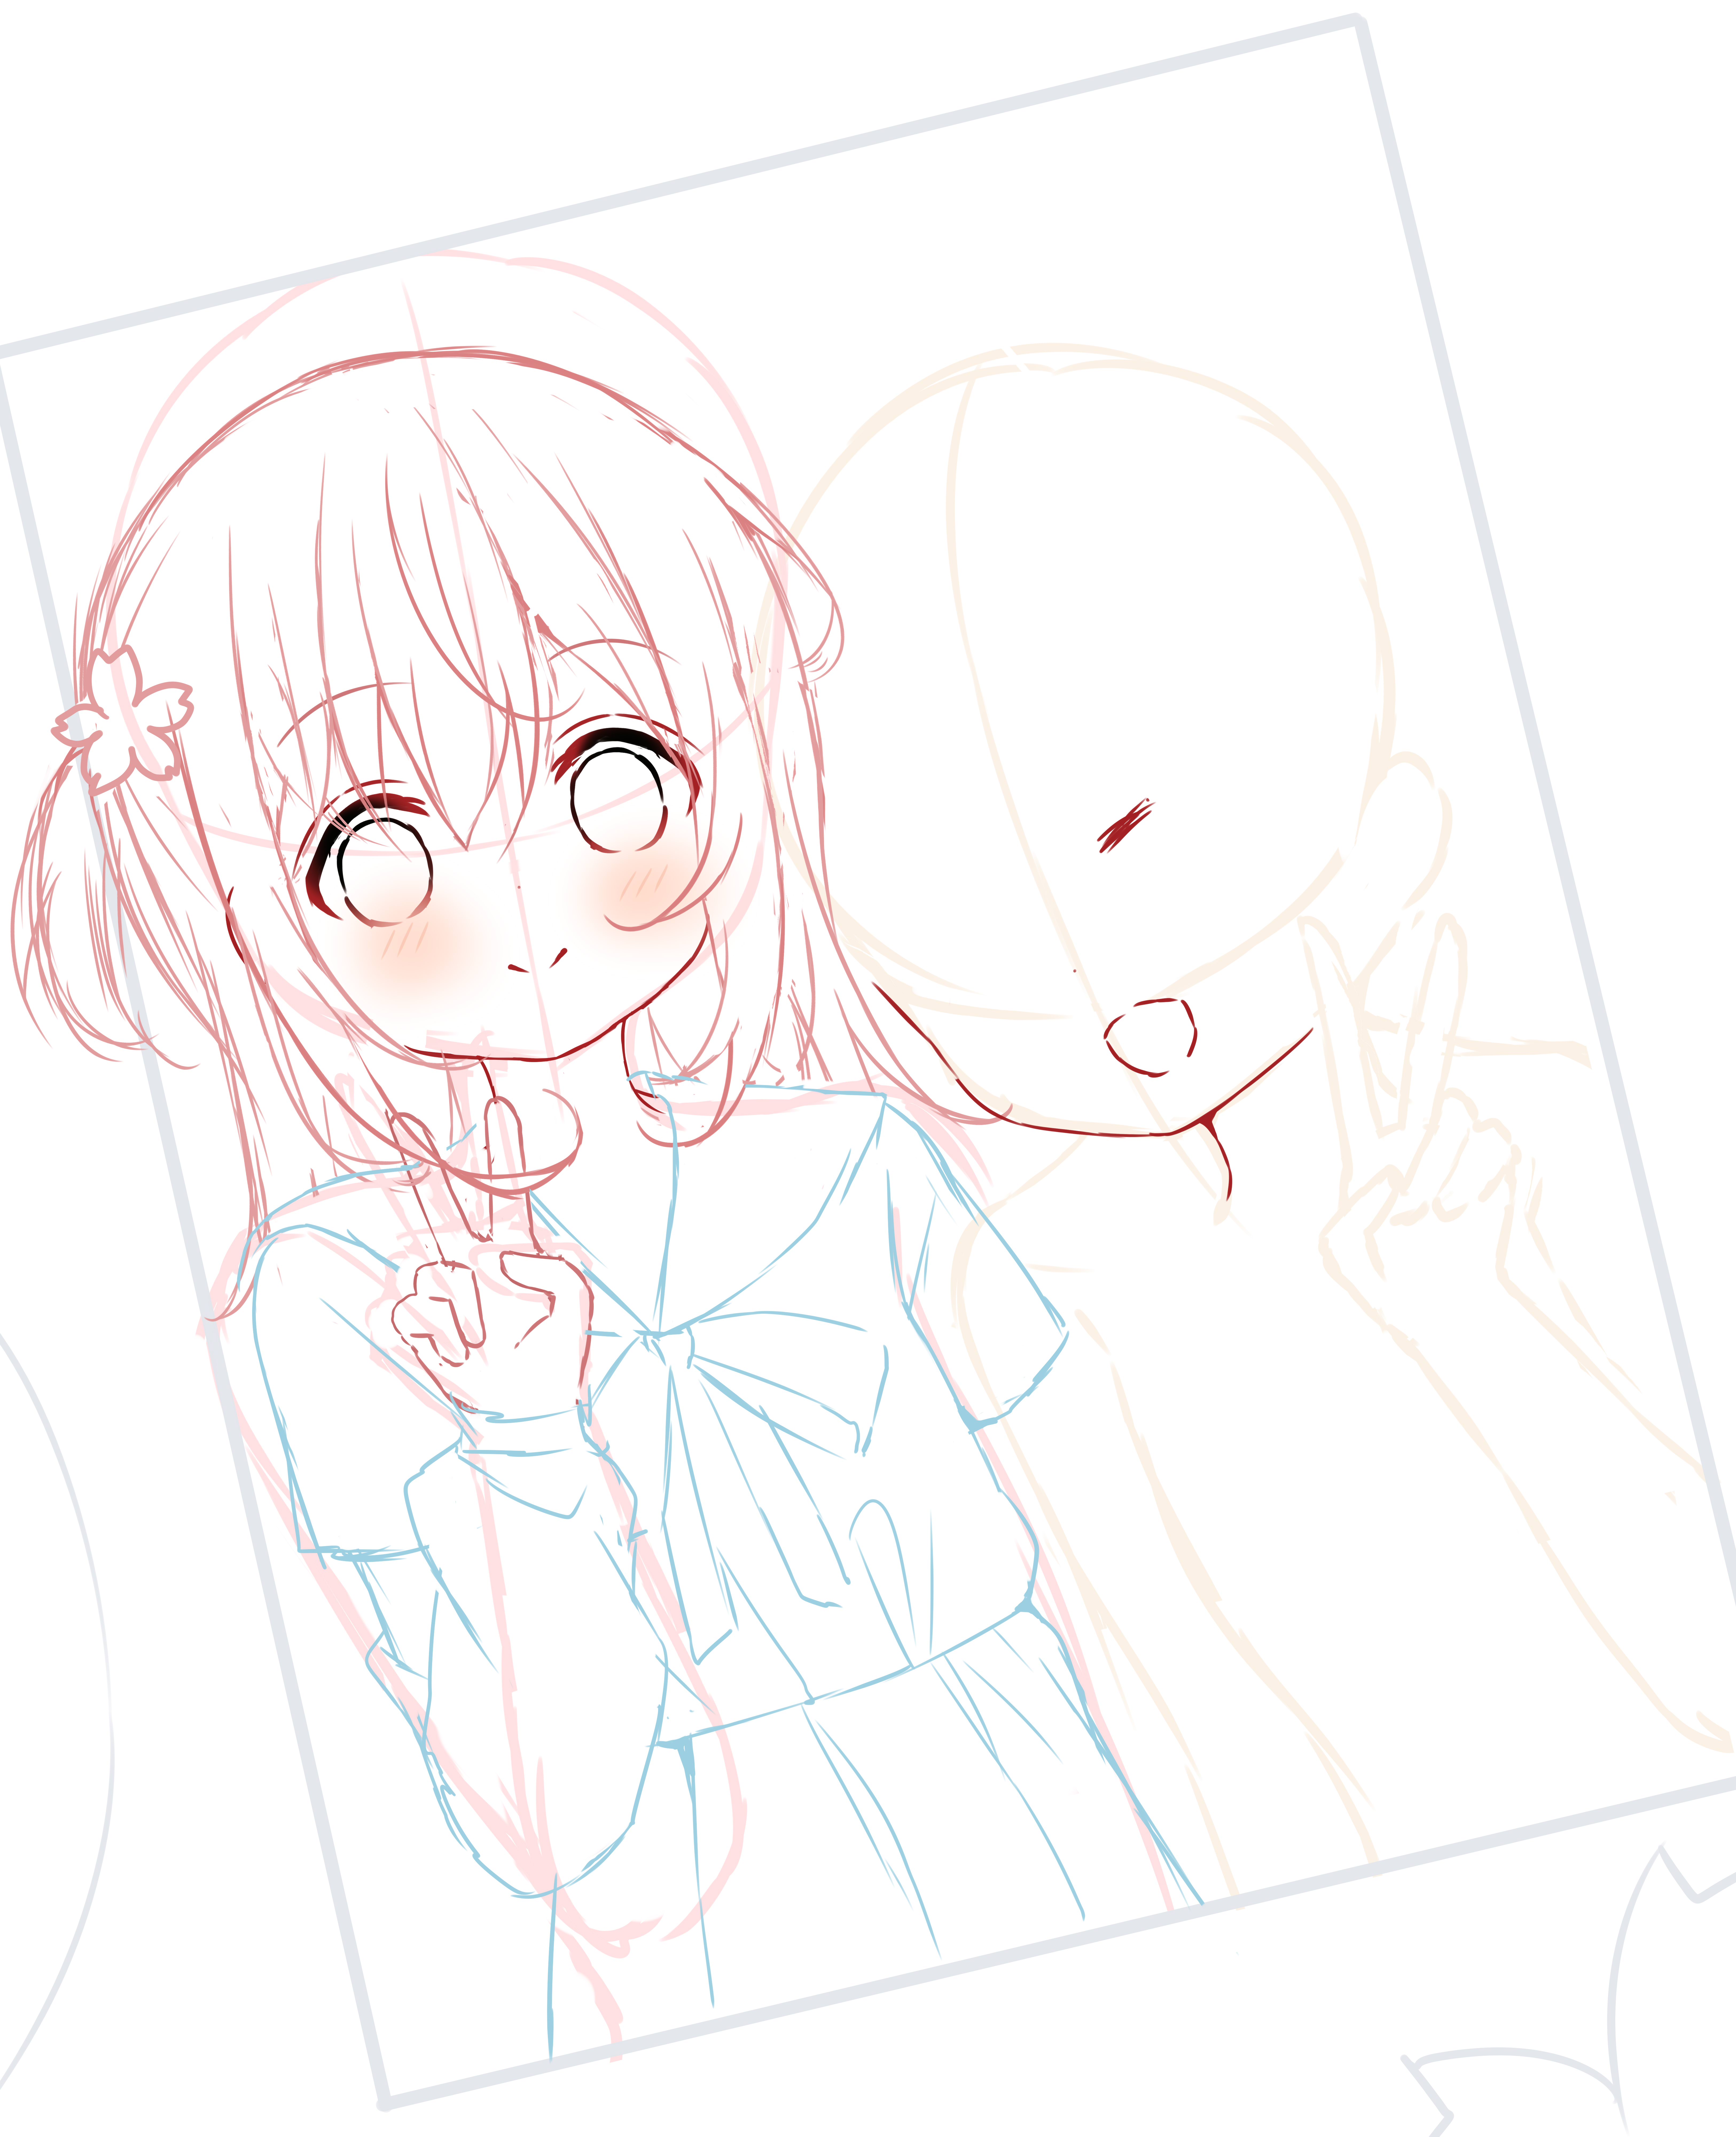
1. 思い描いたイラストのラフスケッチを作成する。左には食器、右にはヘアクリップ。 また、写真の中のキャラクターの目安となる体も。
2. ボディガイドラインはあくまでも方向性を示すためのものであり、厳密に守る必要はありません。個人的にはほとんど守っていません。
3. ラフスケッチに磨きをかけてディテールを追加した後は、ラインアートに移ります。隅っこにあるものはどんどん埋めていきます。イラストに奥行き感が出ます。
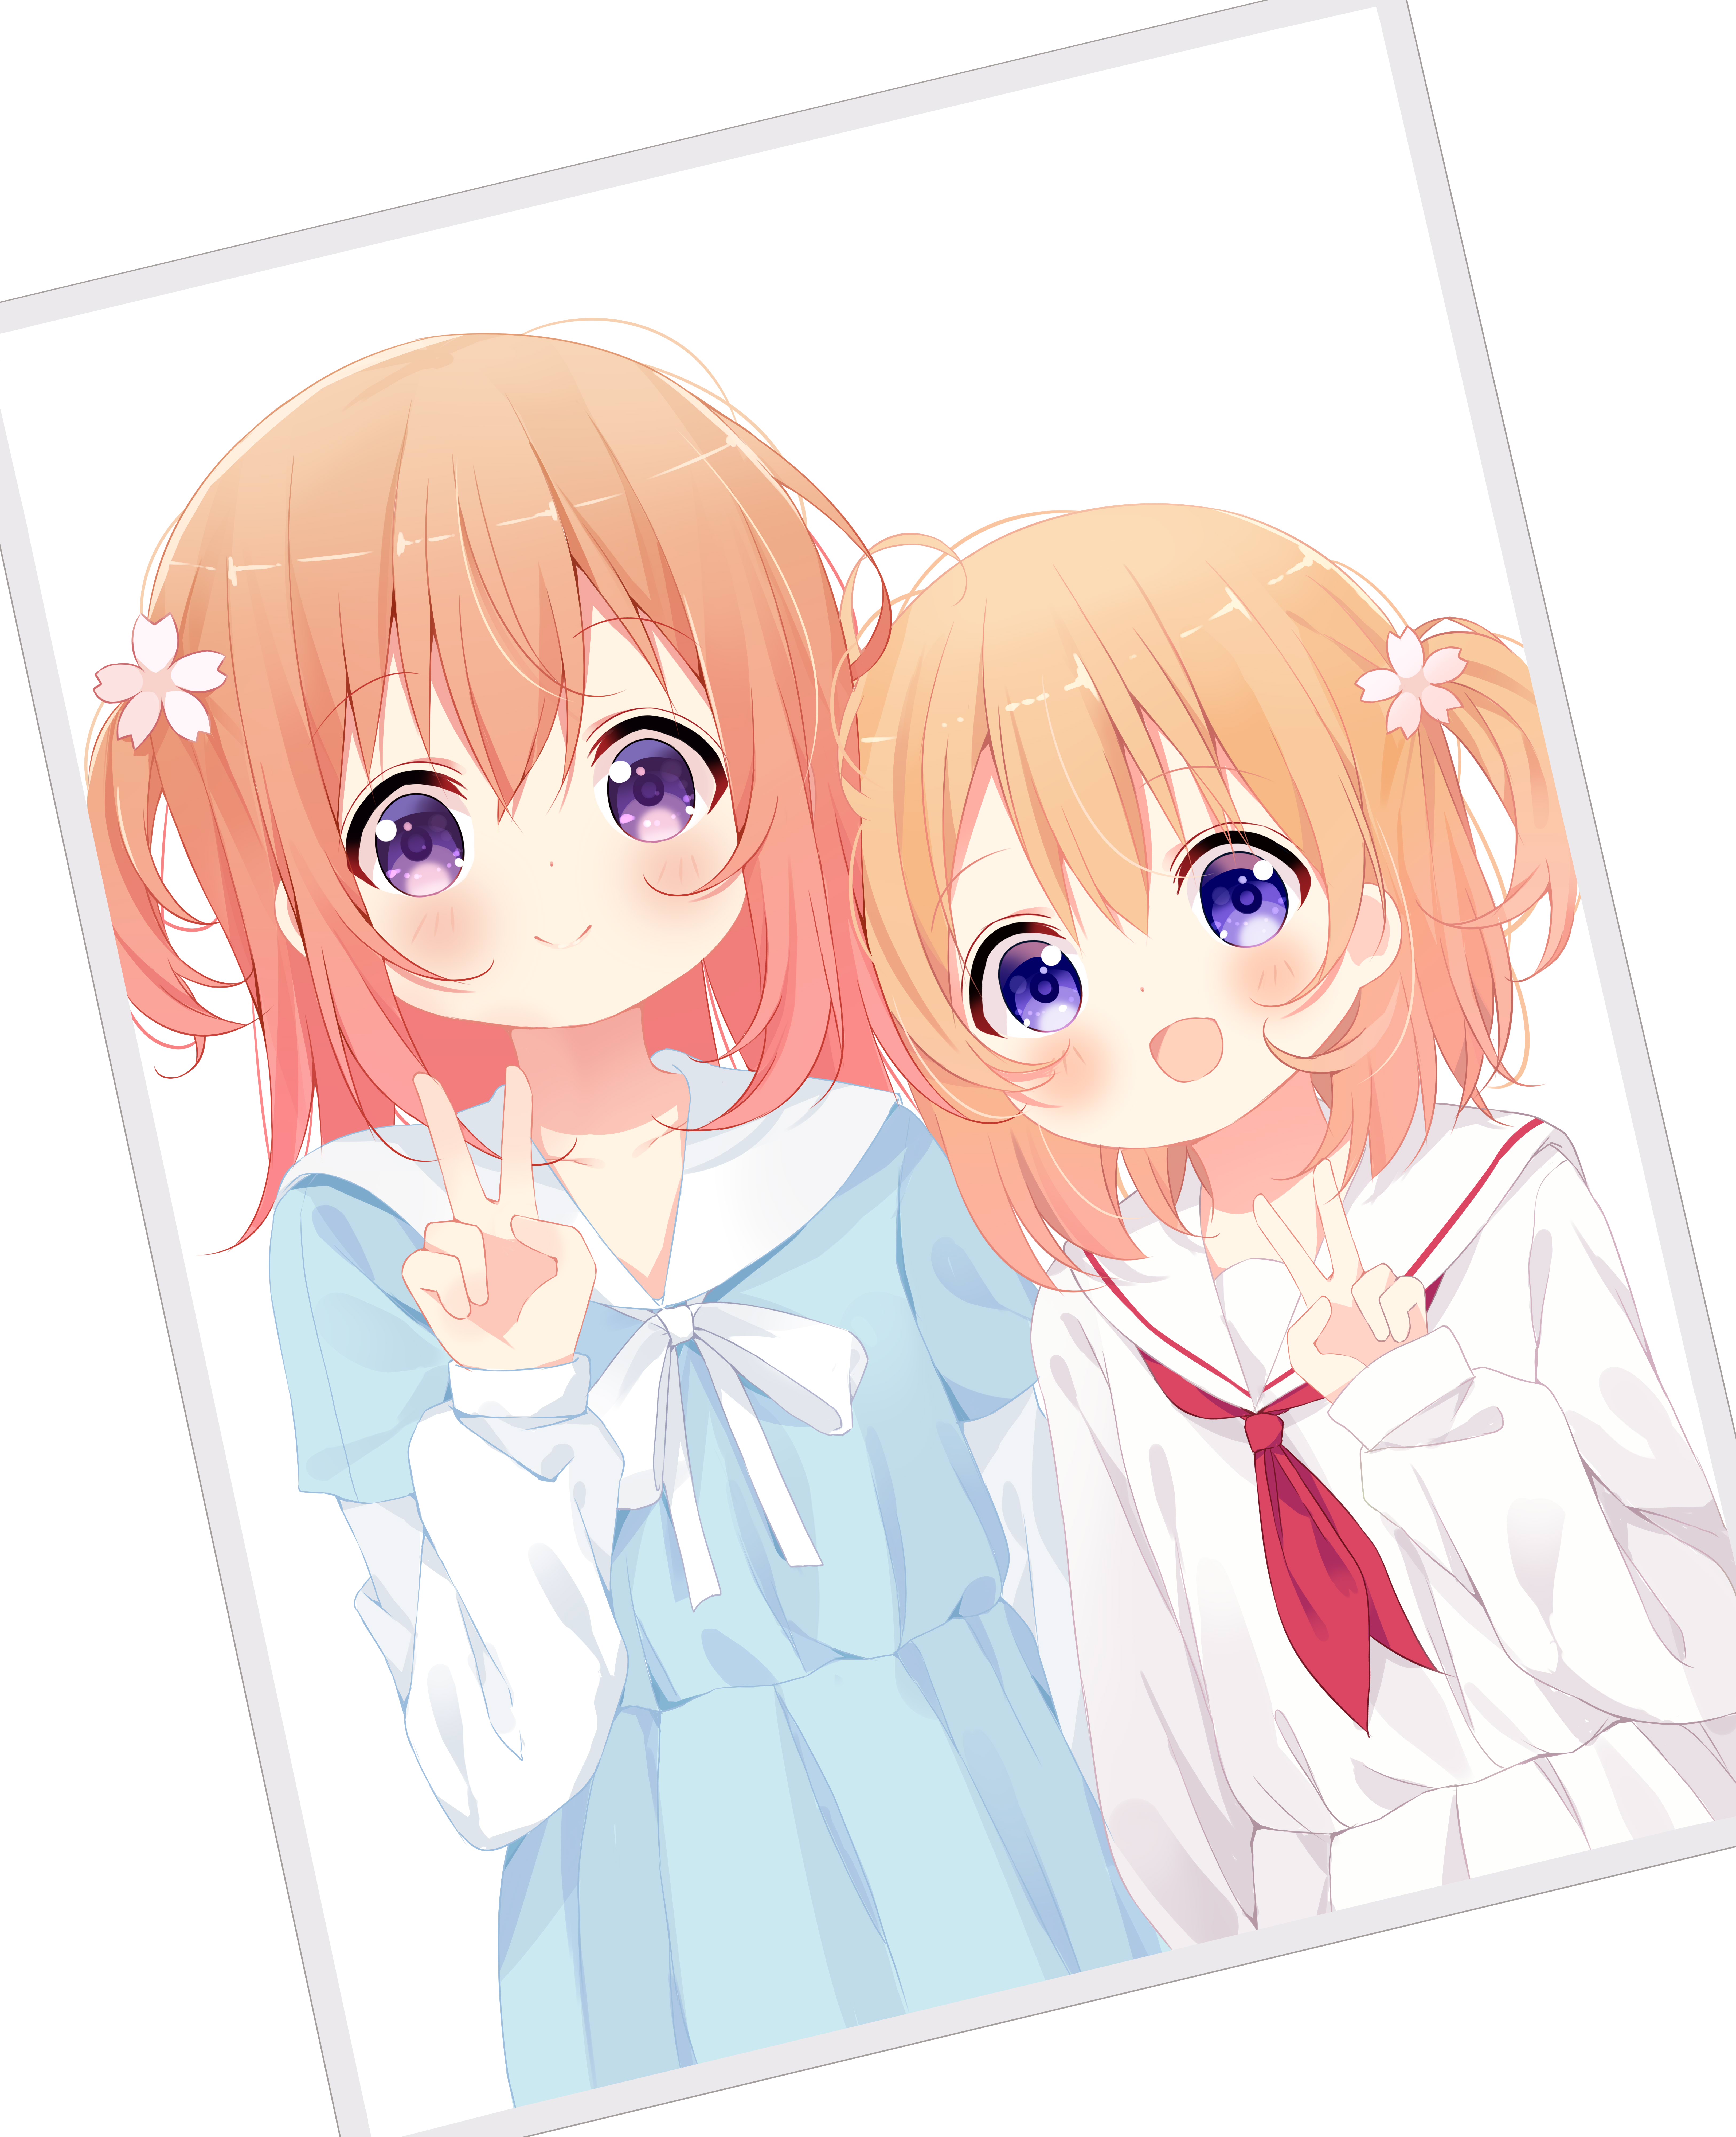
4. ベースカラーを埋めること。これには通常2つの方法があります。私は個人的にバケツツールを使っていますが、これは私の線画が一般的にとてもきれいなので、うまくいくからです。線画が汚い場合は、代わりにマスクツールを使ってみるといいでしょう。もし、マスクツールが何かわからなければ、YouTubeでNinomae Ina’nisを見ることをお勧めします。
5.陰影やハイライトを加えて、色を仕上げる。アートスタイルによって、陰影やハイライトの色数は大きく変わります。個人的には、シェーディングは2〜3色、ハイライトは1色で済ませることが多いです。これは、カラーリングがシンプルであればあるほど、かわいらしい印象を与えるからです。ここで選んだカラーパレットは、キュートでソフトな感じを出すために、とても明るくて脱色されたものです。色の選び方は、経験を積めばそれほど難しくなく、少しずつ試していくうちに何がいいのかが見えてきます。
髪の毛の場合、私は通常、「色相」レイヤーを通してわずかなグラデーションを加えています。
初心者の方の大きな間違いは、ぼかしの使いすぎです。使うときには、何をしたいのか、どうすればいいのかをしっかり理解しておきましょう。
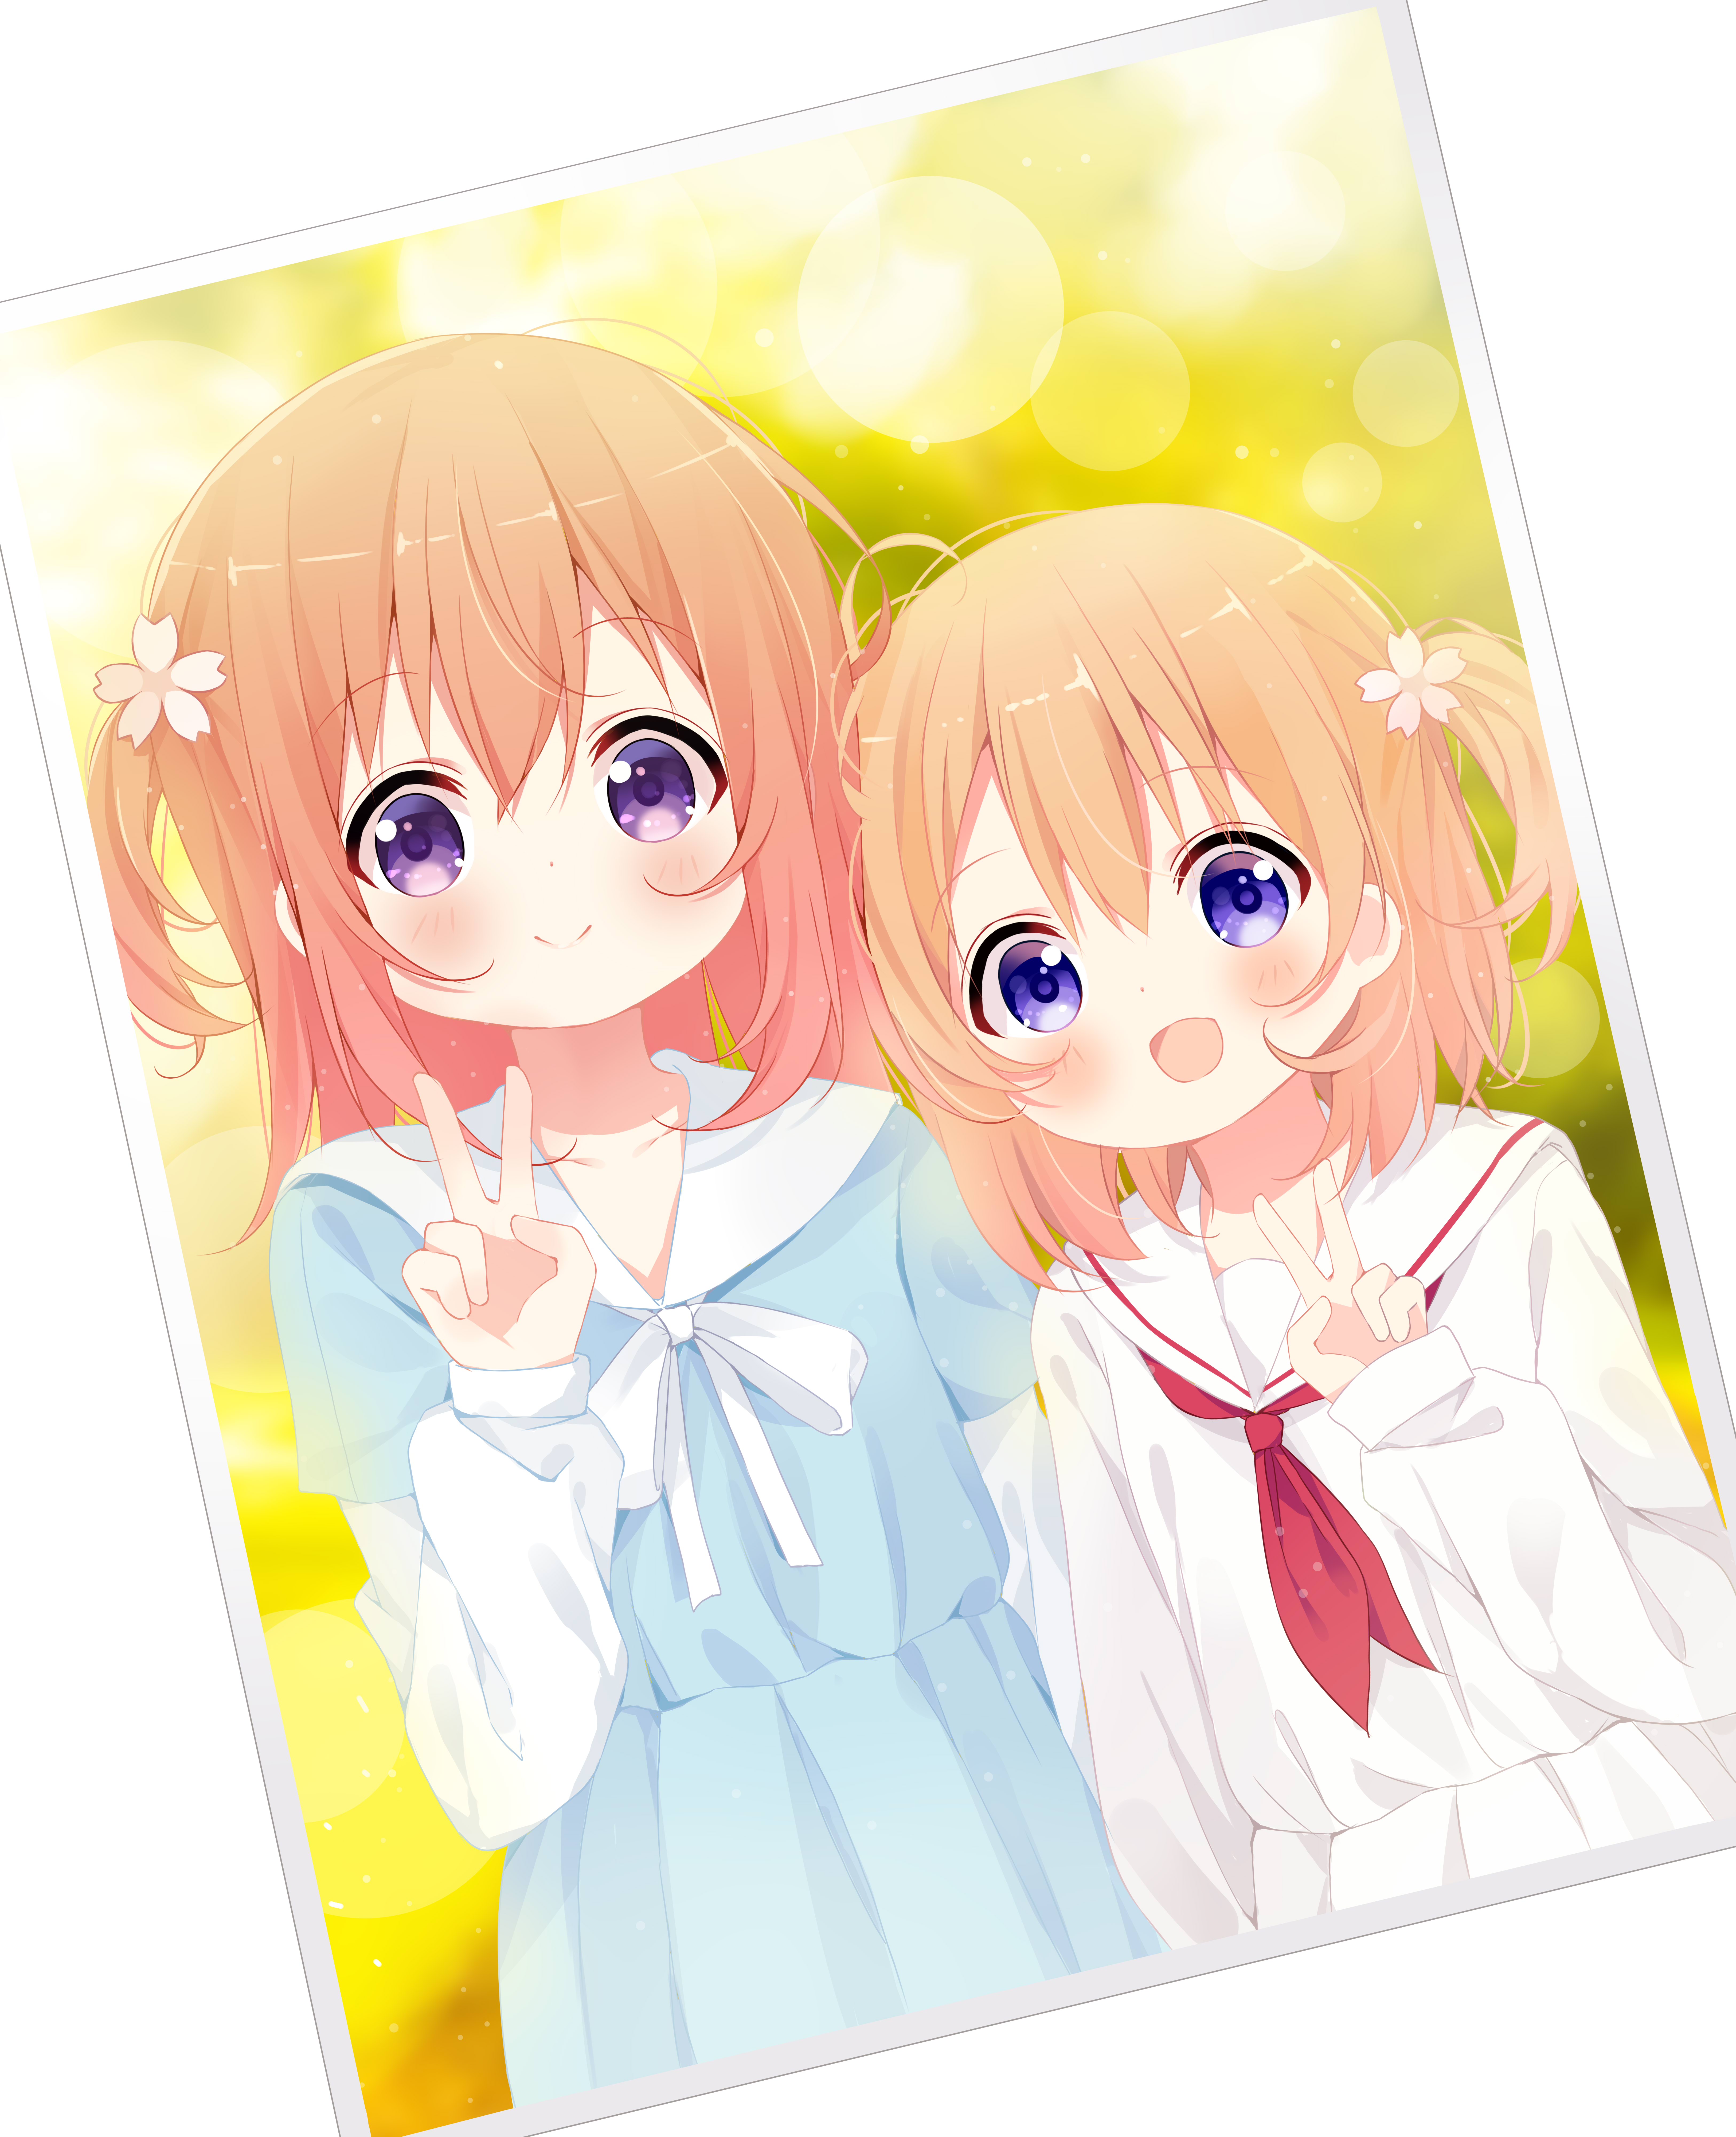
6. 写真に背景を加える。私は背景が本当に苦手なので、たいていはgoogleから写真を取ってきて、それをぼかします(今回のように)。背景には、ボケとホコリの効果を加えます。最後に、キャラクターに色の反射をかけて、背景になじませます。
7. 最後に後処理を行う。通常は、ソフトライトレイヤーを使って一定の温度や感じを与えたり(この写真では暖色系の色を追加した)、ダストやボケのフィルターを追加したり、光源(この写真では左上)を追加したり、最後にはもちろんぼかしを入れたりする。また、最後に色の変更や修正を行うこともある。
English:
I will be trying to start posting the progress gifs again from now on. As an extra just this once, I will be doing a short commentary on each of the major steps during the process.
The process usually looks like this:
1. Rough Sketch
2. Refine Rough Sketch -> Sketch
2.5 Coloring Sketch (I'm usually too lazy for it tho)
3. Lineart
4. Coloring
5. Background
6. Post Processing
1. Creating a rough sketch of the illustration you have in mind. The tableware on the left, the hair clip on the right. And also the guideline bodies for Mocha & Cocoa inside a photo.
2. "Guideline bodies" because, as you can see, I rarely ever actually orientate myself to it 100%. Usually I go way off the guidelines I've drawn, but that's fine.
3. After refining and adding more details into the rough sketch, I will then move onto the lineart. In "corner spots" I usually like to fill them a bit in and make it look a bit thicker. Adds a sense of depth to the illustration.
4. Filling in the base colors. There are usually two ways to do that. I personally just use the bucket, because my lineart is generally very clean and thus works good. If yours is more on the messy side, you probably should try using a mask instead. If you don't know what I am talking about then try watching how Ninomae Ina on YouTube applies base colors.
5. Finish coloring by adding shadings and highlights. Depending on your artstyle the number of shading colors and highlights may vary greatly. Personally, I usually only use 2 to 3 for shading and 1 for highlights. Since I'm going for more of a cutesy artstyle, the more simplistic it is, the cuter it will look. The color palette I chose here are very bright and desaturated to give it a cute and soft feeling. If it comes to choosing colors, it's not that difficult with experience, you will see what looks good when you mess around with it a bit.
For the hair I usually add a slight gradient to it through the "hue" layer.
A huge mistake for beginners is the overuse of blur. Make sure to understand what you're trying to accomplish and how to do it when using it.
6. Adding the background to the photo. In this special case I will have to draw two backgrounds. One inside the photo and one for the photograph itself. I am really bad at backgrounds, so I usually just take a picture from google and blur them (just like in this case). Add some "Bokeh" and dust effects on it and lastly apply some color reflections on the characters to make them fit into the background.
7. Lastly apply some post processing. That usually includes Soft Light Layer to give it a certain temperature/feeling (in this one I added some warm colors), more dust and bokeh filters, light source (in this one top left) and lastly of course blur. Also last minute color changes or corrections.
Files