Home
Home

 Artists
 Search
 Recent
 Random
 Posts
Posts
 DMs
DMs
 Tags
Tags
 Random
 Importer
 Import
 FAQ
FAQ
 Account
 Register
 Favorites
 Login
Login

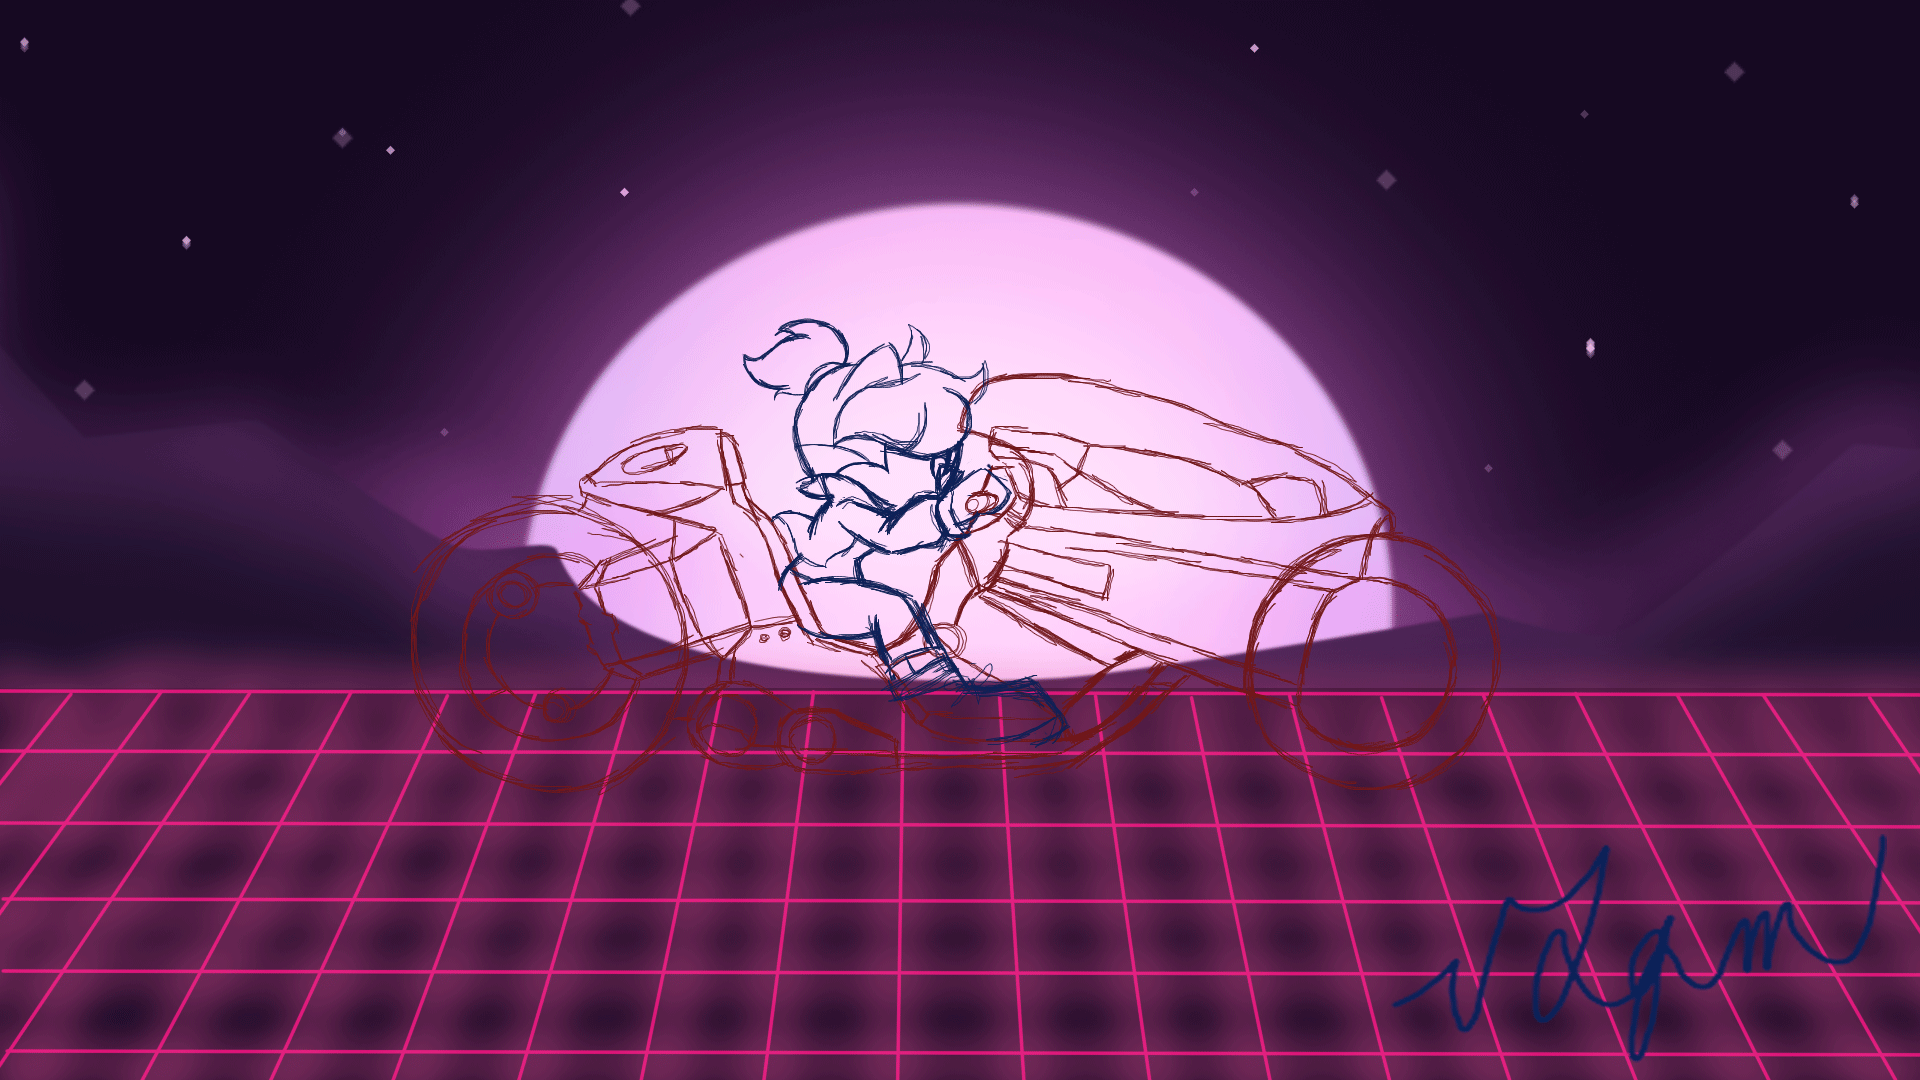
Blinding Riders - Animation Loop Process - Background Process + Animation Test (Patreon)
Content
Here you can see the process of how the background was made.
It is inspired by retro synthwave style wallpapers.
To do this, we must first have several separate layers for different effects and figures.
On a layer we draw a large circle and a very light pink color.
In the second layer a slight blue shadow is added to that circle, and the gain is decreased so that it can create a slight volume effect.
In the third layer the mountains are drawn.
Once we have the main parts of our background, we create in another layer what would be the starlight for the moon and the mountains. For this layer, we have softened the brush so that it is not hard, and we have clarified it so that it looks more like a shine.
In another layer, which goes under all the previous ones, we create the stars, and blur the layer where the moon is drawn.
The layer in which we made the starlight effect will lower the lighting, so that it does not obscure the following effects. These jobs have many changes.
In a layer above that of the moon, we will use a soft white brush to brighten the moon.
We will activate the layer that contains the floor of neon lines, to make a selection of the space it occupies. We proceed to delete the selected area in the layers we create, except for the floor and the background color. This will not be seen on the ground what we do not need from the bottom.
A last layer is added that is behind everything we have created, but in front of the background color, because here we are going to add lighting effects with two brushes, one black, and one white. The layer will decrease the gain to balance the effect.
EXTRA TIP
For the neon floor, we take the color that the lines had and adjust the color so that it becomes a very light, almost white color. That gives a brighter effect.
Files